By esha
Setting up a record player is one of the most enjoyable parts of starting a vinyl collection. There is something special about placing a record on the platter and lowering the needle onto the groove. However, a proper record player setup is essential for clear sound and long-term record protection.The good news is that you do not need to be an audio expert. With the right equipment, a stable surface and a few simple adjustments, you can create a record player setup that looks great and sounds even better.
What You Need for a Record Player Setup
Before you begin, check which components are already included with your turntable. A typical record player setup may include:
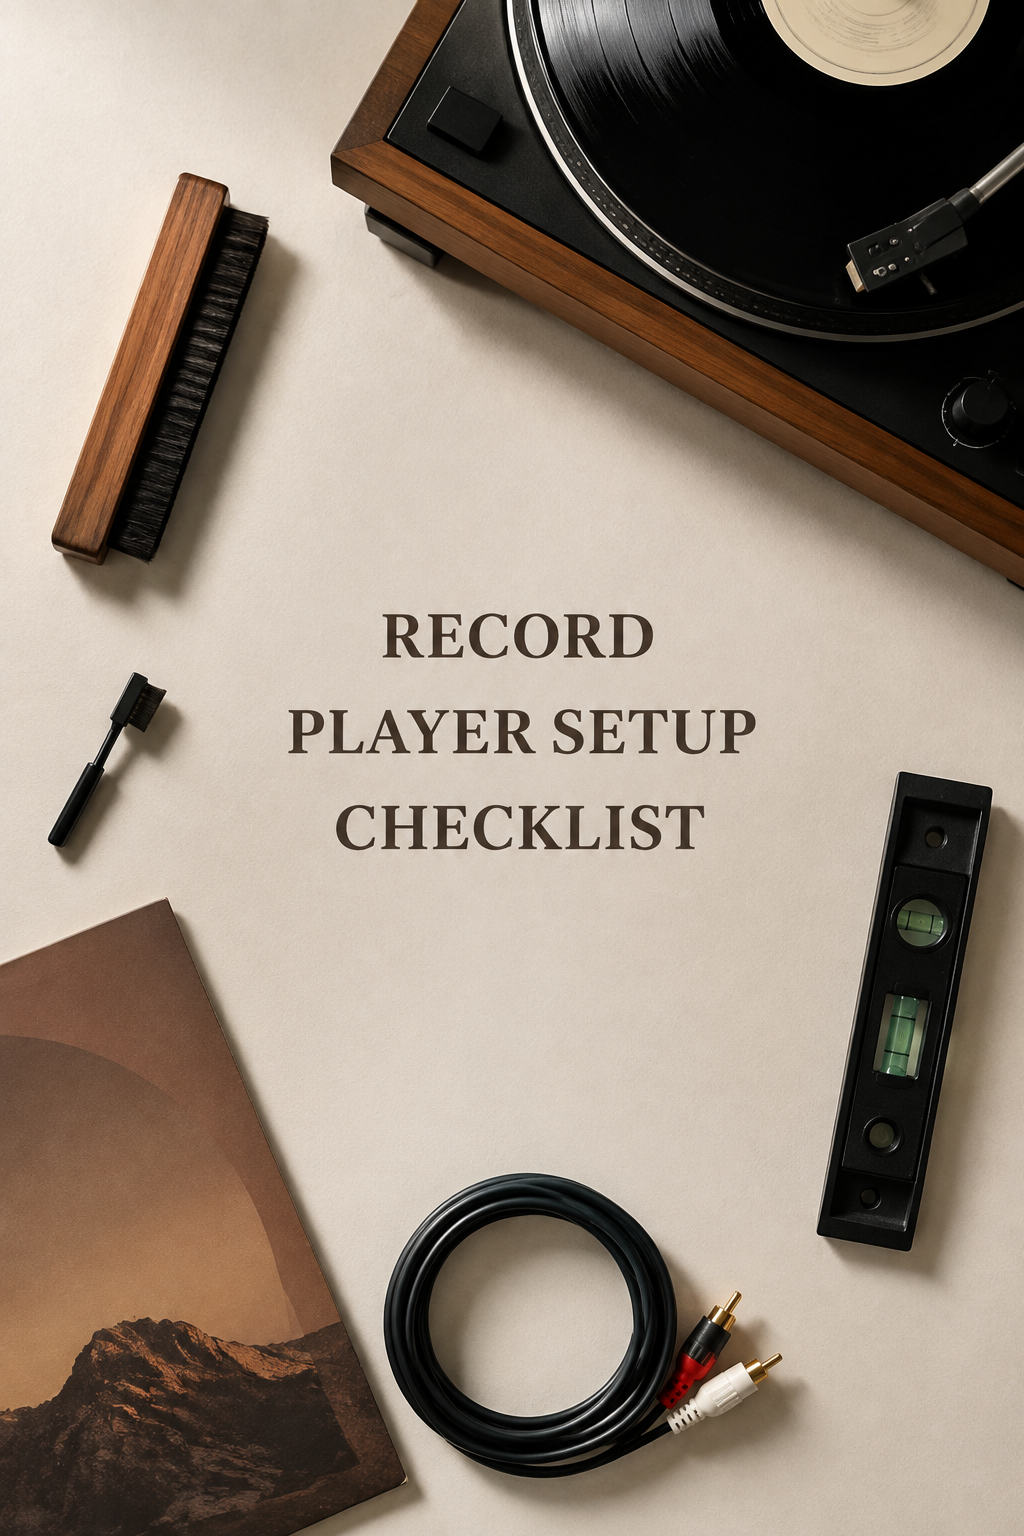
- A record player or turntable
- A phono preamp
- An amplifier or receiver
- Passive or powered speakers
- RCA and power cables
- A turntable mat
- A spirit level
- A stylus cleaning brush
- A record cleaning brush
Many modern models include built-in preamps or speakers, while traditional turntables often require separate components.
Choose the Right Location

The location of your record player setup has a direct impact on performance. Place it on a sturdy, level and vibration-resistant surface.
Keep it away from:
- Direct sunlight
- Heat sources
- Humid areas
- Frequently used doors
- Washing machines or vibrating
- appliances
- Speakers producing heavy bass
A solid shelf, media cabinet or dedicated console is usually ideal.
Make Sure the Turntable Is Level
A level turntable allows the stylu
s to track grooves correctly and reduces wear. Place a spirit level on the platter and check both directions. Adjust the feet if possible or use stable furniture pads until the platter sits evenly.
Install the Platter and Turntable Mat
Some turntables ship with the platter removed. Install it according to the manufacturer’s instructions. For belt-drive models, make sure the belt sits correctly on the motor pulley without twisting. Once installed, place the mat on top. Rubber, felt, cork and leather mats all help reduce vibration while supporting the record.
Install and Check the Cartridge
The cartridge holds the stylus and is one of the most important parts of any record player setup. If installation is required, connect the color-coded wires to the matching cartridge pins. Handle the wires carefully. Proper cartridge alignment is also important because poor alignment can lead to distortion and uneven record wear. Always use the alignment guide recommended for your model.
Avoid touching the stylus directly.
Balance the Tonearm
Most turntables use a counterweight to set the correct tracking force.
Steps for Balancing the Tonearm
- Turn the record player off.
- Remove the stylus guard.
- Set anti-skate to zero.
- Release the tonearm.
- Rotate the counterweight until the tonearm floats level.
- Return the tonearm to its rest.
- Set the tracking-force dial to zero.
- Rotate the entire counterweight to the recommended tracking-force value.
Using the correct tracking force helps prevent skipping and excessive wear.
Adjust the Anti-Skate Setting
As records spin, the tonearm naturally pulls toward the center of the record. Anti-skate compensates for this force. A good starting point is matching the anti-skate value to the tracking force. If your turntable does not have an adjustment, it may already be factory set.
Connect the Phono Preamp
A turntable produces a very low-level signal, so phono amplification is required.
Common record player setup connections include:
- Turntable with built-in preamp → Powered speakers
- Turntable with built-in preamp → Amplifier → Passive speakers
- Turntable without built-in preamp → External preamp → Powered speakers
- Turntable without built-in preamp → PHONO input on amplifier → Passive speakers
If your turntable has a PHONO/LINE switch, choose the correct setting for your equipment. Avoid using two phono preamps at the same time.
Connect the Ground Wire
Many turntables include a grounding wire beside the RCA cables. Attach it to the grounding terminal on your amplifier, receiver or external preamp. A loose ground connection often causes unwanted humming. Some models are internally grounded and do not require a separate wire.
Position the Speakers Carefully
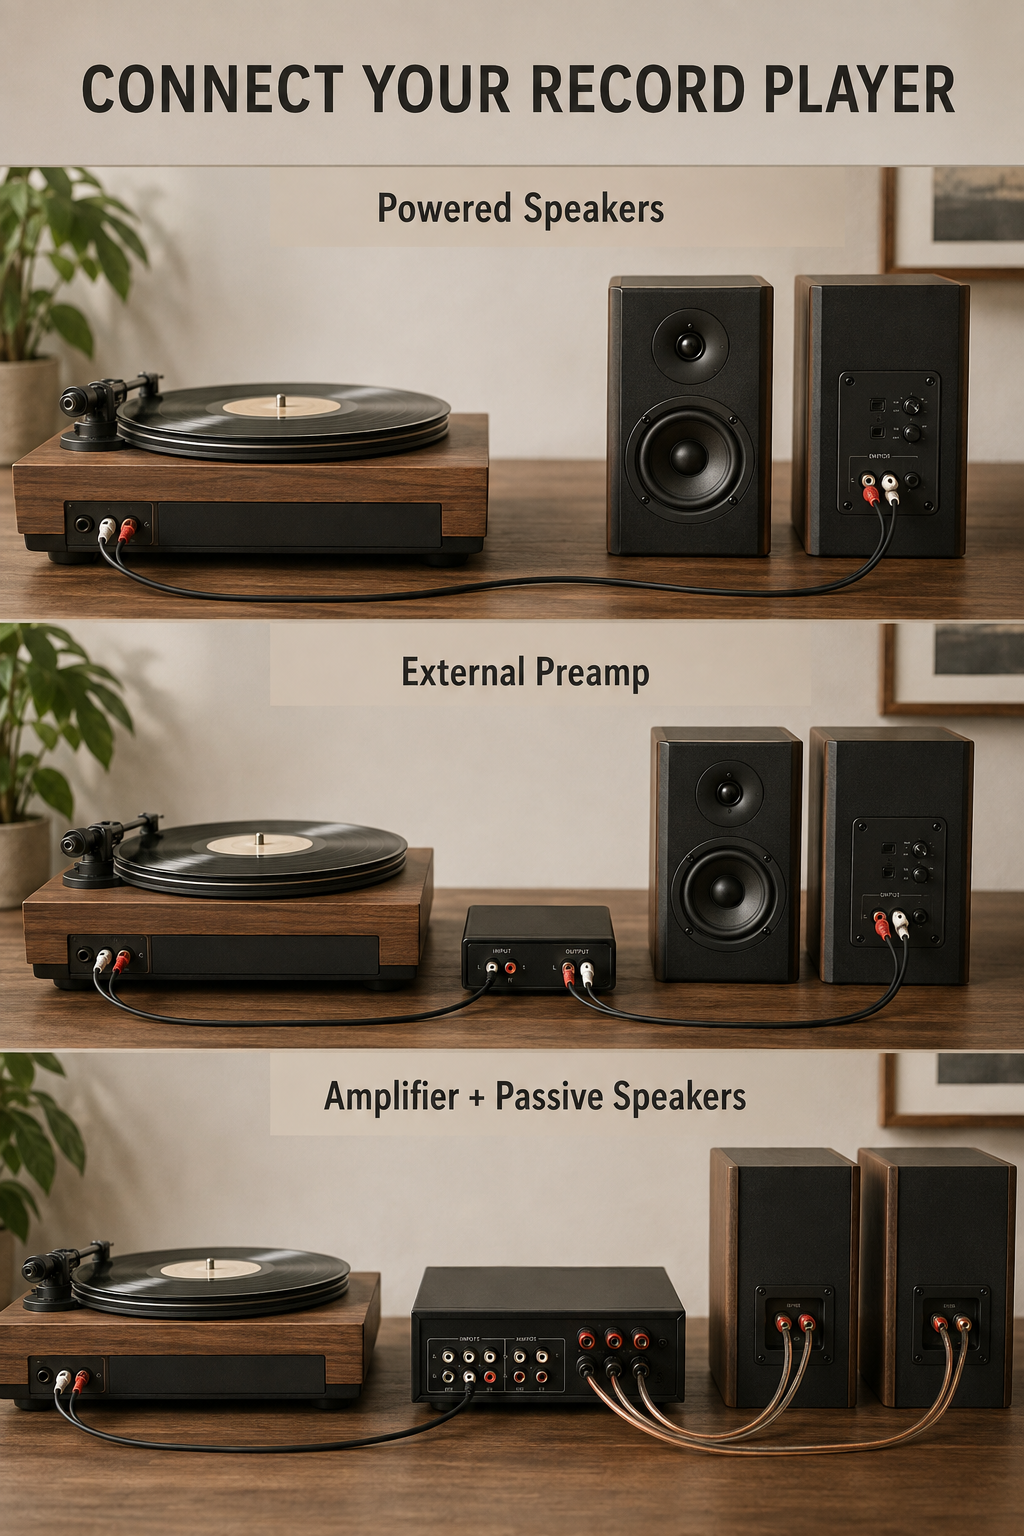
Speaker placement plays a major role in sound quality. Avoid placing speakers on the same surface as the turntable. Vibrations can reach the stylus and cause feedback or skipping.
For the best record player setup:
- Use separate stands when possible
- Position speakers near ear level
- Angle them toward your listening position
- Form a balanced triangle between the spea
- kers and your seat
Test the Setup With a Record
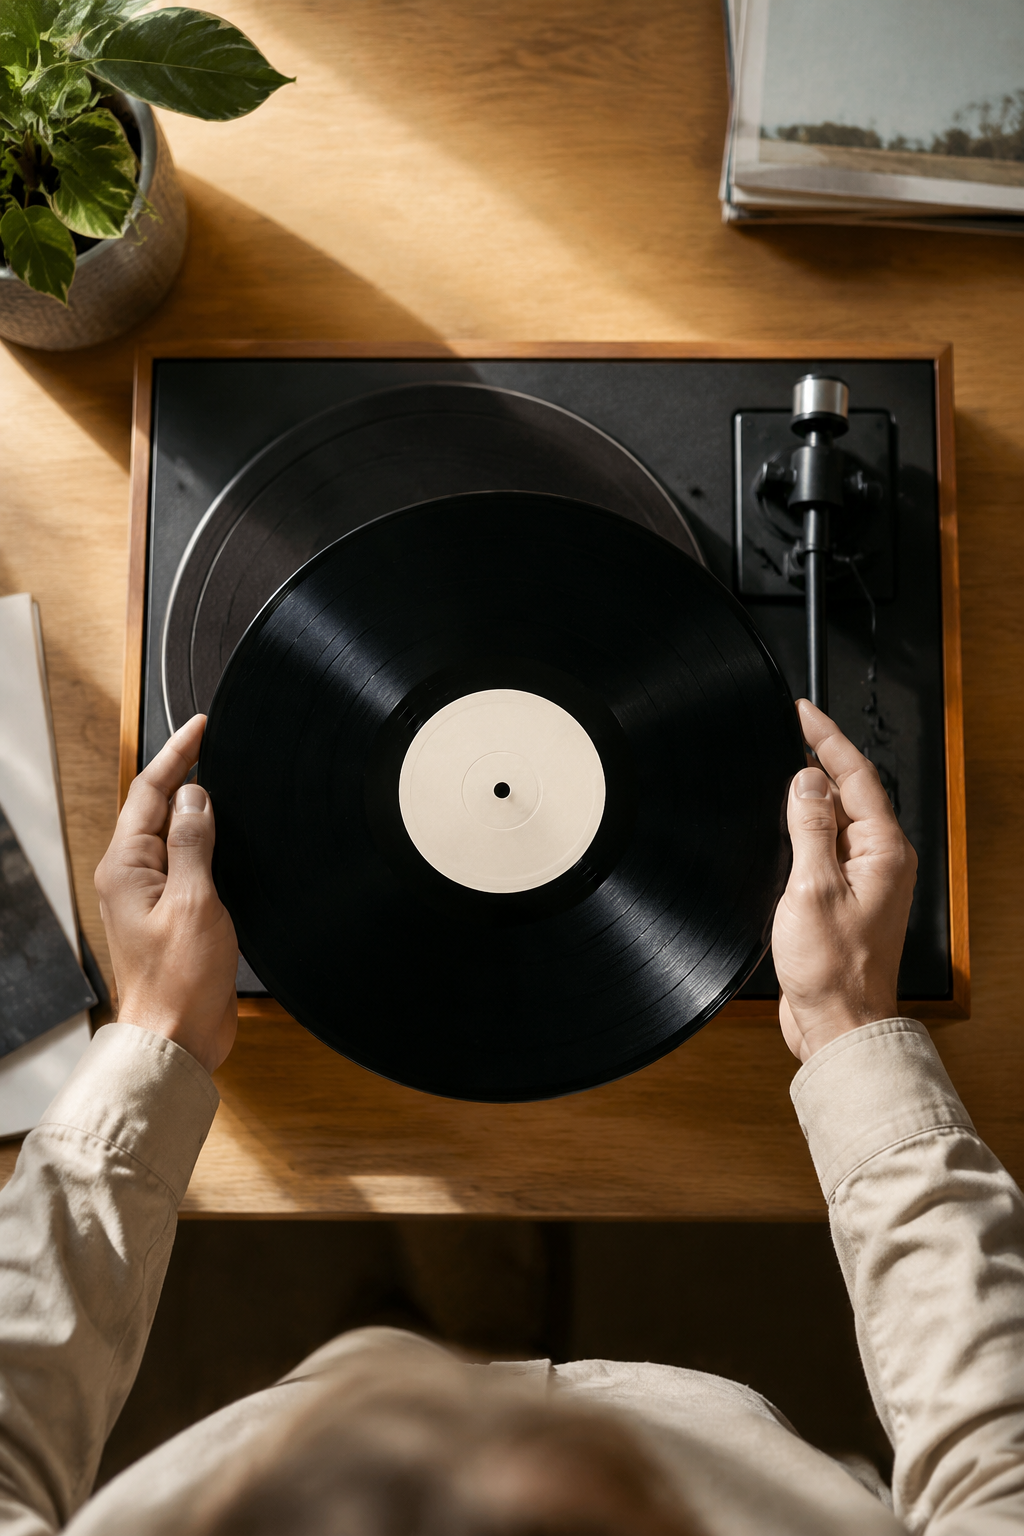
After connecting everything, lower the volume before powering on the system. Place a clean record on the platter, select the correct speed and lower the tonearm using the cueing lever.
Listen for:
- Clear sound
- Equal output from both speakers
- Humming
- Skipping
- Distortion
- Low volume
- Speed issues
If problems occur, recheck the preamp settings, tracking force, cartridge alignment and cable connections.
Keep Your Records and Stylus Clean
Even the best record player setup can suffer from dirty records. Use a carbon-fibre brush before playback and clean records more thoroughly when needed. Clean the stylus regularly with a proper stylus brush, moving gently from back to front.
Store Vinyl Records Properly
Store records vertically rather than stacking them.Use protective inner and outer sleeves, keep them away from heat and sunlight, and return each record to its sleeve after use.
Common Record Player Setup Mistakes
Placing Speakers Beside the Turntable
Speaker vibrations can affect playback quality. Use isolation pads or separate stands.
Using the Wrong Preamp Setting
Incorrect PHONO or LINE settings can cause distorted or weak sound.
Ignoring Tracking Force
Incorrect tracking force may damage records and reduce sound quality.
Playing Dusty Records
Dust increases surface noise and stylus buildup.
Handling Records by the Grooves
Hold records by the edges and center label to avoid fingerprints.
Closing the Dust Cover Carelessly
Follow the manufacturer’s recommendations, as some setups may be affected by cover vibrations.
Simple Ways to Improve Your Setup
You can improve a record player setup without replacing every component.
Try:
- Better speaker placement
- A sturdier surface
- Isolation feet or pads
- A quality cleaning kit
- Protective sleeves
- A better cartridge
- An upgraded platter mat
- An external phono preamp
Make changes one at a time so you can hear the difference.
Creating an Attractive Vinyl Listening Corner
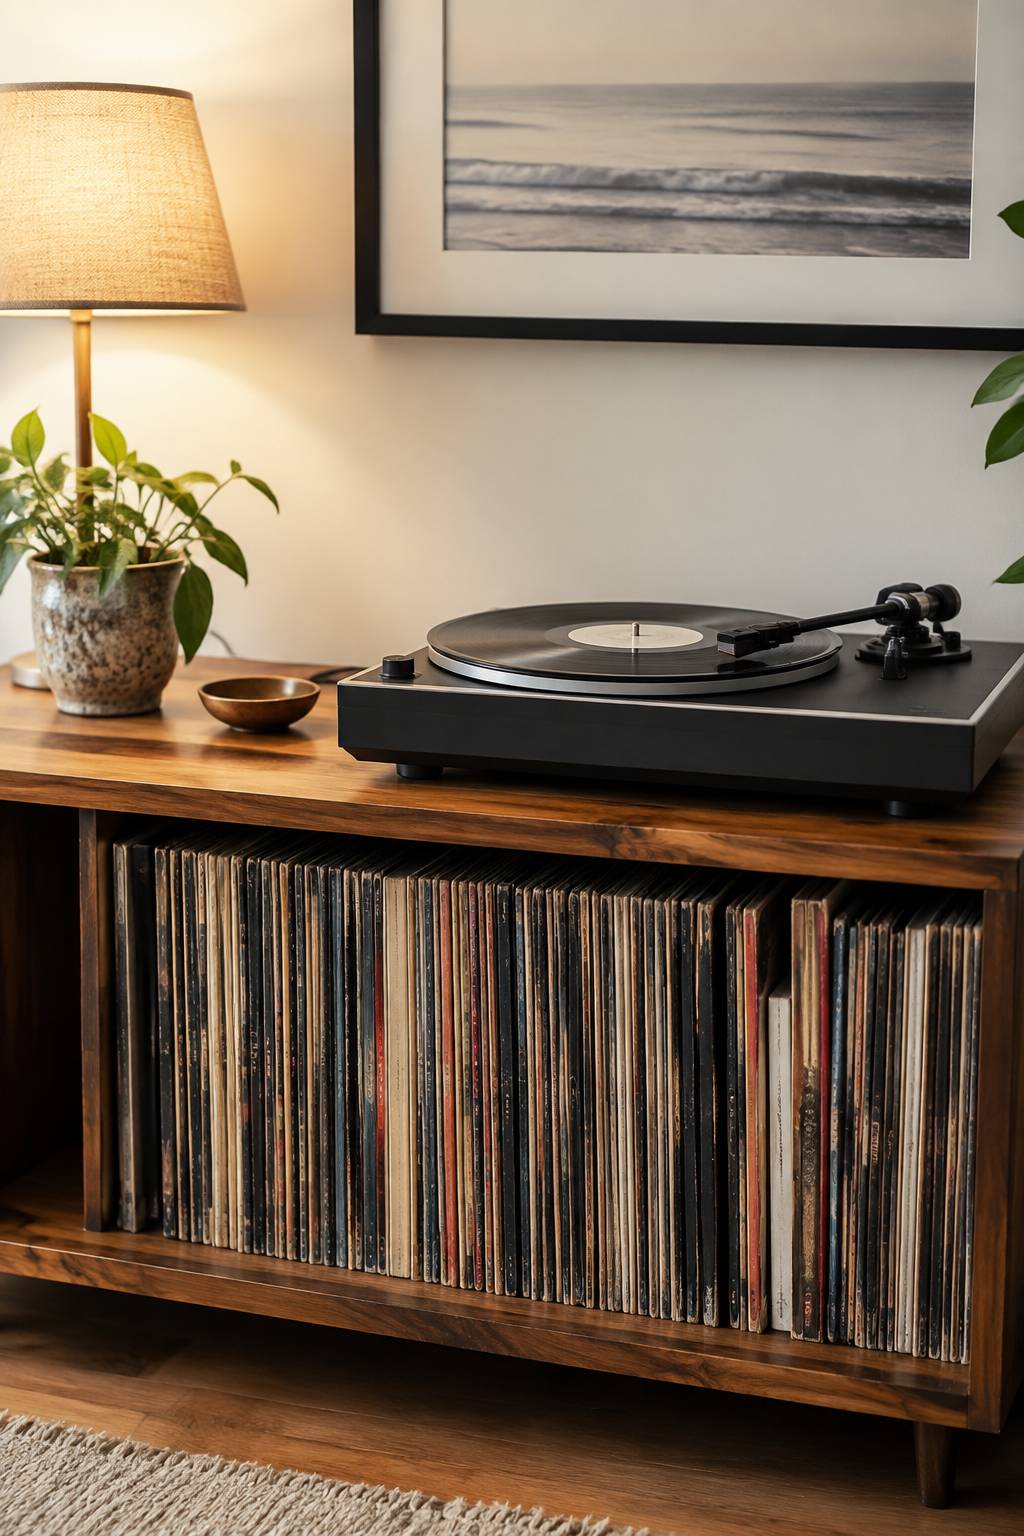
A record player setup can also become a stylish part of your home.Display a few favorite albums, add soft lighting and keep records within easy reach. Just avoid clutter and leave enough room for ventilation and cable management.
Frequently Asked Questions
Do I Need Speakers for a Record Player?
Yes, unless the record player has built-in speakers.
Do All Record Players Need a Preamp?
Yes, phono amplification is required, but it may already be built into the turntable or amplifier.
Can I Place a Record Player on the Floor?
No. A stable piece of furniture provides better protection from dust, vibrations and accidental damage.
Why Is My Record Player Humming?
Common causes include grounding issues, loose RCA cables and electrical interference.
Why Does My Record Keep Skipping?
Skipping is often caused by dust, poor tracking force, cartridge alignment problems, vibration or record damage.
Final Thoughts
A great record player setup is not about expensive equipment. It is about proper placement, correct adjustments and careful maintenance. A level turntable, balanced tonearm, suitable preamp connection and thoughtful speaker positioning can dramatically improve vinyl playback.Take your time with your record player setup, handle records carefully and enjoy the rich, immersive sound that makes vinyl listening so rewarding.