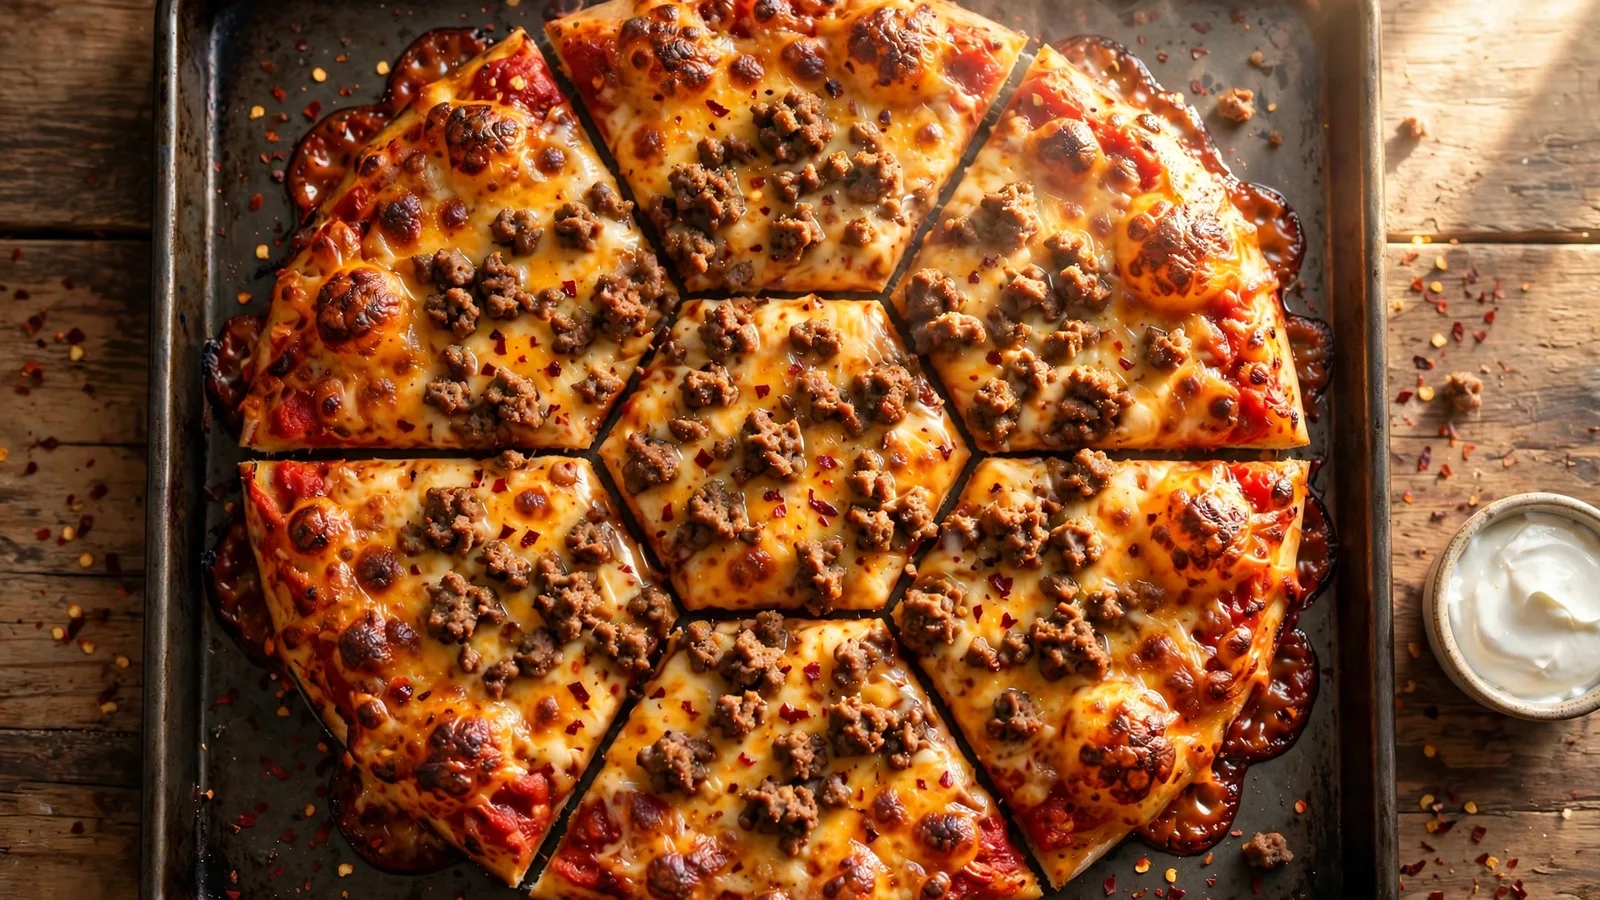
Fiestada pizza is the taco-seasoned beef pizza that showed up on US school lunch trays through the 80s, 90s, and 2000s. This copycat version recreates it at home: a thin soft sheet-pan crust, a tomato sauce spiced with cumin and a pinch of sugar, fine crumbles of taco-seasoned ground beef, and a double layer of melted cheddar. It bakes in about 45 minutes and serves six.
What Is a Fiestada Pizza?
A fiestada pizza is a cafeteria-style pizza topped with taco-seasoned ground beef, a cumin-spiced tomato sauce, and cheddar cheese on a soft, thin crust. The most famous version was Tony’s Fiestada, a foodservice product made by Schwan’s specifically for school lunch programs, with a cornmeal-fortified crust and zesty sauce. Home copycats replace the frozen product with fresh pizza dough and the same seasoning profile.
What Made the Original Fiestada Special
The original fiestada stood out from every other school lunch pizza because of a handful of specific details that every faithful copycat keeps:
- The hexagon cut. Fiestadas were cut into six hexagon slices instead of squares or triangles. It was the fastest way to spot one across the cafeteria.
- Sauce to the very edge. Unlike a regular pizza with its bare crust rim, the fiestada sauce was spread edge to edge across the whole crust.
- The sweet-spiced sauce. The sauce was not plain pizza sauce. It carried cumin, a pinch of sugar, a little coriander, and a knob of butter, giving it an enchilada-like warmth with a slightly sweet note.
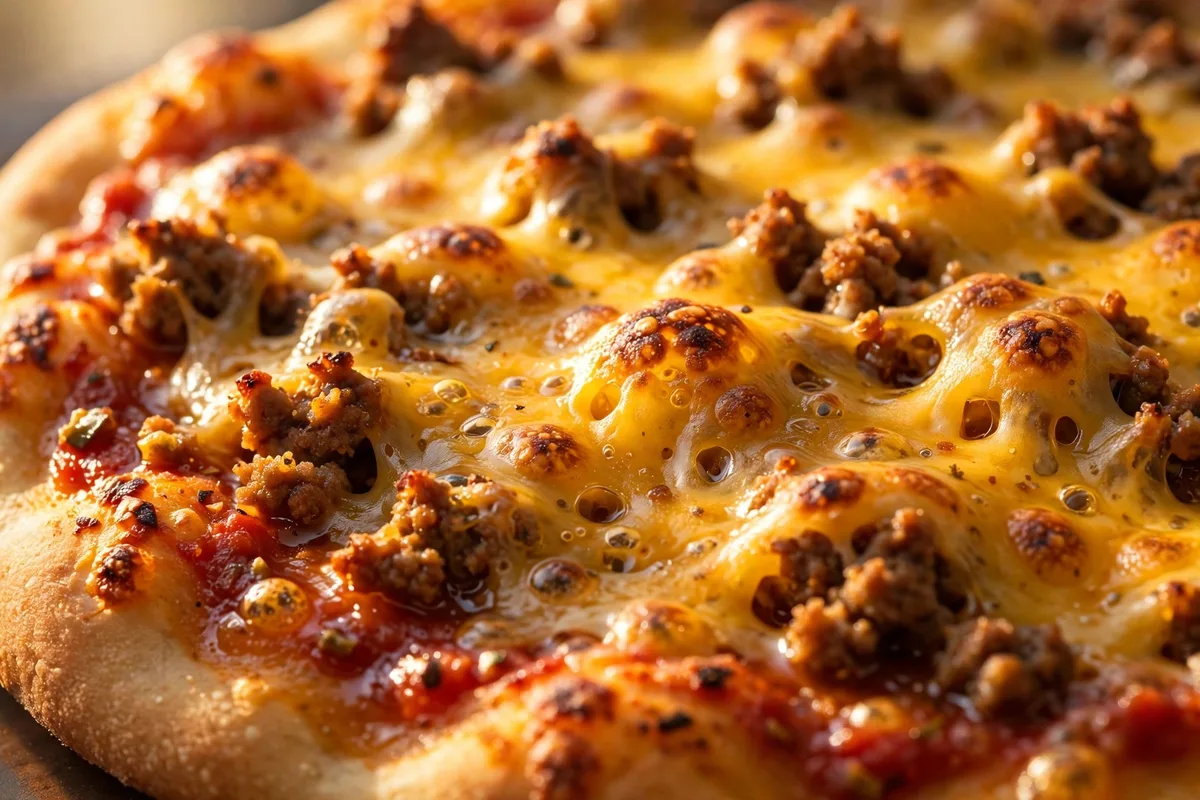
- Double cheese. Cheese went on first, then the beef, then more cheese on top, so the meat baked right into the melt.
- Soft, thin crust. The crust was thin and soft rather than puffy or crispy, and it was par-baked before topping so it stayed sturdy under the beef.
The whole thing was served plain, no toppings, and students famously blotted the top with a napkin before eating it. If you remember that grease-blotting ritual, you are thinking of the right pizza. For another blast from the cafeteria line, try corn nuggets, the other school-lunch copycat worth keeping in the rotation.
Fiestada Pizza Ingredients
One full sheet pan of this copycat uses simple grocery-store ingredients:
For the fiestada sauce
- 8 ounces tomato sauce (not pizza sauce)
- 1 tablespoon melted butter
- 1/2 teaspoon ground cumin
- 1/4 teaspoon ground coriander
- 1/4 teaspoon sugar
- Pinch of salt
For the topping
- 1 pound lean ground beef
- 1 packet (1.25 ounces) taco seasoning, or 2 1/2 tablespoons homemade
- 2 cups shredded mild or medium cheddar cheese, divided
For the crust
- 1 pound (about 13.8 ounces) prepared pizza dough, or a homemade dough from King Arthur Baking
- Olive oil spray or a little oil for the pan
Optional serving toppings: sliced green onions, pickled jalapeños, and sour cream or plain Greek yogurt.
How to Make Fiestada Pizza
Prep: 20 minutes | Cook: 25 minutes | Total: 45 minutes | Serves 6
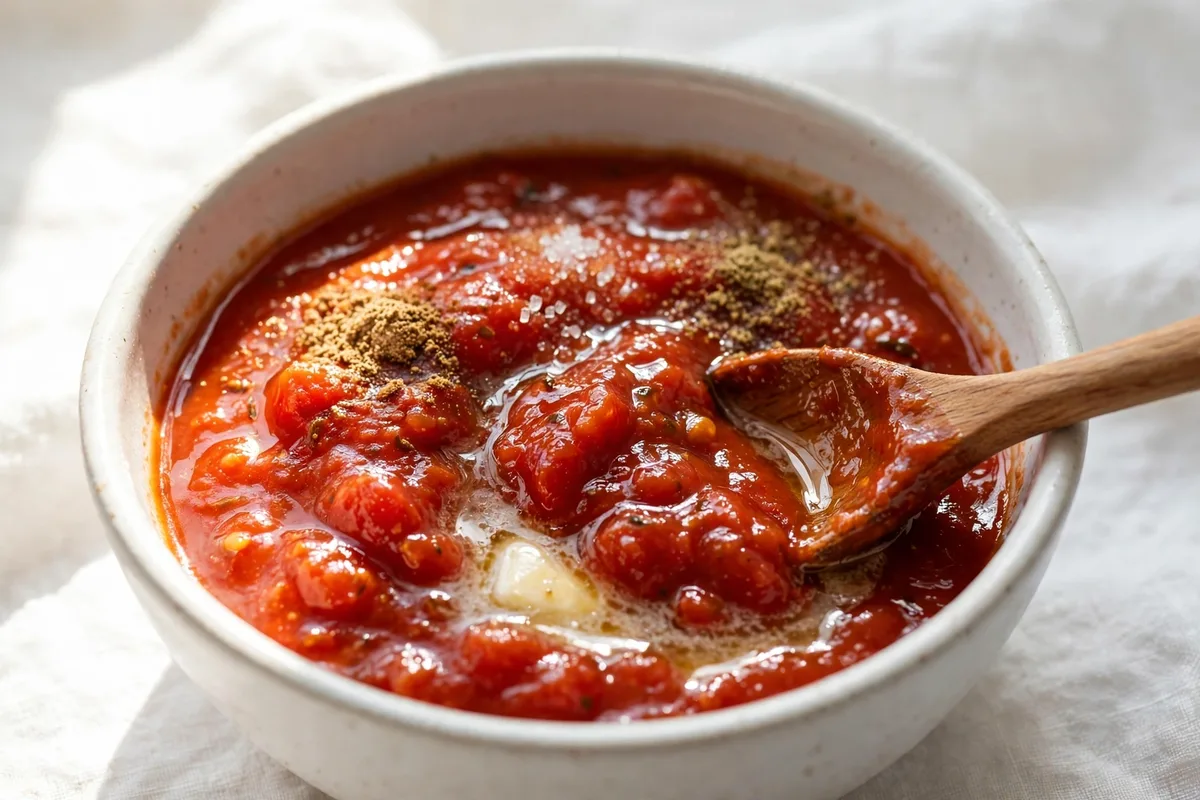
Step 1: Mix the fiestada sauce
Stir the tomato sauce, melted butter, cumin, coriander, sugar, and salt together in a small bowl until smooth. Set it aside. The butter and the pinch of sugar are what separate this sauce from ordinary pizza sauce, so do not skip either.
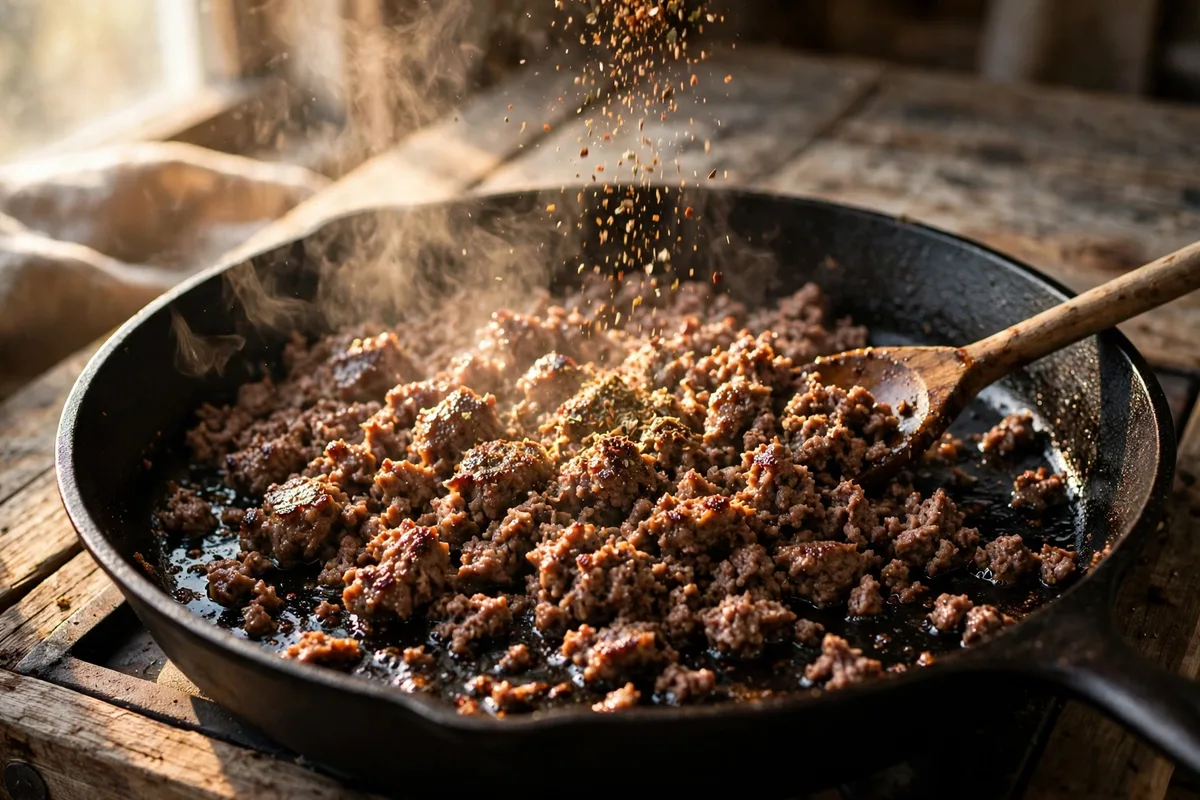
Step 2: Brown the beef
Heat a large skillet over medium-high heat. Crumble in the ground beef and cook, breaking it up with a wooden spoon, until it is browned all over and no pink remains, about 5 to 7 minutes. Drain off the fat and discard it.
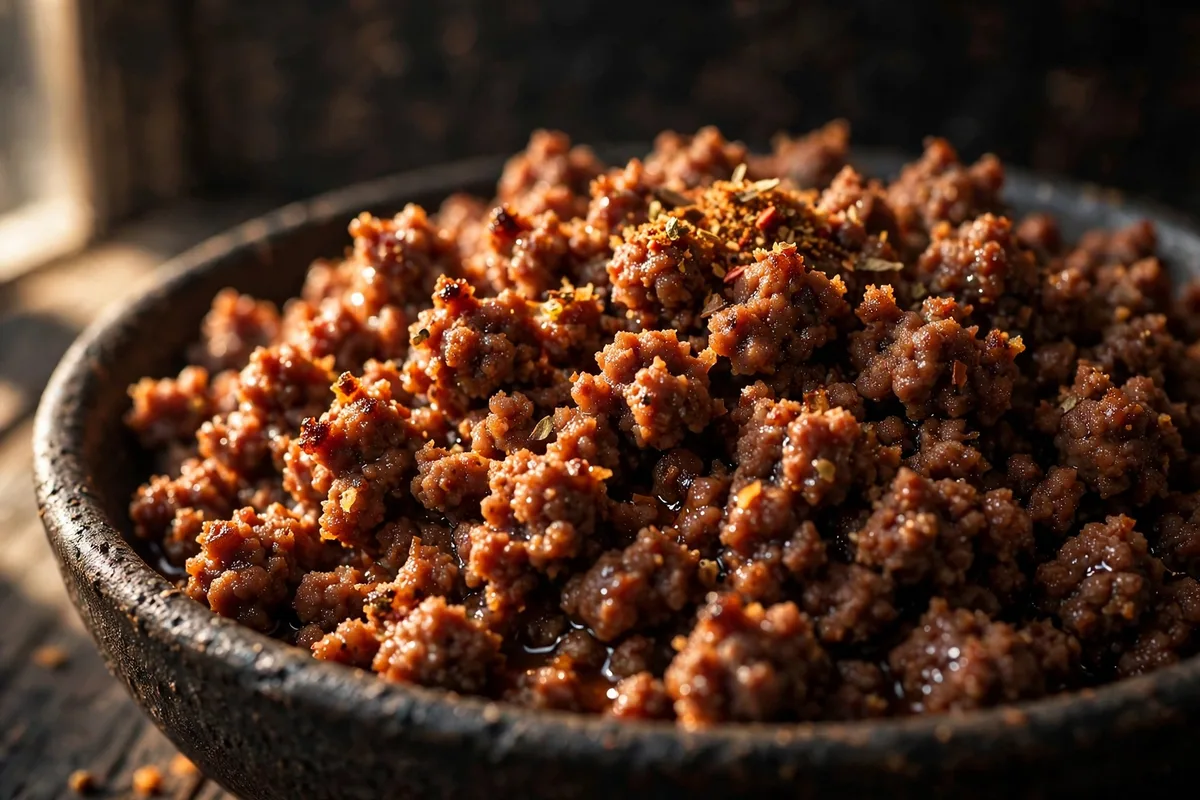
Step 3: Season the beef into fine crumbles
Sprinkle the taco seasoning over the beef and stir well, breaking the meat into small, even crumbles as you go. The original cafeteria fiestada used finely crumbled beef rather than big chunks, so take an extra minute here. This same well-seasoned beef base works in other family favorites, like our easy chili con carne.
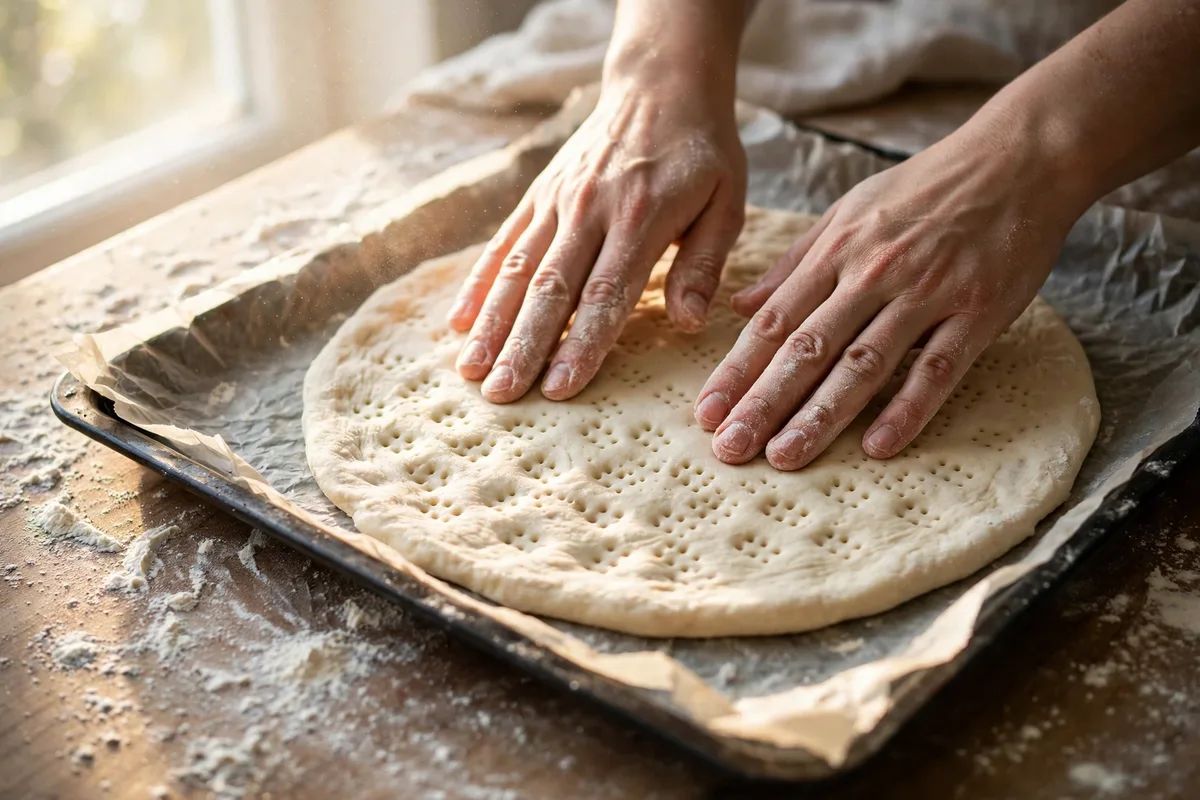
Step 4: Press the dough and par-bake the crust
Heat the oven to 450°F. Line a 10 x 15 1/2-inch sheet pan with parchment and press the pizza dough into an even, thin layer, right out to the edges of the pan. Prick the dough all over with a fork so it does not puff up. Bake for 3 minutes, then pull it out. This par-bake keeps the crust from turning soggy under the sauce and beef.
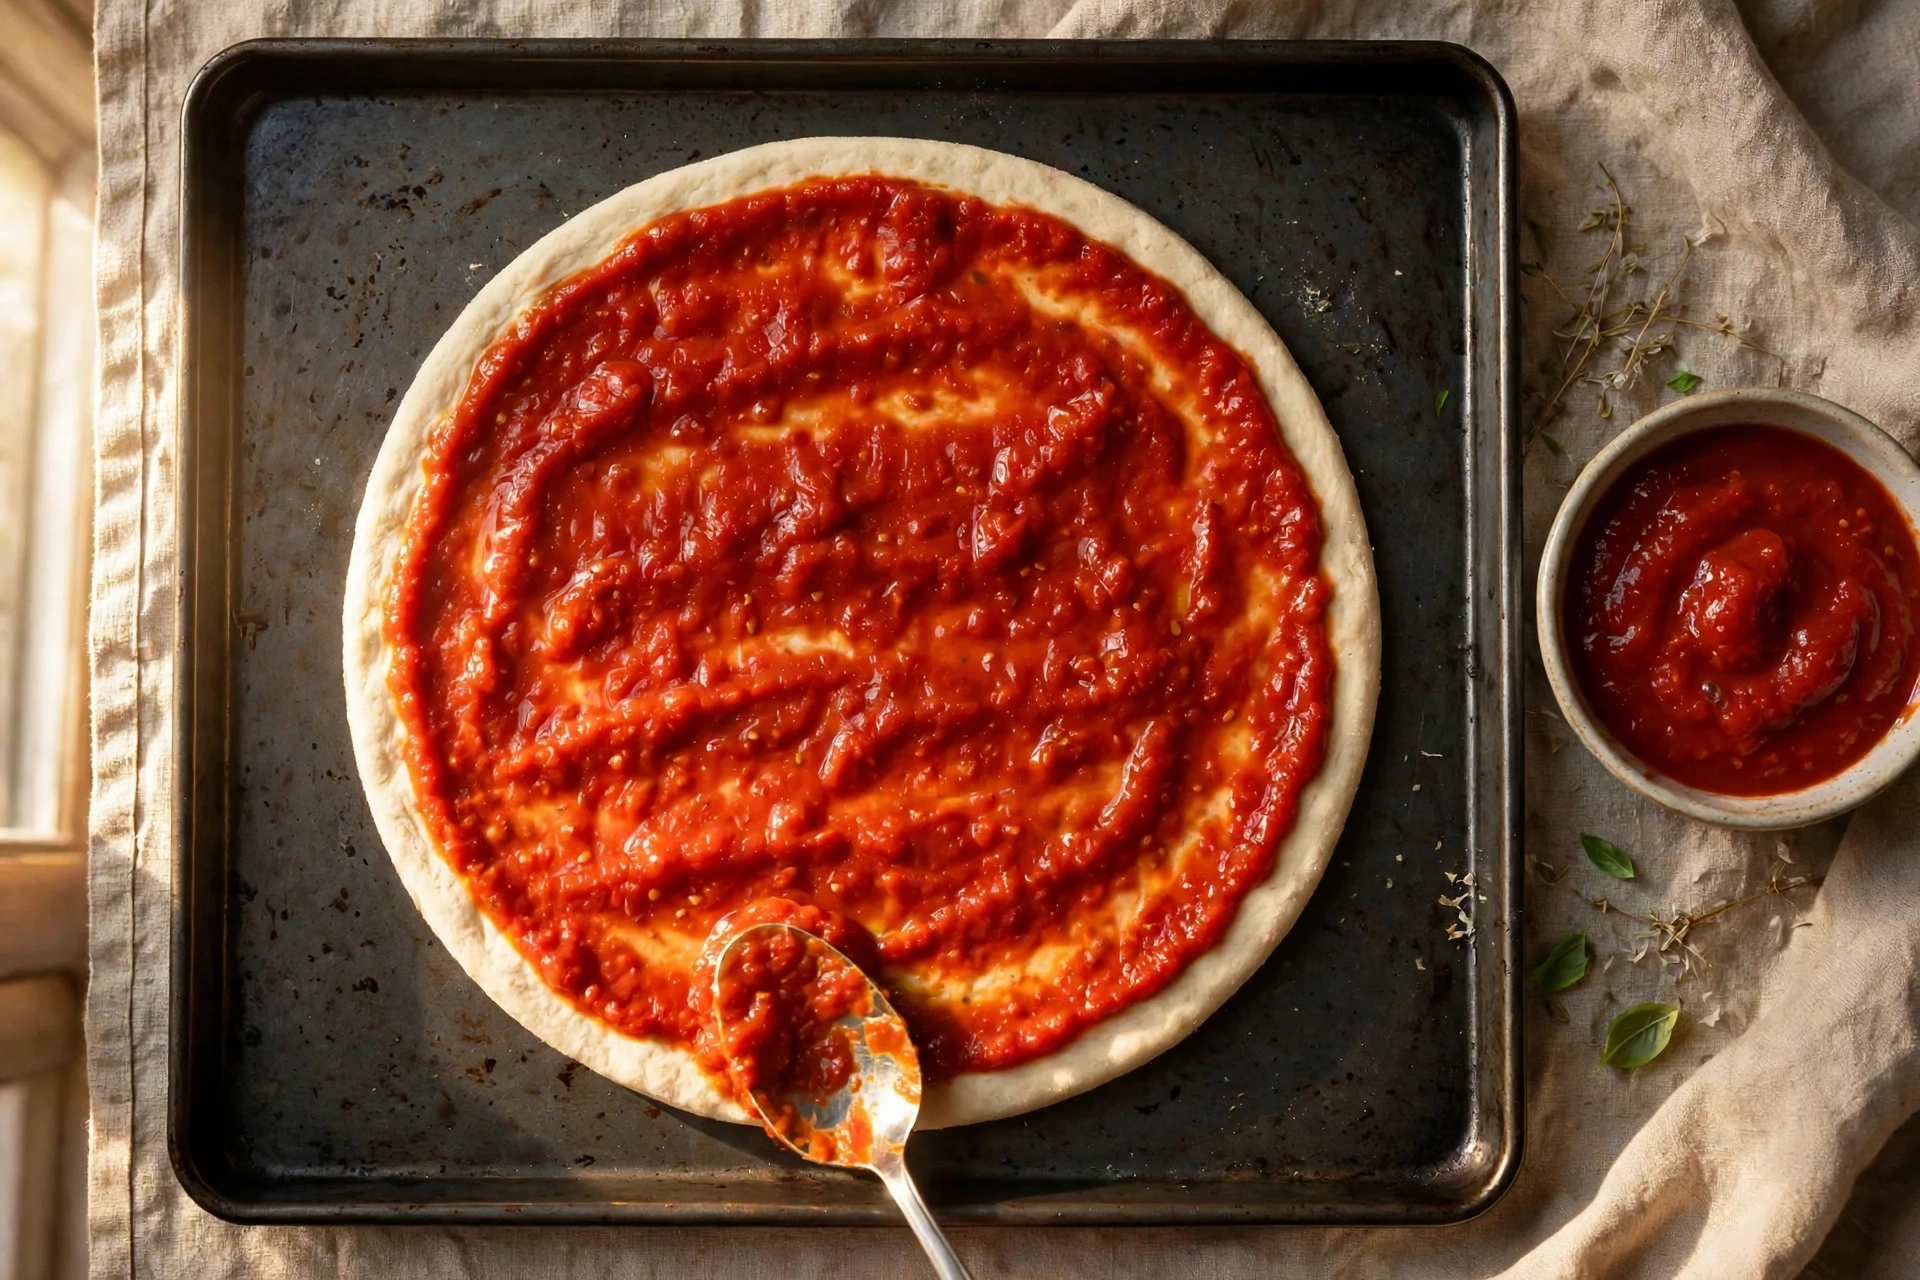
Step 5: Spread the sauce edge to edge
Spoon the fiestada sauce over the par-baked crust and spread it all the way to the edges, with no bare crust border. This is the signature move. A fiestada pizza with a sauce-free rim is just a taco pizza.
Step 6: Layer cheese, beef, and cheese
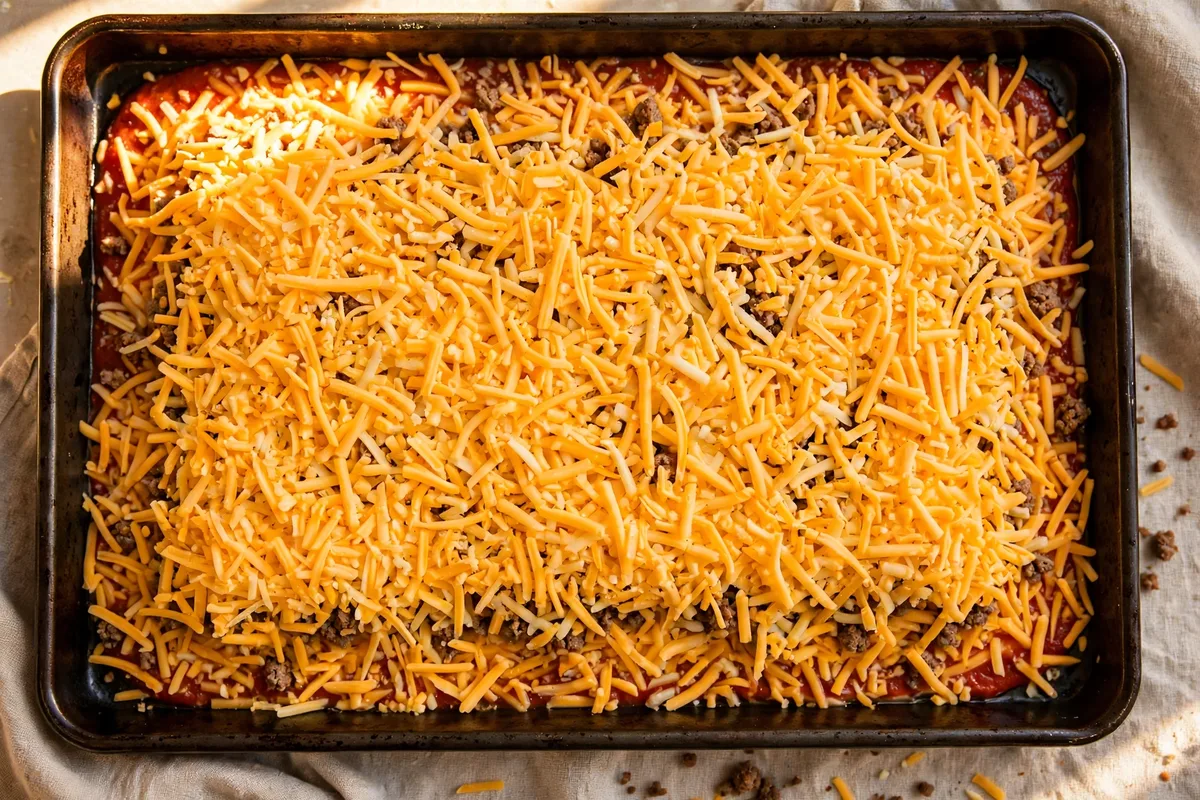
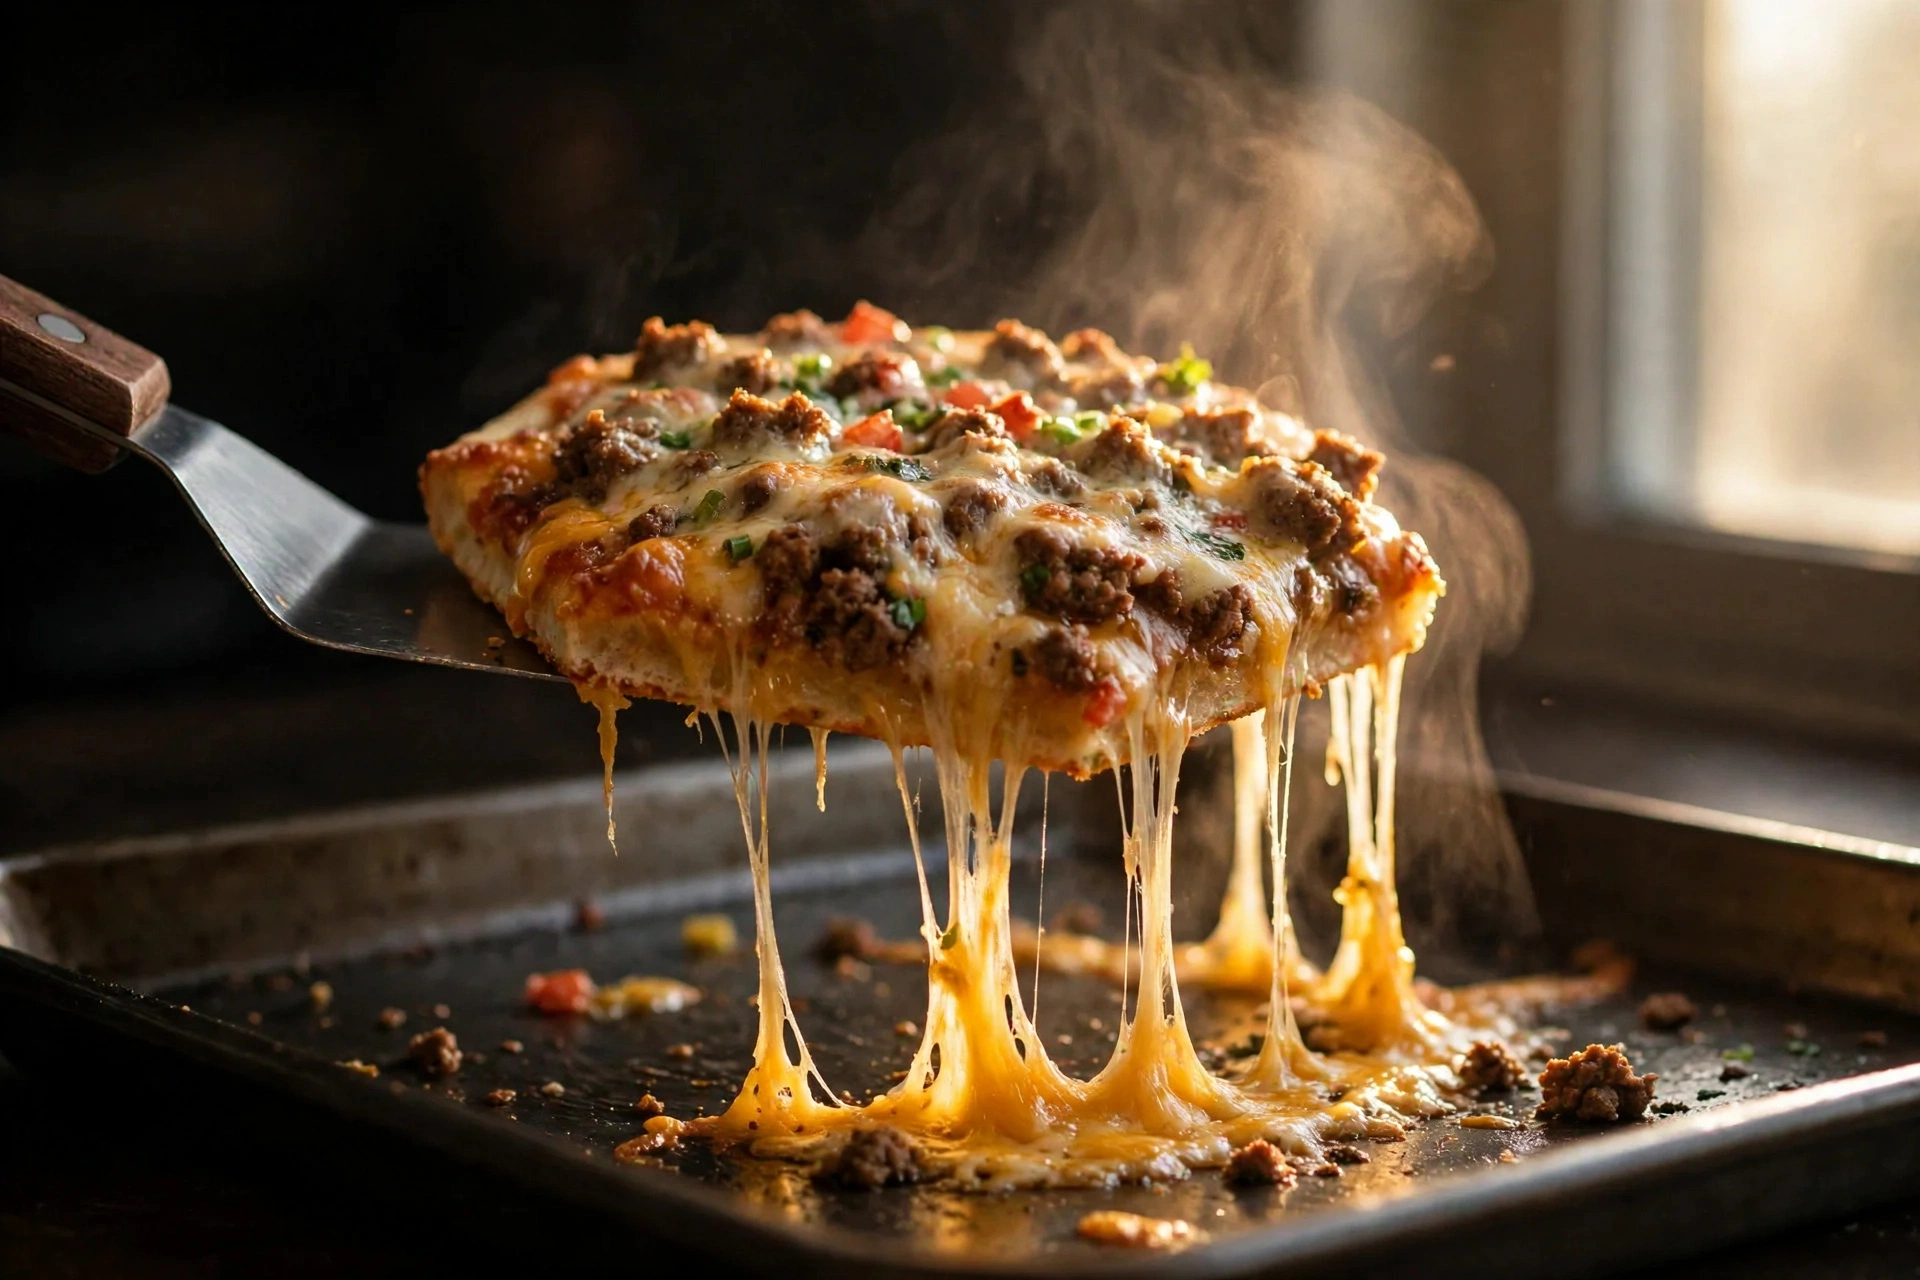
Sprinkle half the cheddar evenly over the sauce, scatter all of the seasoned beef over that, then blanket everything with the remaining cheddar. The beef baked between two layers of cheese is what makes each bite taste like the cafeteria original.
Step 7: Bake until bubbly
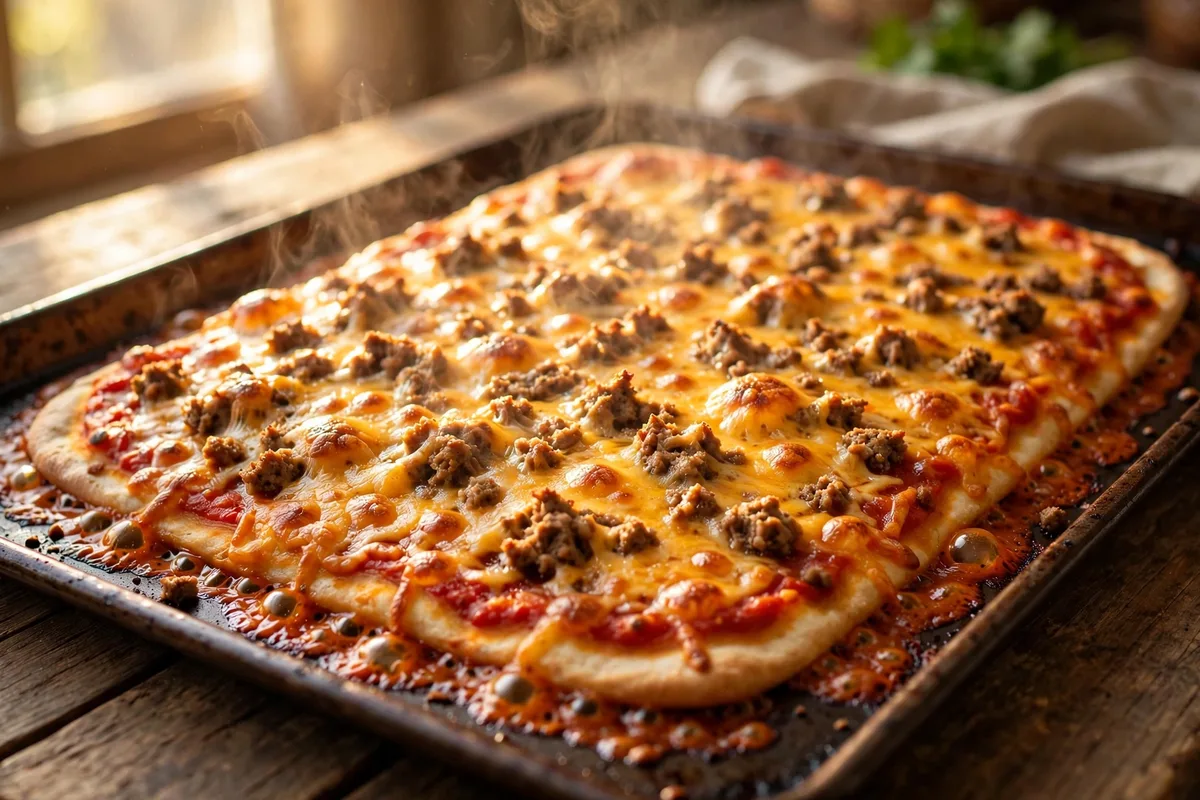
Bake on the lowest oven rack for 11 to 13 minutes, until the cheese is melted and starting to brown in spots and the crust is cooked through. The lowest rack gives the bottom of the crust the direct heat it needs to finish crisping.
Step 8: Rest and cut into hexagons
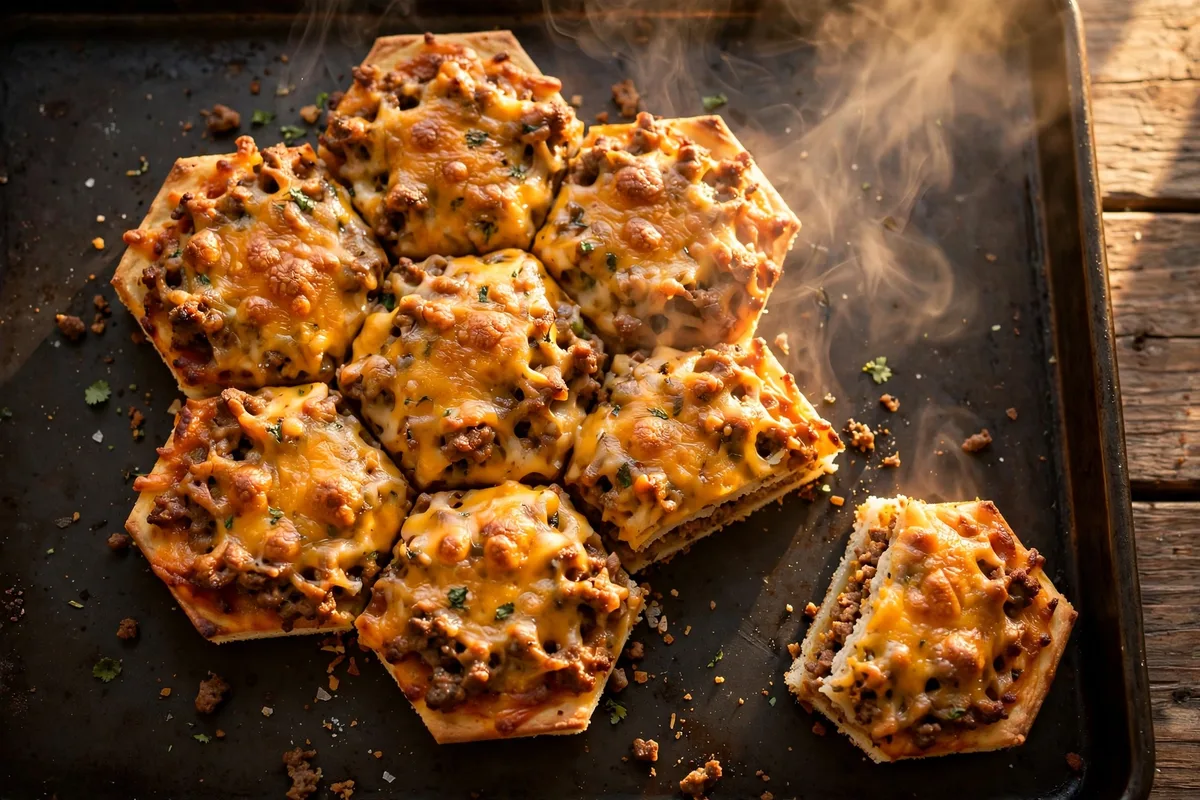
Let the pizza rest for 2 to 3 minutes, then cut it into 6 hexagon slices, the way it was served in school. Start with a vertical center cut, then angle your cuts to form the six-sided pieces. Any odd trim pieces are the cook’s snack.
Step 9: Serve
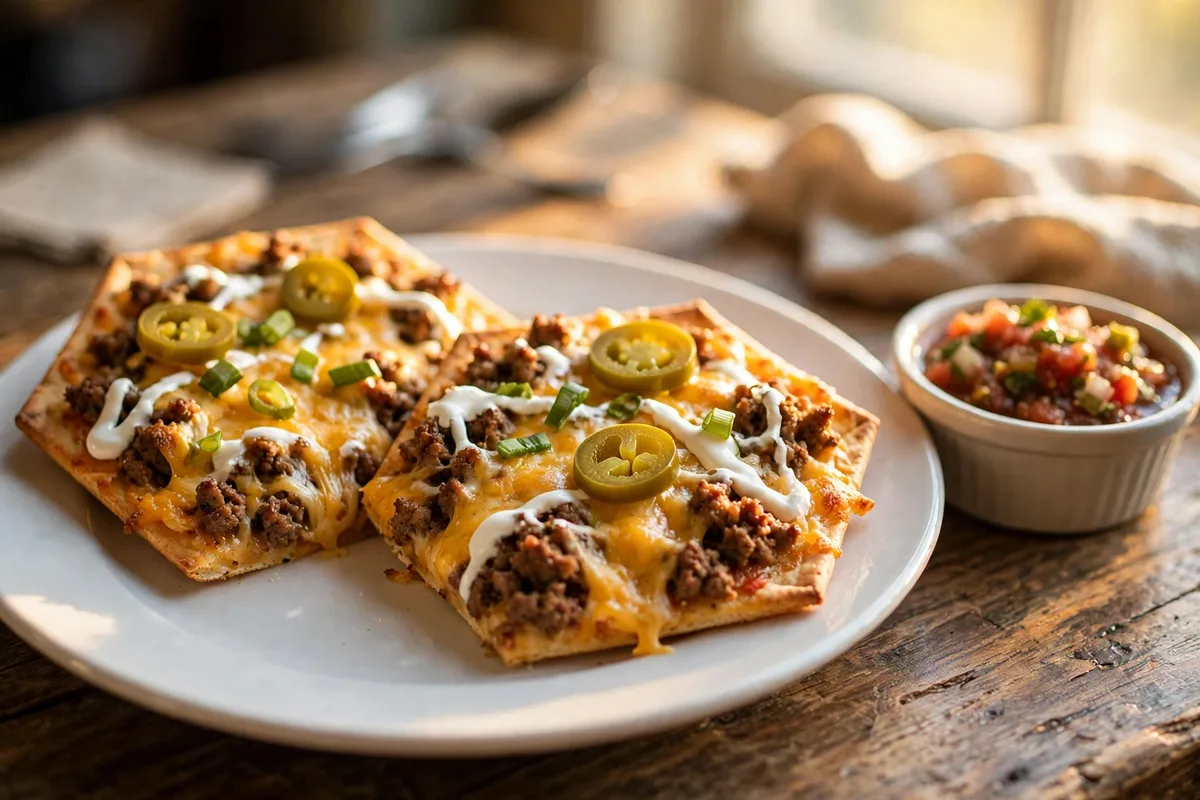
Serve the fiestada pizza hot, as is, the way the cafeteria did it. If you want the grown-up version, pass sliced green onions, pickled jalapeños, sour cream, and hot sauce at the table.
Tips for a True Cafeteria-Style Fiestada
- Shred your own cheddar. Pre-shredded cheese is coated to prevent clumping and does not melt into the same smooth blanket. A block of medium cheddar and a box grater make a visible difference.
- Keep the beef crumbles small. Break the meat down as it cooks so the topping is a fine, even layer. Big chunks roll off the slice.
- Do not skip the par-bake. Three minutes in a hot oven sets the crust so the sauce does not soak through.
- Sauce to the edges, every time. The edge-to-edge sauce is the single most recognizable fiestada detail. Leave a bare rim and it reads as ordinary taco pizza.
- Cut while hot, serve right away. The slices separate cleanly when the cheese is still soft, and the hexagon shapes hold together best warm.
Save this recipe for taco night
Pin this fiestada pizza recipe so it is waiting when the craving hits. One click keeps all the copycat details in one place.
How to Store and Reheat Leftovers
Refrigerate leftover slices in an airtight container for up to 4 days. Reheat at 375°F for 8 to 10 minutes, which brings the crust back and re-melts the cheese; the microwave works in a pinch but softens the crust. For longer storage, freeze baked slices between sheets of parchment in a freezer bag for up to 2 months, then reheat from frozen at 375°F for 12 to 15 minutes. Per-serving nutrition estimates are easy to sanity-check against the USDA FoodData Central database.
FAQs
What is on a fiestada pizza?
A fiestada pizza carries taco-seasoned ground beef, a tomato sauce spiced with cumin, coriander, a pinch of sugar, and butter, plus a double layer of cheddar cheese on a thin, soft crust. The sauce is spread edge to edge, and the finished pizza is cut into hexagon slices.
Why is fiestada pizza hexagonal?
The hexagon cut was how the cafeteria version was portioned. Six hexagon slices divided a sheet pan evenly, were easy for lunch staff to serve quickly, and looked different from every other school pizza. Home cooks keep the cut because it is the most recognizable fiestada detail.
Can you still buy Tony’s fiestada pizza?
Tony’s Fiestada is a foodservice product made by Schwan’s for schools and institutions, not something sold in regular grocery freezers. You can sometimes find it through restaurant-supply and bulk foodservice sellers, but the homemade copycat recipe above is the practical way to get it.
How do you store and reheat leftover fiestada pizza?
Keep leftovers in an airtight container in the fridge for up to 4 days and reheat at 375°F for 8 to 10 minutes to re-crisp the crust. Freeze baked slices for up to 2 months, separated by parchment, and reheat from frozen at 375°F for 12 to 15 minutes.
Did this taste like your school lunch?
Drop a comment and tell us which part took you straight back to the cafeteria line, the hexagon slices, the sweet-spiced sauce, or the grease-blotting napkin ritual. And keep the nostalgia going with these: