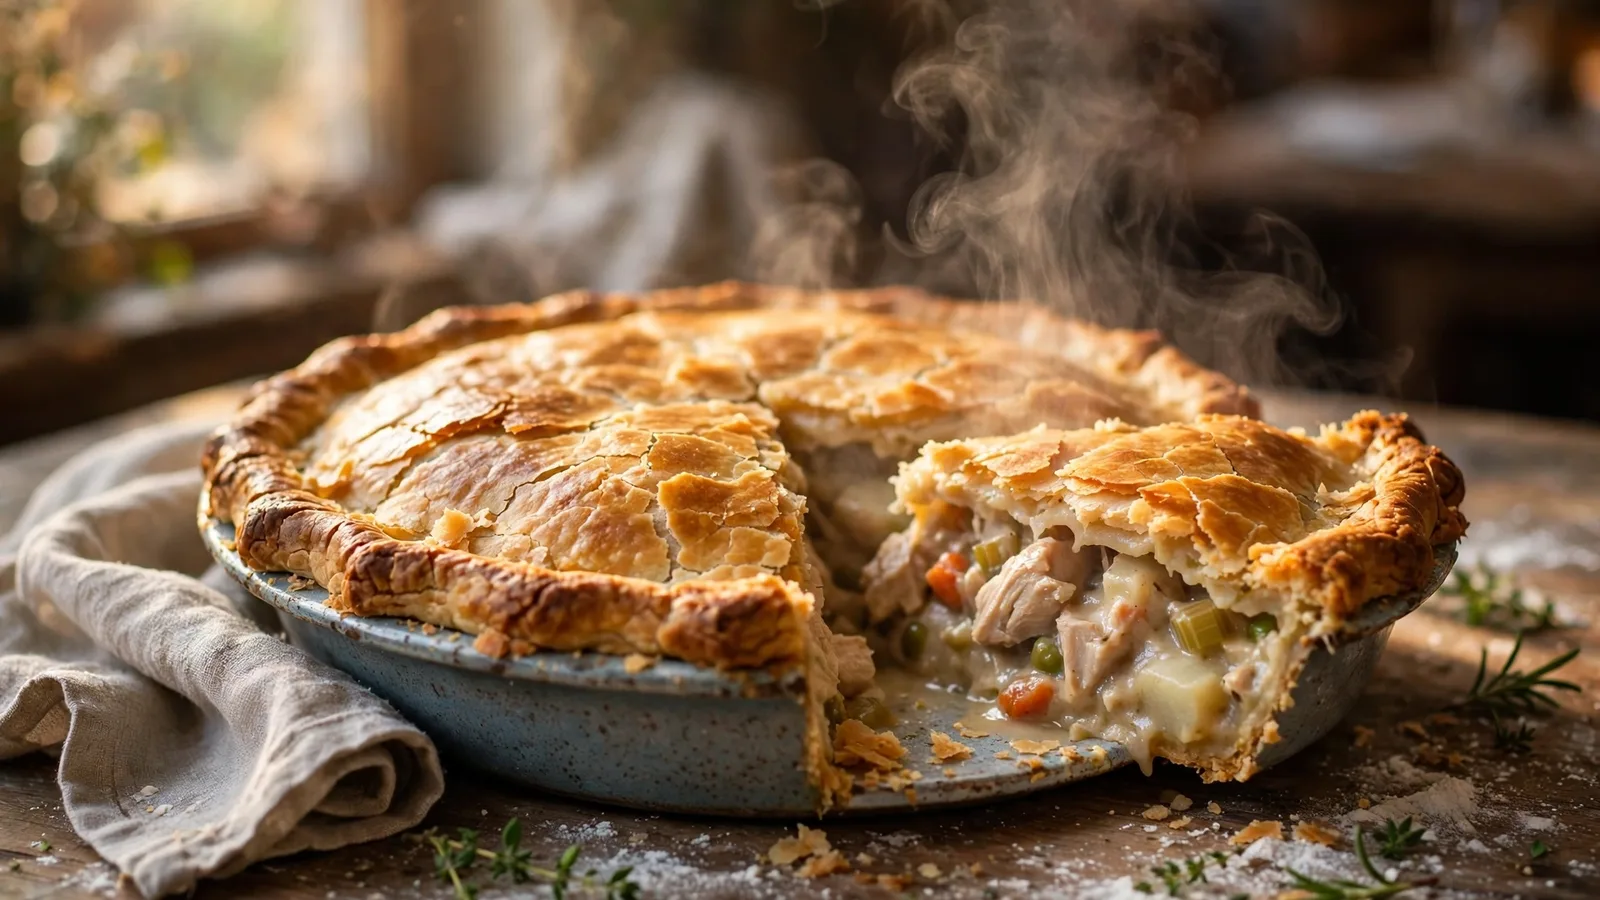
This chicken pot pie recipe delivers everything the classic promises: a deeply golden, shattering-flaky double crust wrapped around a creamy filling of tender chicken, carrots, celery, and peas. The filling starts with a butter-and-flour roux simmered into a thick, glossy sauce, and the method includes three specific fixes for the dreaded soggy bottom.
A homemade pie beats anything from the freezer aisle because you control the sauce thickness and the crust bake. It sits near the top of my comfort food recipes rotation — this chicken pot pie recipe needs one pan of filling and one pie dish, and it feeds the whole table with leftovers worth fighting over.
What You’ll Need for This Chicken Pot Pie Recipe
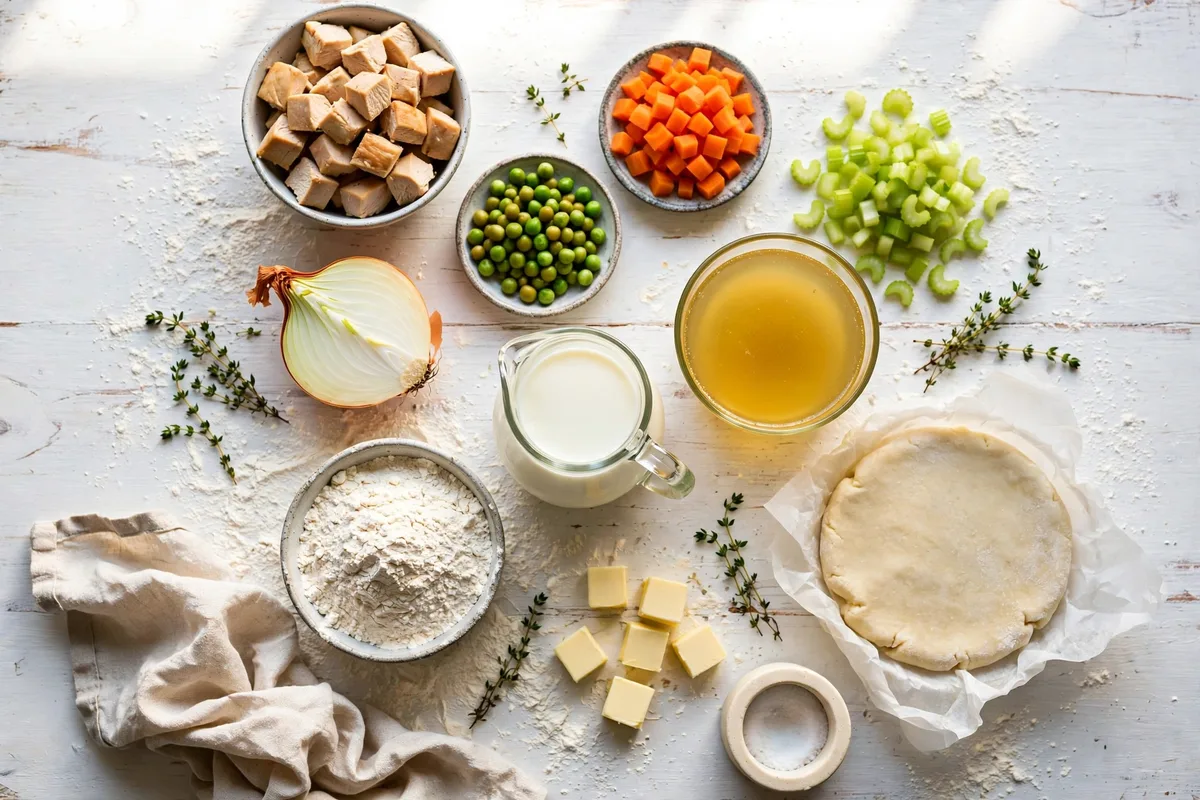
Everything here is a standard grocery run. Rotisserie chicken is the best shortcut, and store-bought crust works if you keep it cold so the butter layers stay intact. Look up exact nutrition numbers in the USDA FoodData Central database.
Filling
- 1/4 cup unsalted butter
- 1 cup diced yellow onion (about 1/2 large onion)
- 1 cup diced carrots (about 2 medium)
- 1/2 cup diced celery (about 1 stalk)
- 3 garlic cloves, minced
- 1/3 cup all-purpose flour
- 1 3/4 cups warm chicken broth
- 1/2 cup warm heavy cream (or whole milk for a lighter sauce)
- 2 teaspoons chopped fresh thyme (or 1/2 teaspoon dried)
- 1 teaspoon kosher salt
- 1/2 teaspoon freshly ground black pepper
- 3 cups cooked shredded chicken (about 1 rotisserie chicken)
- 1 cup frozen peas
Crust and finish
- 2 pie crusts, homemade or store-bought (one 14-ounce package)
- 1 large egg beaten with 1 tablespoon milk, for the egg wash
How to Make Chicken Pot Pie
Ten steps stand between you and a bubbling, golden pie: build the creamy sauce, cool it, wrap it in crust, and bake hot first, then gentler. A good chicken pot pie recipe keeps the filling slightly thicker than looks right — the sauce loosens in the oven.
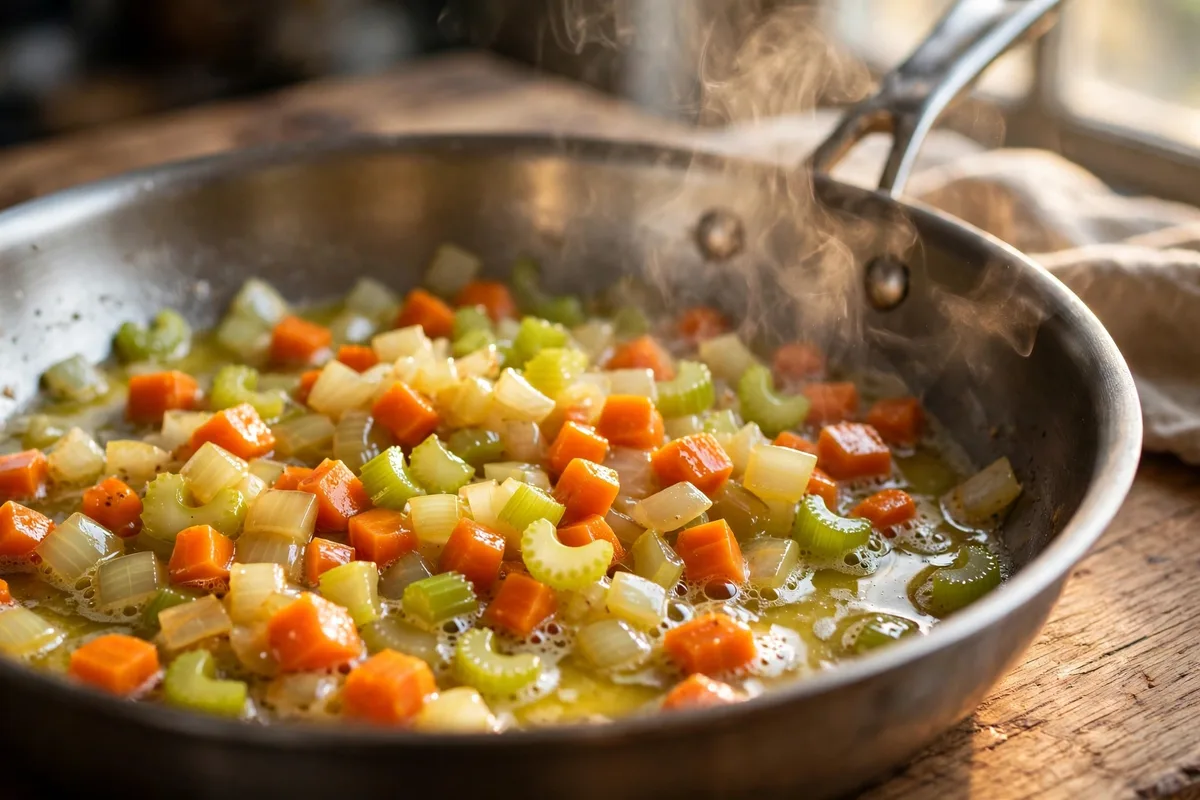
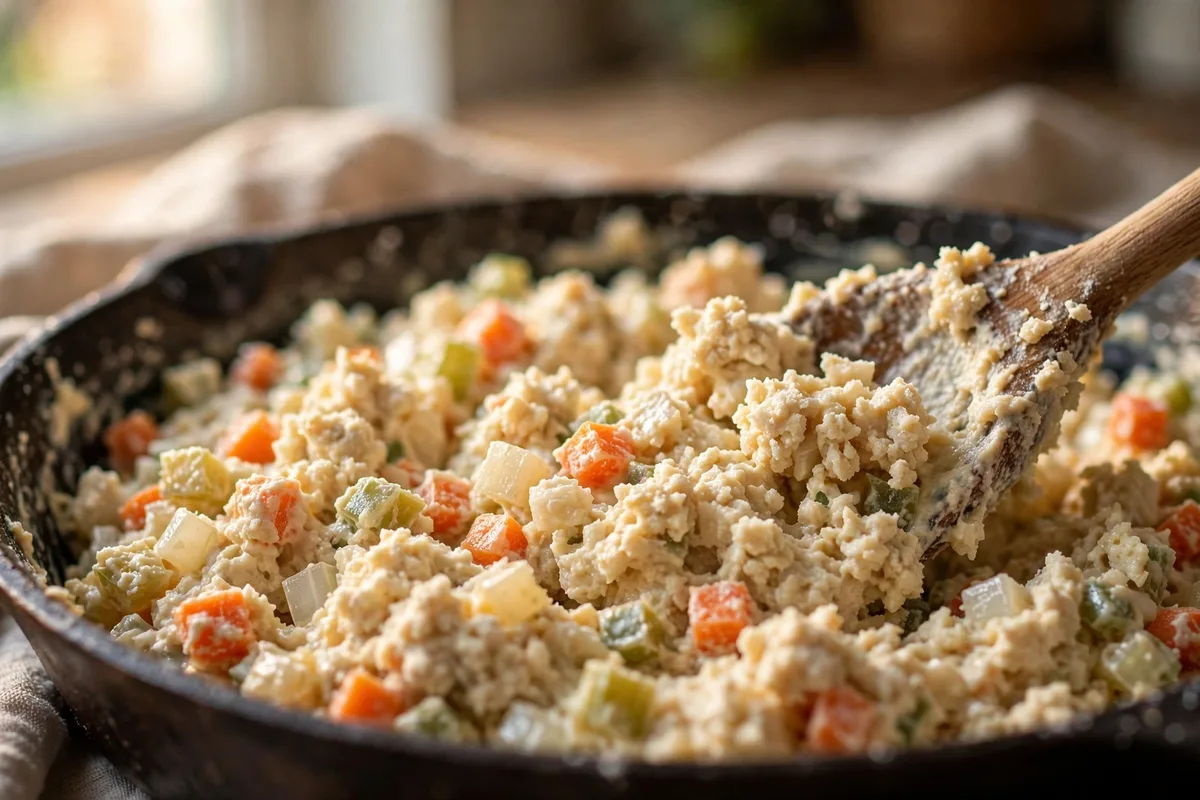
- Sauté the vegetables. Melt the butter in a large skillet over medium-high heat, add the onion, carrots, celery, and garlic, and cook about 5 minutes, stirring often, until the carrots just start to soften. Do not brown them.

- Make the roux. Sprinkle the flour over the vegetables and stir constantly for 2 full minutes to cook out the raw flour taste — skipping this is how runny fillings happen.
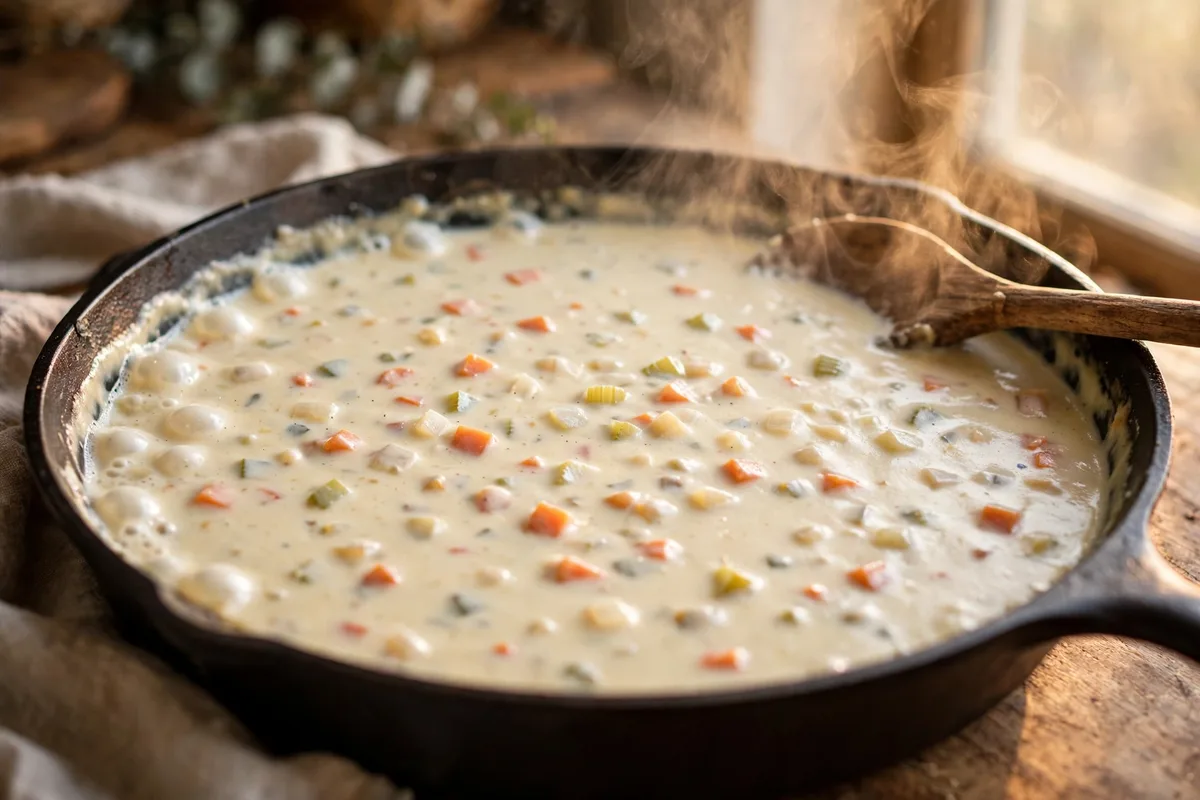
- Whisk in the liquids. While stirring, slowly pour in the warm broth, then the warm cream — warm liquids blend in without lumps. Add the thyme, salt, and pepper, reduce to low, and simmer about 5 minutes until the sauce thickly coats a spoon.
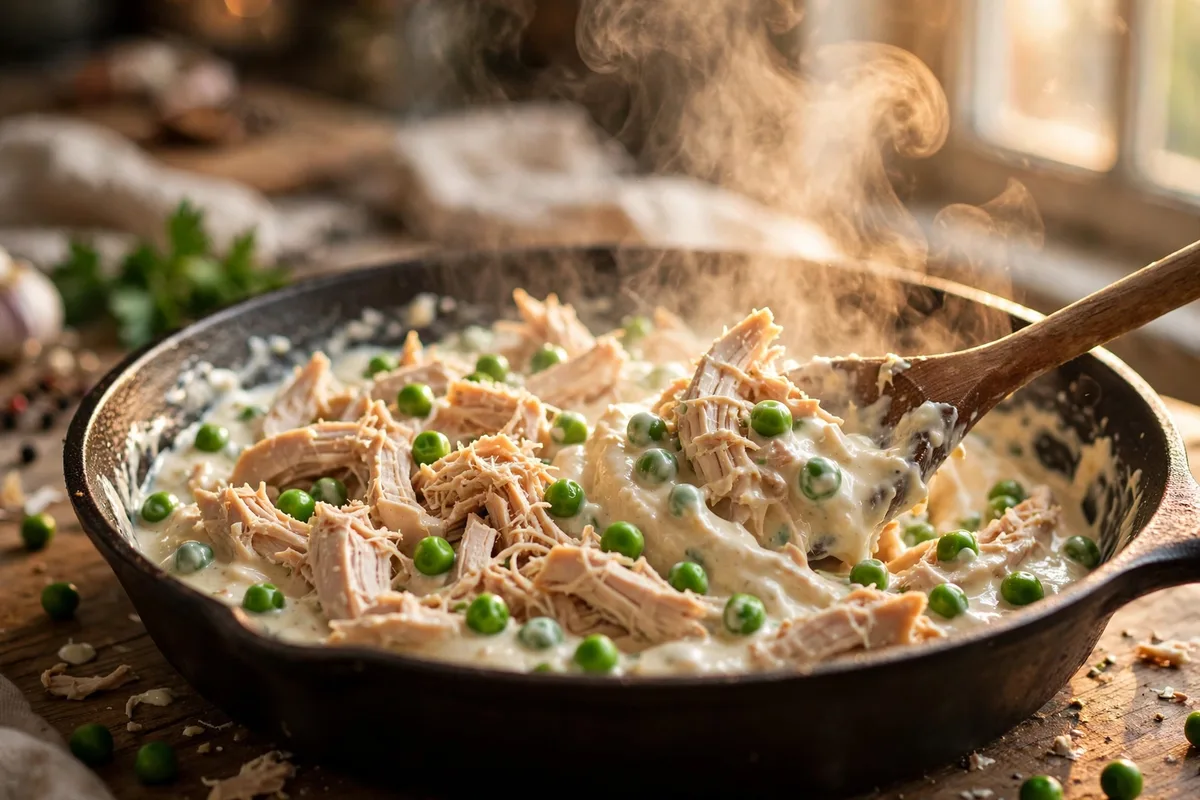
- Add the chicken and peas, then cool. Stir in the shredded chicken and peas and remove from the heat. Transfer to a bowl and cool 20 minutes — hot filling melts the crust’s butter and is the number one cause of a soggy bottom in any chicken pot pie recipe.
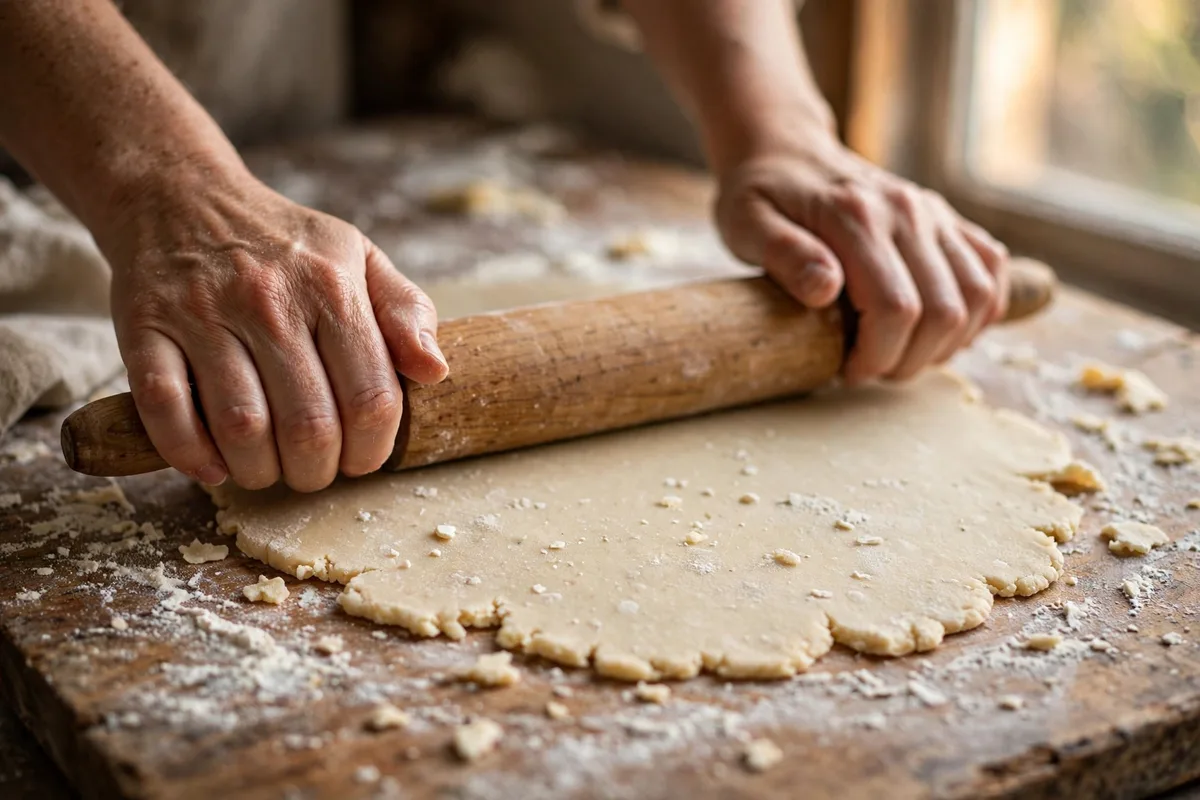
- Roll the bottom crust. While the filling cools, heat the oven to 425°F (220°C). Roll one pie crust into a 12-inch circle on a lightly floured surface, then fit it into a deep 9-inch pie pan, pressing into the corners and up the sides with the excess hanging over.
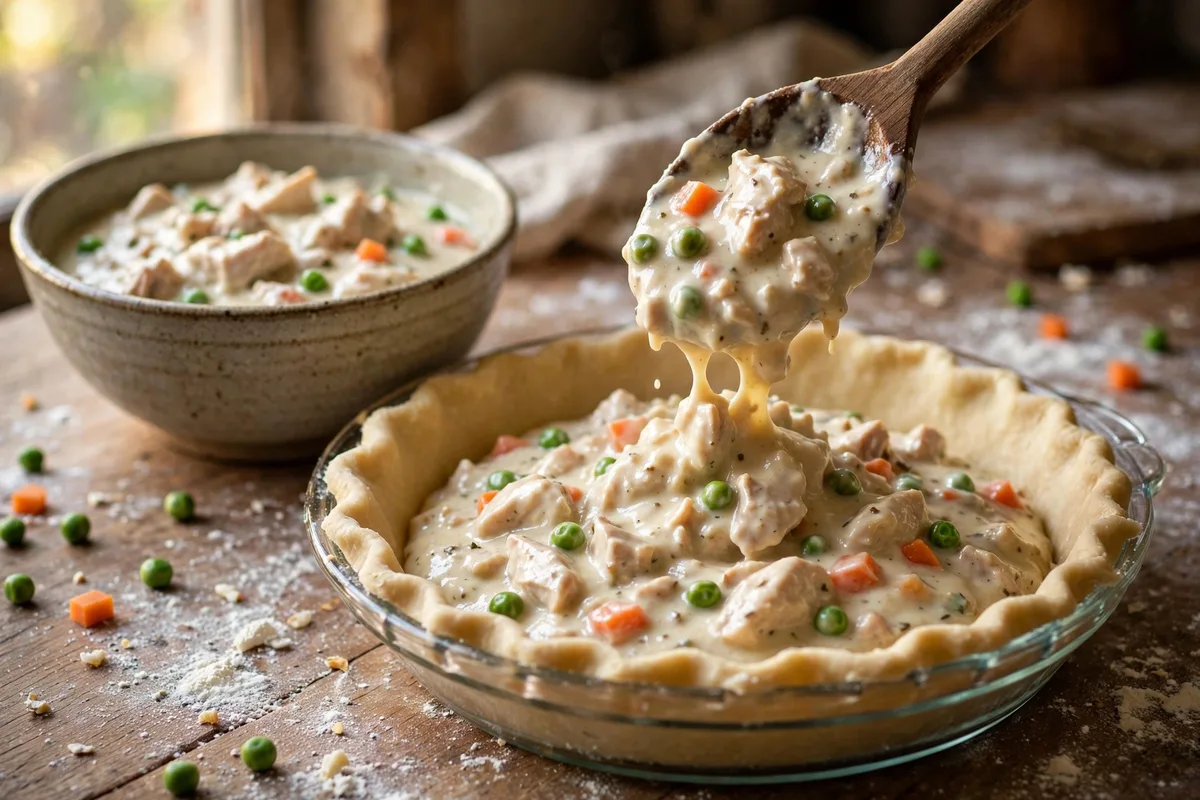
- Fill the crust. Spoon the cooled filling into the lined dish in an even layer. Do not overfill — it needs headroom to bubble without spilling over.
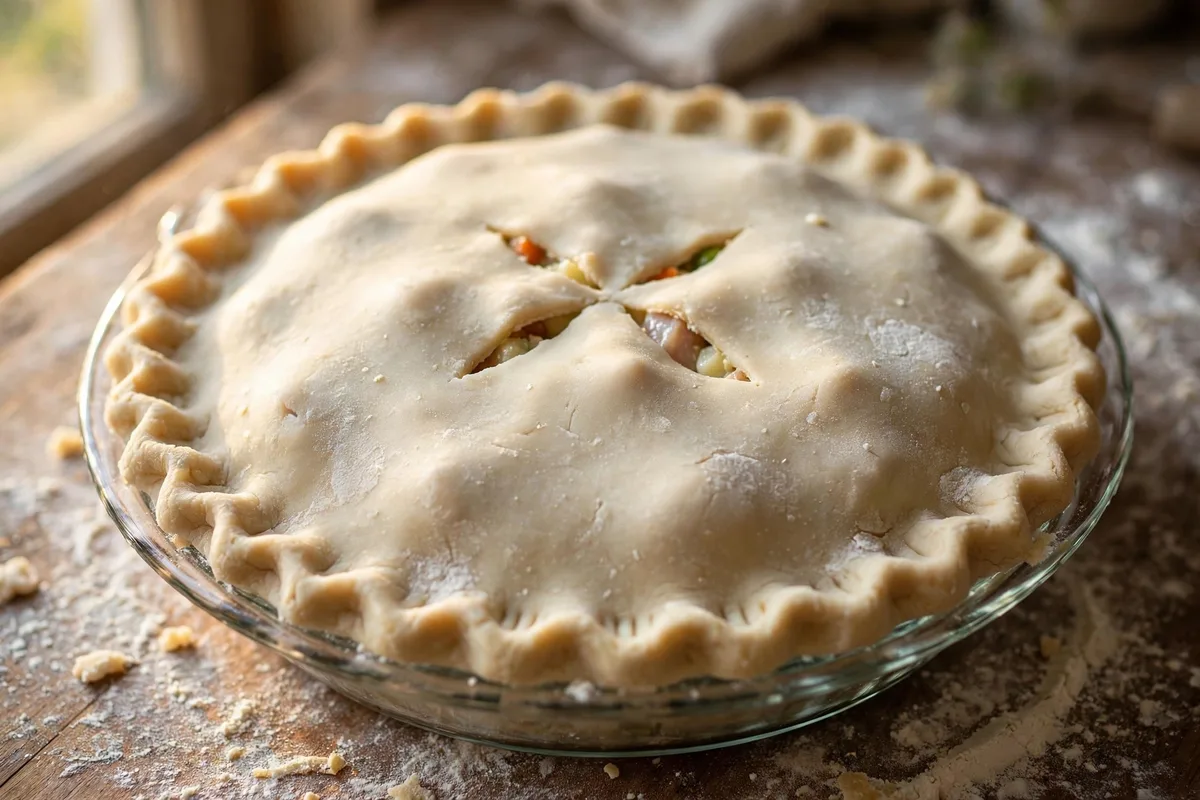
- Top, seal, and vent. Roll the second crust into an 11-inch circle and lay it over the filling. Trim to a 1-inch overhang, tuck the edge under, and crimp. Cut 4 or 5 small slits in the top so steam escapes instead of turning the crust gummy.
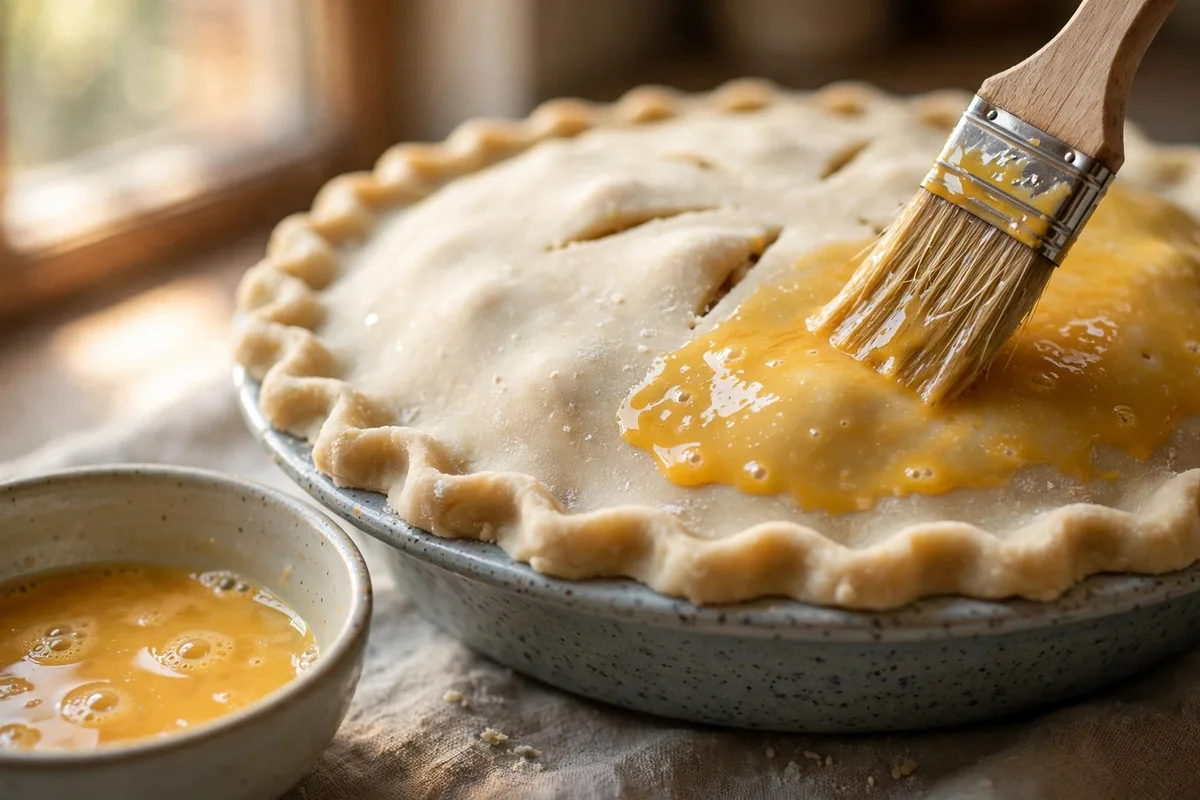
- Brush with egg wash. Brush the beaten egg and milk all over the top crust and crimped edge for a glossy, bakery-style golden finish.
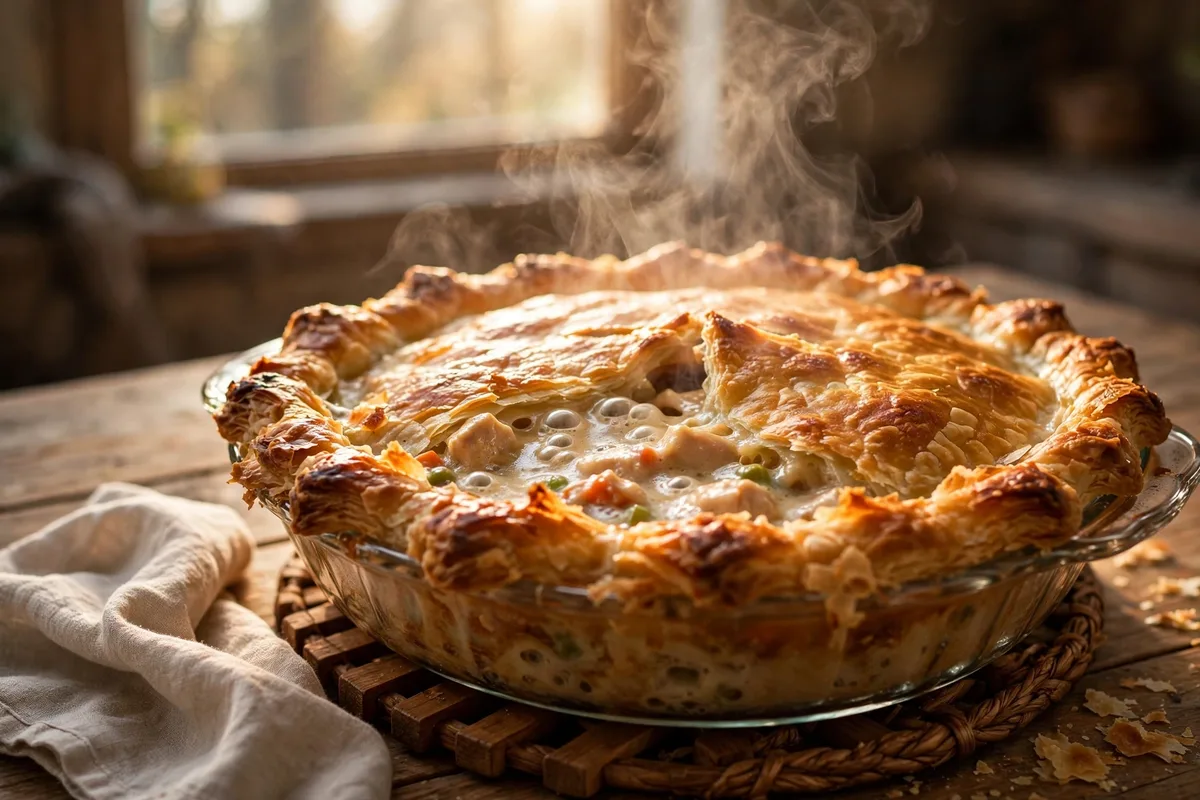
- Bake in two stages. Set the pie on a rimmed baking sheet. Bake at 425°F for 20 minutes, then reduce to 350°F (175°C) and bake about 40 minutes more, until deep golden and bubbling through the vents. — the same hot-blast-then-gentle approach as Preppy Kitchen’s chicken pot pie recipe.
- Rest, then slice. Rest the pie 20 minutes before cutting. The filling is molten straight from the oven — slice early and it runs all over the plate.
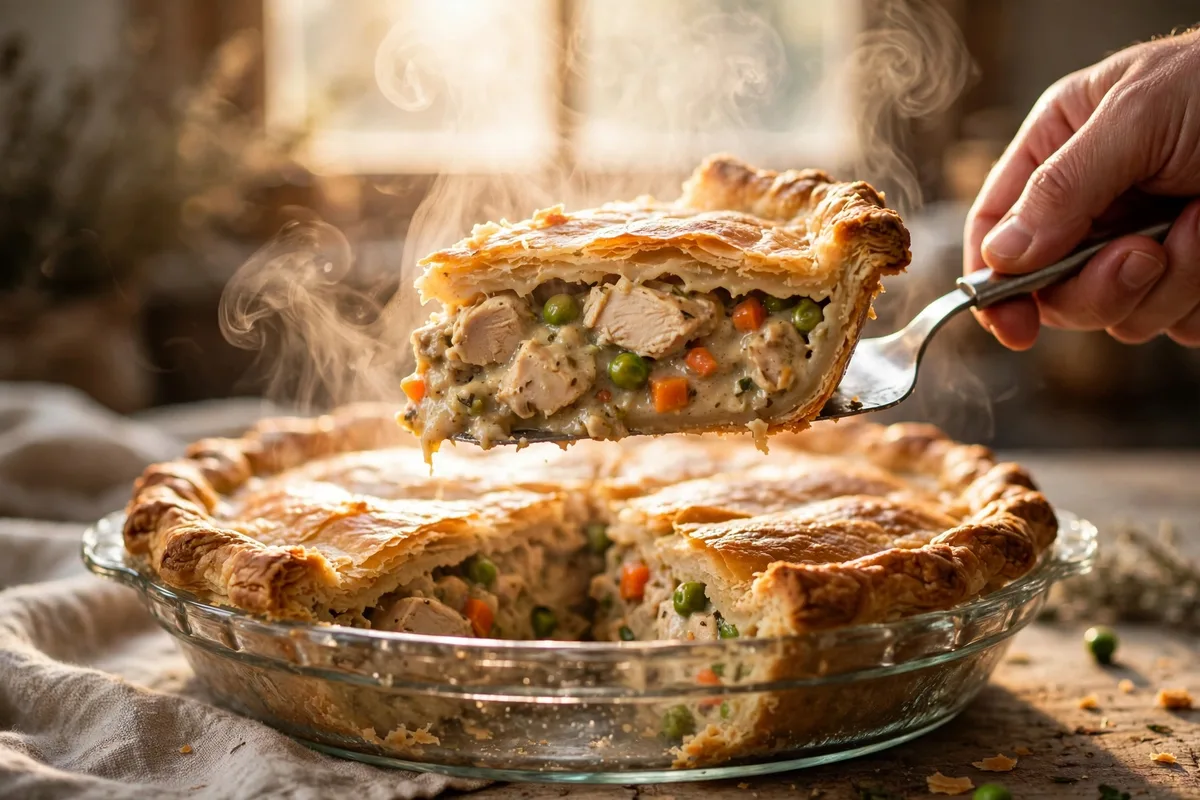
Why Does My Chicken Pot Pie Get a Soggy Bottom?
A chicken pot pie gets a soggy bottom when hot filling melts the crust’s butter before baking, or when the base never gets hot enough to set. Fix it with a three-part routine: cool the filling 20 minutes, bake on the bottom-third rack, and bake until deeply golden — pale means underbaked.
Beyond that routine, these extra moves make any chicken pot pie recipe practically bulletproof against a soggy base:
- Blind-bake the bottom crust first. Prick it with a fork and bake 10 minutes at 400°F before filling — the set base resists soaking.
- Paint on a moisture barrier. Brush the fitted crust with beaten egg white and bake 5 minutes — a thin protein seal against the sauce.
- Use a glass or ceramic dish on a preheated baking sheet. The sheet drives heat straight into the base, and glass lets you peek underneath to confirm browning.
- Bake boldly. A light-tan crust is underbaked. Wait for a deep, even gold across the whole top.
The single most effective habit is also the easiest: never pour hot filling into raw crust. Those 20 minutes of cooling cost nothing and save the whole pie.
Chicken Pot Pie Troubleshooting: Runny Filling, Pale Crust & More
Even a solid chicken pot pie recipe can go sideways. Here is how to fix the four most common failures.
Runny filling
The sauce did not simmer long enough. Before adding the chicken, cook it until it thickly coats a spoon — a finger drawn through should leave a clear trail. If the finished filling still looks loose, whisk 1 teaspoon of cornstarch into 1 tablespoon of cold water and stir it in. The 20-minute rest after baking firms it up further.
Pale, soft crust
Two causes, two fixes. First, do not skip the egg wash — the beaten egg with milk is what browns a chicken pot pie recipe to that glossy gold. Second, give the pie its full bake time on the lower oven rack. If the top is brown but the bottom is blonde, your rack sits too high.
Edges burning before the center is done
Shield the crimped edge with aluminum foil strips for the last 15 to 20 minutes. The foil reflects heat off the thin edge while the thicker center of this chicken pot pie recipe keeps cooking. Plan for it instead of fighting it.
Filling bubbling over the rim
Cut generous steam vents and always set the pie dish on a rimmed baking sheet. If boil-overs keep happening, you are overfilling — leave a half inch of headroom between the filling and the rim next time.
📌 Save this recipe for later
Pin this chicken pot pie recipe to your Comfort Food board for busy weeknights.
Can I Make Chicken Pot Pie Ahead of Time?
Yes — this chicken pot pie recipe is make-ahead friendly. The filling keeps 1 day in the fridge in an airtight container, and homemade dough keeps 3 days (or 6 months frozen). Assemble just before baking. You can also freeze the whole unbaked pie for 2 to 3 months; thaw overnight in the fridge, then bake as directed.
Wrap a freezer-bound pie in plastic wrap and then foil — the double layer prevents freezer burn. Bake from thawed, adding 5 to 10 minutes if it goes in chilly. Baked leftovers keep 4 days in the fridge: cool completely, wrap in foil, and reheat at 350°F, tented, about 30 minutes until the center reaches 160°F — one of the easiest winter recipes to keep on rotation.
What to Serve With Chicken Pot Pie
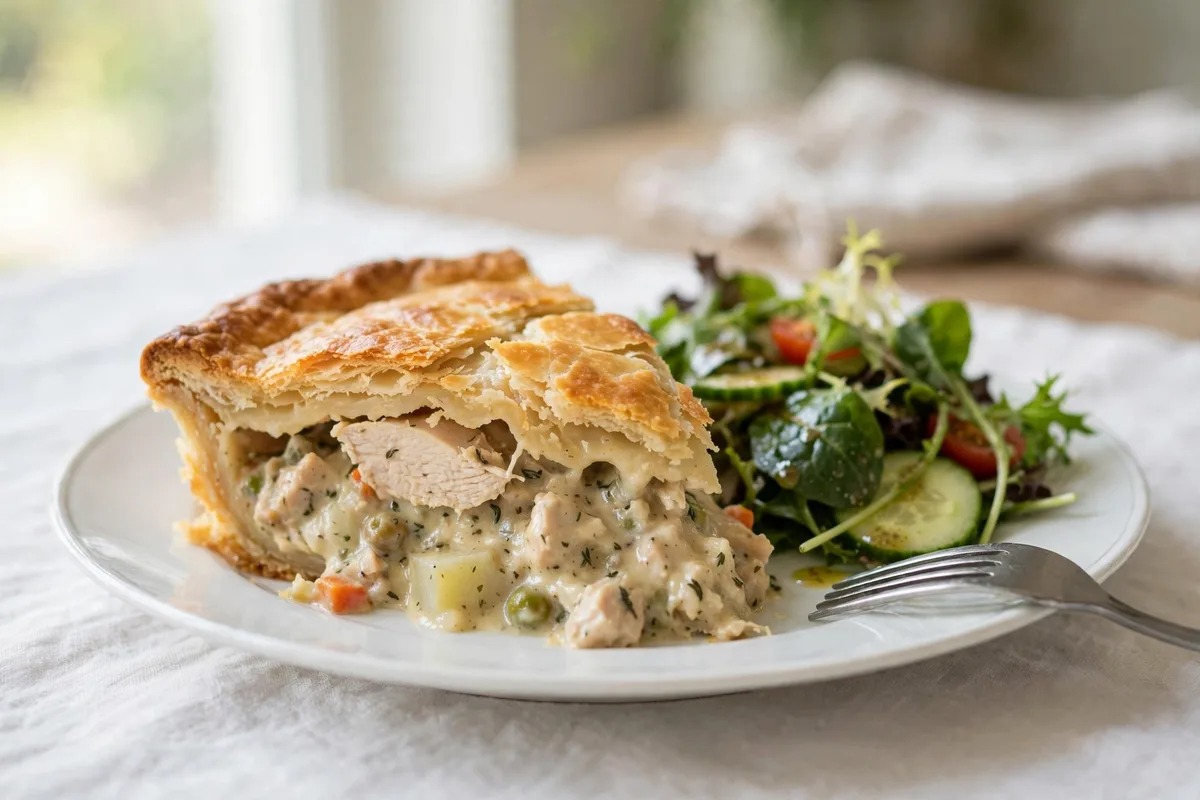
The pie is a full meal on its own, but a crisp, acidic side cuts the richness — a simple green salad with vinaigrette is the classic pairing with this chicken pot pie recipe. For the next night, our chicken noodle soup recipes make a lighter follow-up, and the full soup recipes collection has more one-bowl comforts for cold evenings.
FAQs
How do I keep the bottom crust from getting soggy?
Cool the filling 20 minutes before it goes into the crust — hot filling melts the butter in the dough and guarantees a soggy base. Bake on the oven’s bottom-third rack so the base gets direct heat, and bake until the crust is deep golden, not pale. For extra insurance, blind-bake the bottom crust 10 minutes at 400°F first.
How do I thicken the filling if it’s too runny?
Simmer the sauce a few minutes longer until it thickly coats a spoon — in this chicken pot pie recipe, a runny filling usually just needs more time on the heat. If it is still loose, stir in a slurry of 1 teaspoon cornstarch and 1 tablespoon cold water. It firms up further as the pie rests.
Can I use frozen vegetables instead of fresh?
Yes. Frozen peas go straight into the filling without thawing. If you swap in other frozen vegetables like corn or green beans, thaw and pat them dry first so the extra water does not thin the sauce. Stir delicate vegetables like spinach in at the very end so they do not overcook into mush.
Can I make chicken pot pie ahead of time?
Yes — this chicken pot pie recipe handles the wait well. Assemble the whole pie up to 24 hours ahead, cover, and refrigerate; add 5 to 10 minutes to the bake time. Or freeze it unbaked for up to 3 months, wrapped in plastic and foil, then thaw overnight in the fridge and bake as directed.
How do I know when the pie is done baking?
Look for a deep golden-brown crust with the filling visibly bubbling through the steam vents — those bubbles mean the center is hot. For certainty, slip an instant-read thermometer through a vent into the center; it should read 165°F. Then rest the pie 20 minutes so the creamy filling sets before slicing.
Thick sauce, cool filling, bold bake — this chicken pot pie recipe lands a shattering crust and a filling that holds its slice every time.
💬 Your turn — how did your crust turn out?
Flaky and golden, or did you hit a soggy spot? Tell me in the comments — I read every one, and your fix might help the next baker.
Keep cooking:
- Easy Comfort Food Recipes — weeknight-friendly classics
- Chicken Noodle Soup Recipes — cozy bowls for cold nights
- Comfort Food Recipes — the full cozy collection