
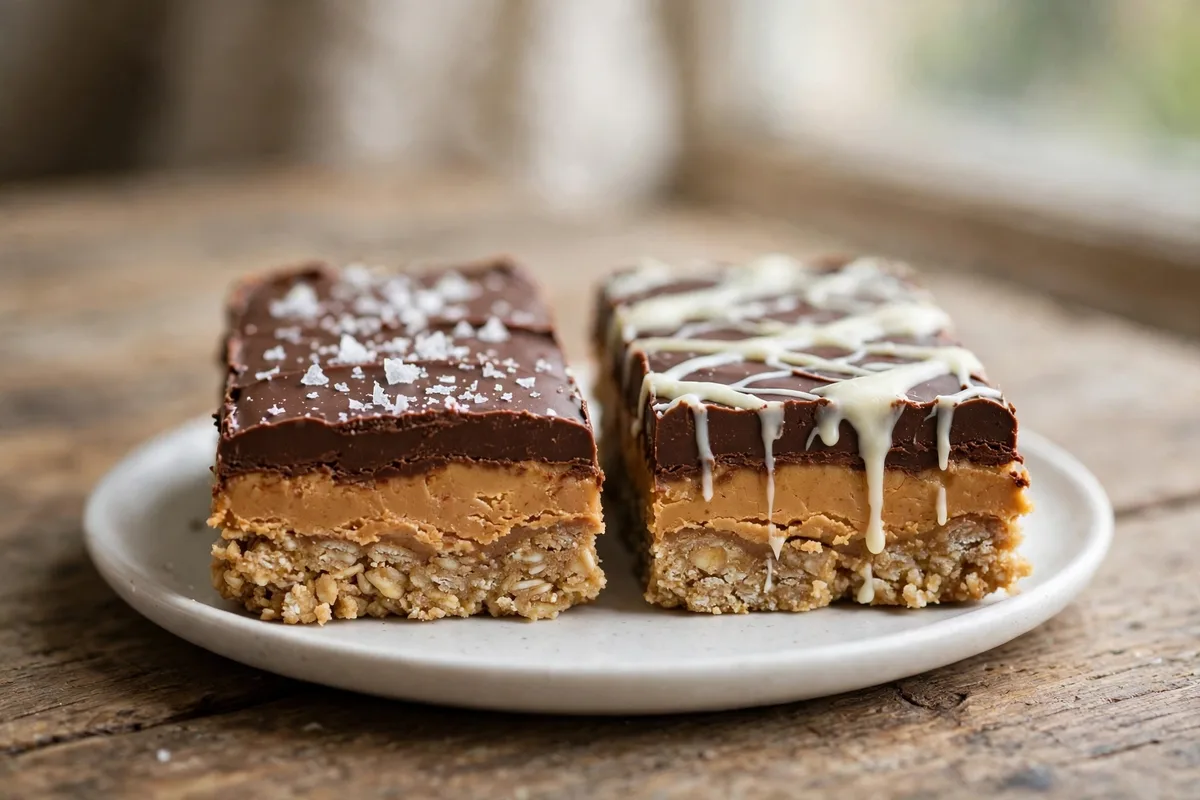
Lunch lady bars are the old-school cafeteria dessert: a thick, chewy peanut butter oatmeal bar baked in a sheet pan, spread with a glossy layer of melted peanut butter while still warm, then finished with fudgy chocolate frosting. This recipe makes the baked original — 24 bars in about an hour — using the warm-bar technique behind their signature three-layer look.
Are Lunch Lady Bars Baked or No-Bake?
The original lunch lady bars are baked. A no-bake version made with graham cracker crumbs and melted chocolate borrowed the same nickname along the way, and it now dominates search results. This post makes the baked school-cafeteria original: a peanut butter oatmeal cookie bar with a melted peanut butter layer and chocolate frosting.
A staple of school cafeterias from the 1960s through the 1980s: cheap pantry staples baked in sheet pans, served through programs like the USDA’s National School Lunch Program, passed from lunchroom to lunchroom until it became a nostalgia dessert.
Lunch Lady Bars Ingredients
Everything here is a pantry staple. Measure carefully — bar cookies punish sloppy ratios.
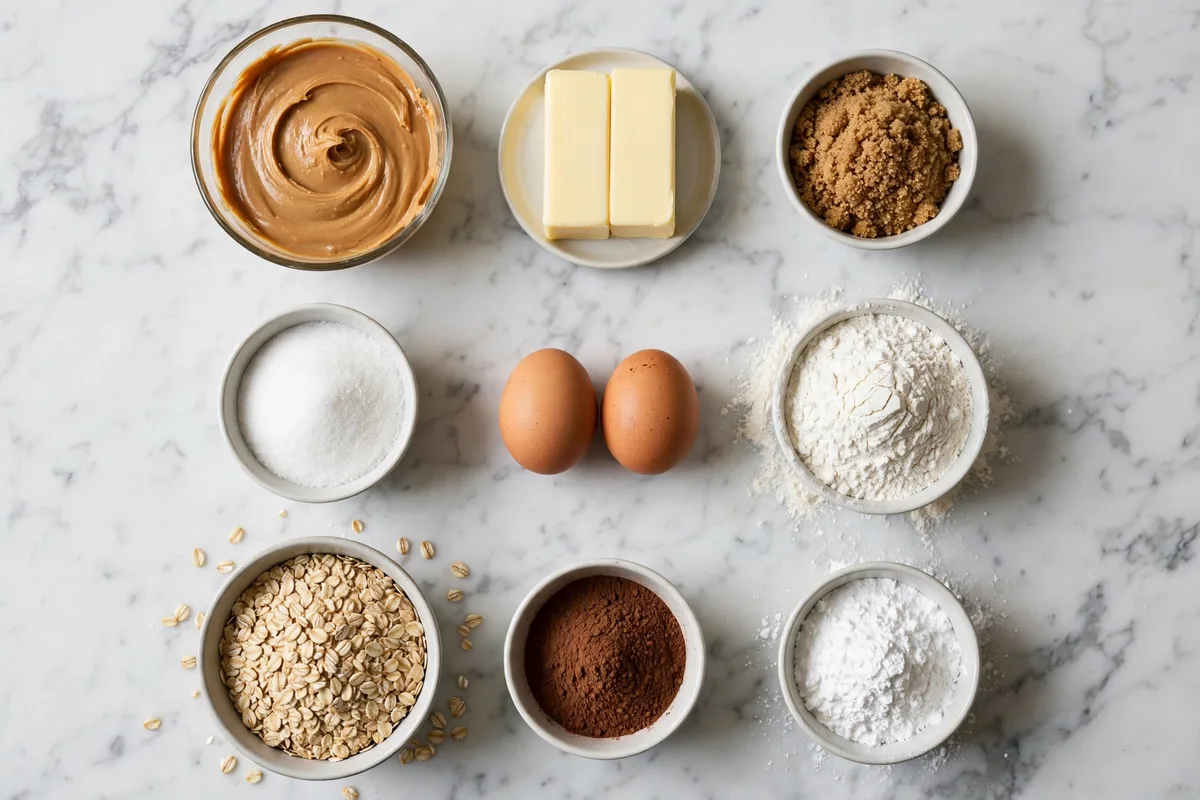
For the peanut butter bars
- 1 cup (2 sticks) unsalted butter, softened — Softened, not melted — melted butter makes greasy, flat bars.
- 1 cup creamy peanut butter — Classic no-stir peanut butter (like Jif or Skippy) gives the smoothest crumb — natural peanut butter separates and can turn the dough oily. The National Peanut Board notes its emulsified texture is what baked goods need.
- 1 cup granulated sugar + 1 cup packed brown sugar — The brown sugar adds moisture and a light caramel note.
- 2 large eggs, room temperature — Cold eggs can make the batter look curdled.
- 1 teaspoon vanilla extract
- 2 cups all-purpose flour, spooned and leveled — Scooping straight from the bag packs in extra flour.
- 1 teaspoon baking soda + 1 teaspoon fine salt
- 2 cups old-fashioned rolled oats — Not instant and not steel-cut. Rolled oats give the hearty chew.
For the peanut butter layer and chocolate frosting
- 1 cup creamy peanut butter — For the warm-bar layer. Microwave 15 seconds if your jar is stiff.
- 1/4 cup (4 tablespoons) unsalted butter, softened
- 1/3 cup unsweetened cocoa powder — Sift it if yours is lumpy.
- 2 cups powdered sugar + a pinch of salt + 1 teaspoon vanilla extract
- 3 to 4 tablespoons milk — Added one tablespoon at a time until the frosting spreads like soft butter.
How to Make Lunch Lady Bars
Three phases: bake, spread peanut butter on the hot bar, frost. Timing is everything.
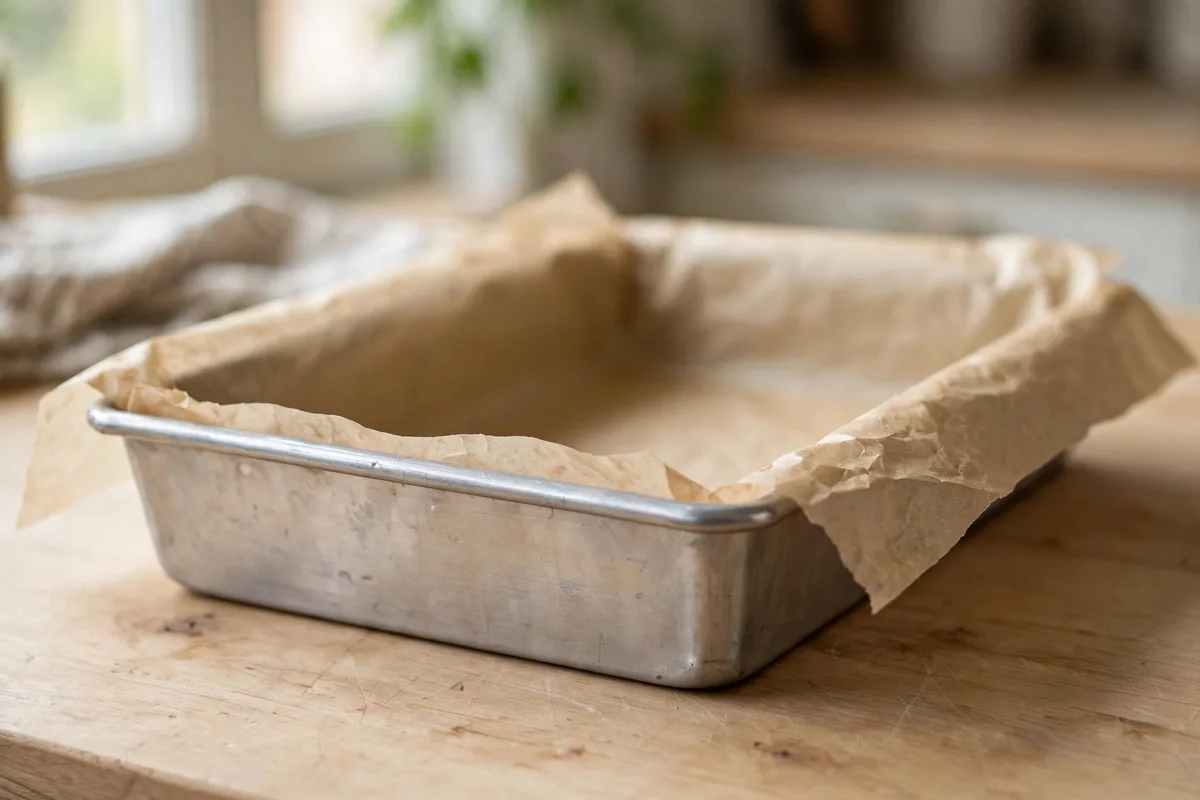
- Heat the oven and prep the pan. Set the oven to 350°F (175°C). Line a 9×13-inch baking pan with parchment paper, leaving overhang on the two long sides as a sling. The sling lets you lift the whole frosted slab out for clean cuts.

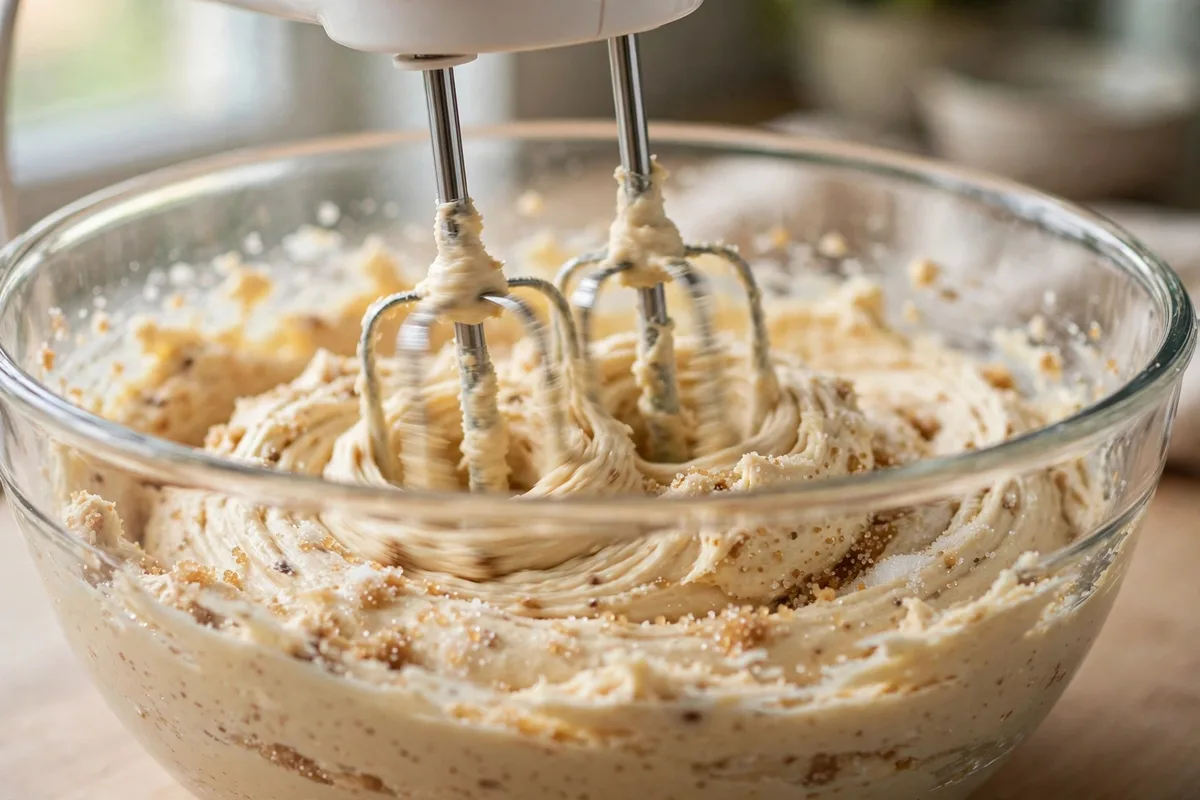
Parchment overhang = easy lifting later. - Cream the butter, peanut butter, and sugars. Beat the softened butter, 1 cup peanut butter, and both sugars for 2 to 3 minutes, until fluffy and a shade paler. Don’t shortcut it — this air is what keeps the bars chewy.
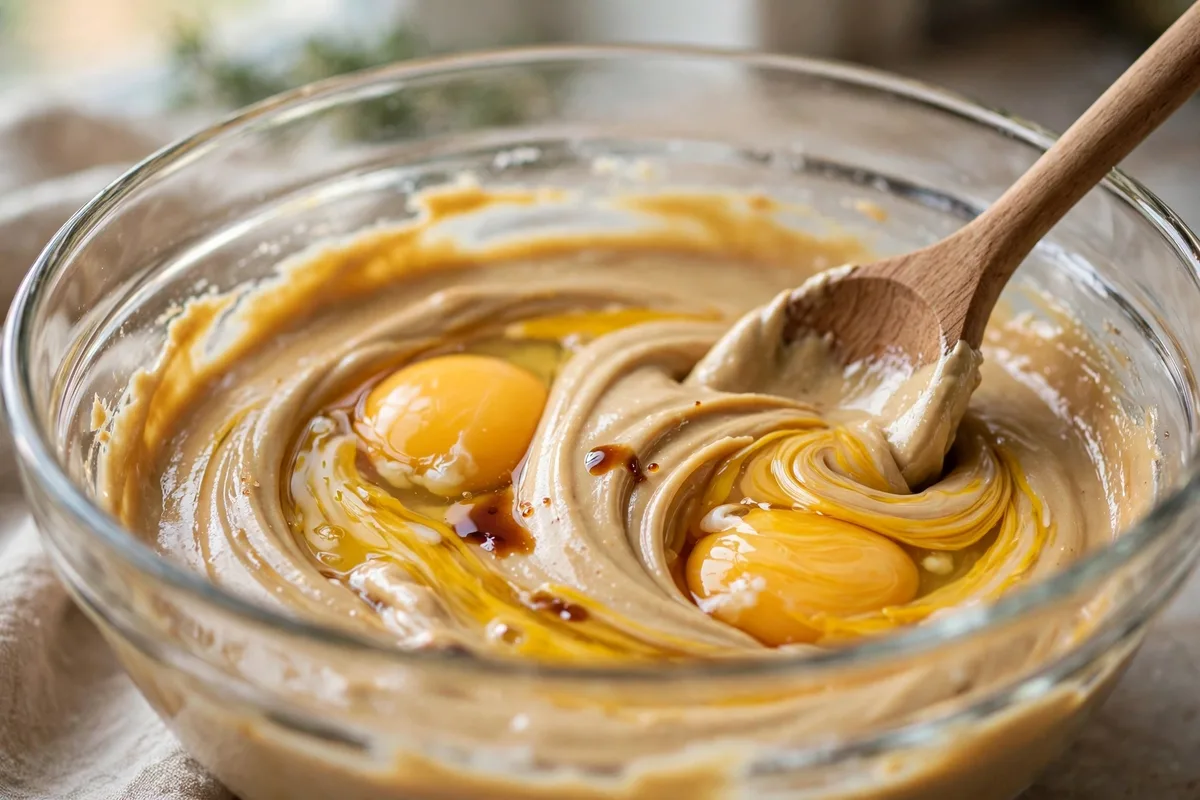
Beat 2 to 3 minutes until fluffy. - Beat in the eggs and vanilla. Add the eggs one at a time, then the vanilla, beating until glossy and smooth. If the batter looks curdled, beat 30 seconds more — it comes together.
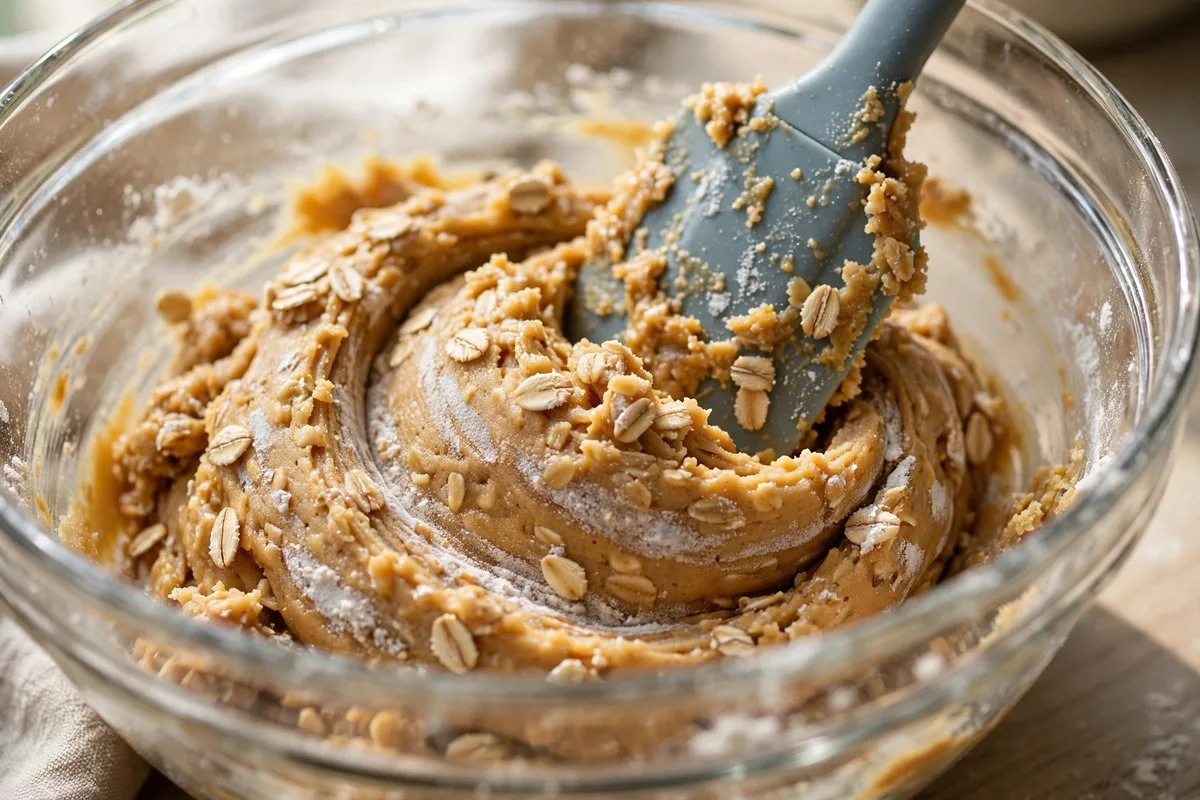
One egg at a time for a glossy batter. - Fold in the dry ingredients and oats. Whisk the flour, baking soda, and salt; add to the wet mixture with the oats. Fold just until no flour streaks remain — overmixing turns chewy bars tough.
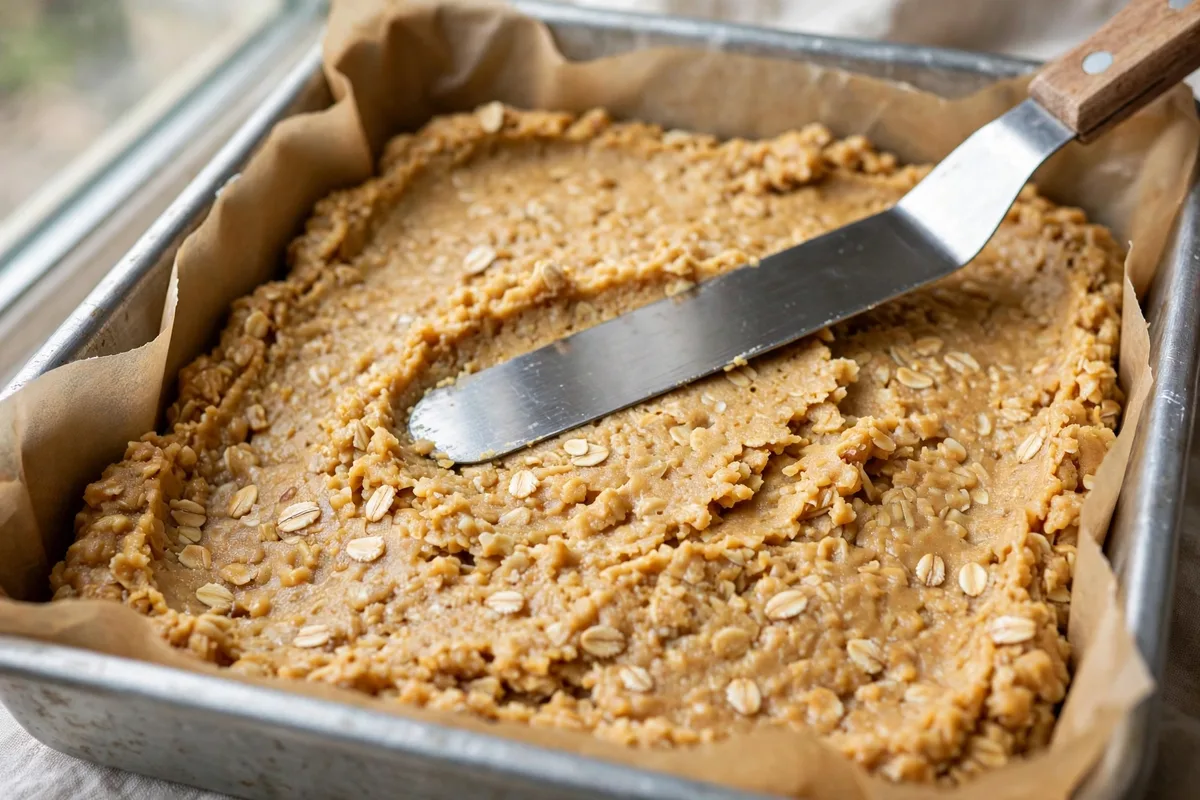
Stop when the flour streaks disappear. - Press the dough into the pan. Scrape the thick dough into the lined pan and press it into an even layer, corner to corner. Use damp fingertips so the sticky dough doesn’t drag, and keep the thickness even — thin spots overbake.
Level it corner to corner. - Bake 15 to 18 minutes. Bake until the edges turn golden and the center looks just set — a slight jiggle in the very middle is fine. They keep cooking from residual heat, so pull them a touch underdone — overbaking is the top reason homemade lunch lady bars turn dry.
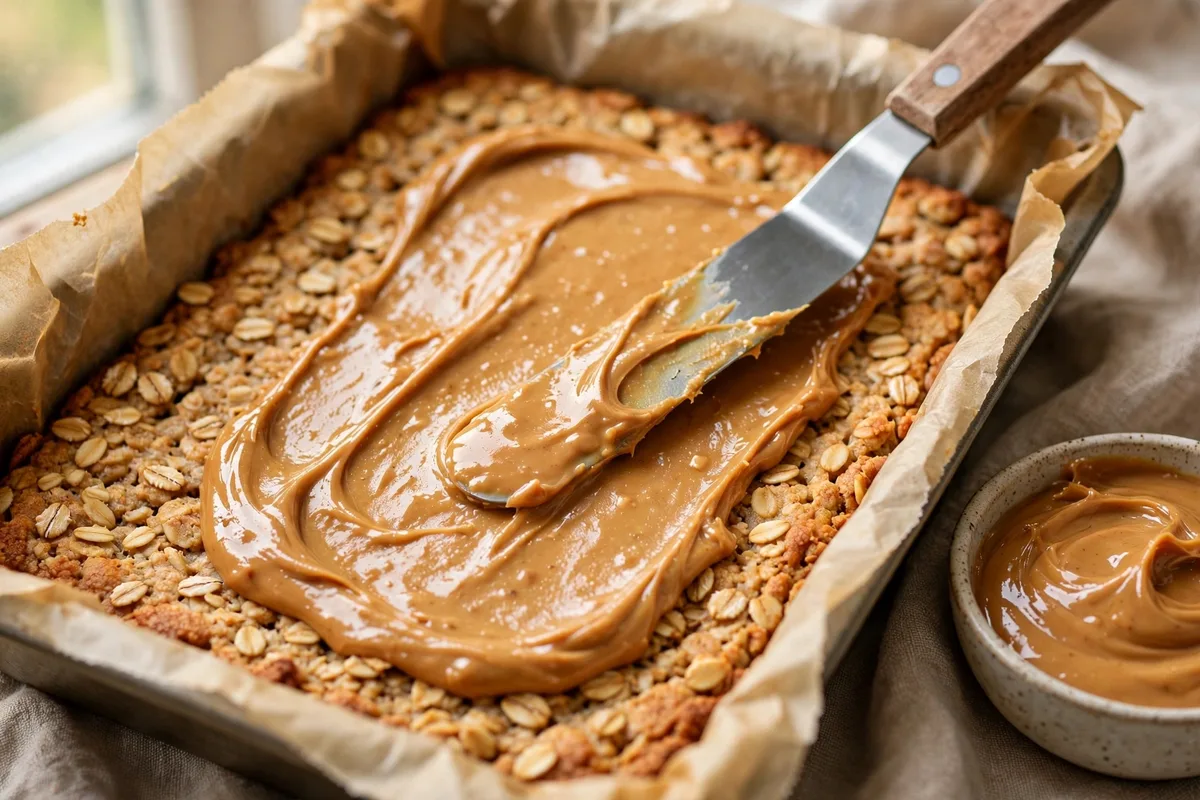
Golden edges, just-set center. - Spread peanut butter over the warm bars — immediately. While the bars are still hot from the oven, drop spoonfuls of the remaining peanut butter over the surface and spread it into a glossy, even layer. Residual heat melts it just enough to glide on and bond. Work gently so you don’t tear the soft surface.
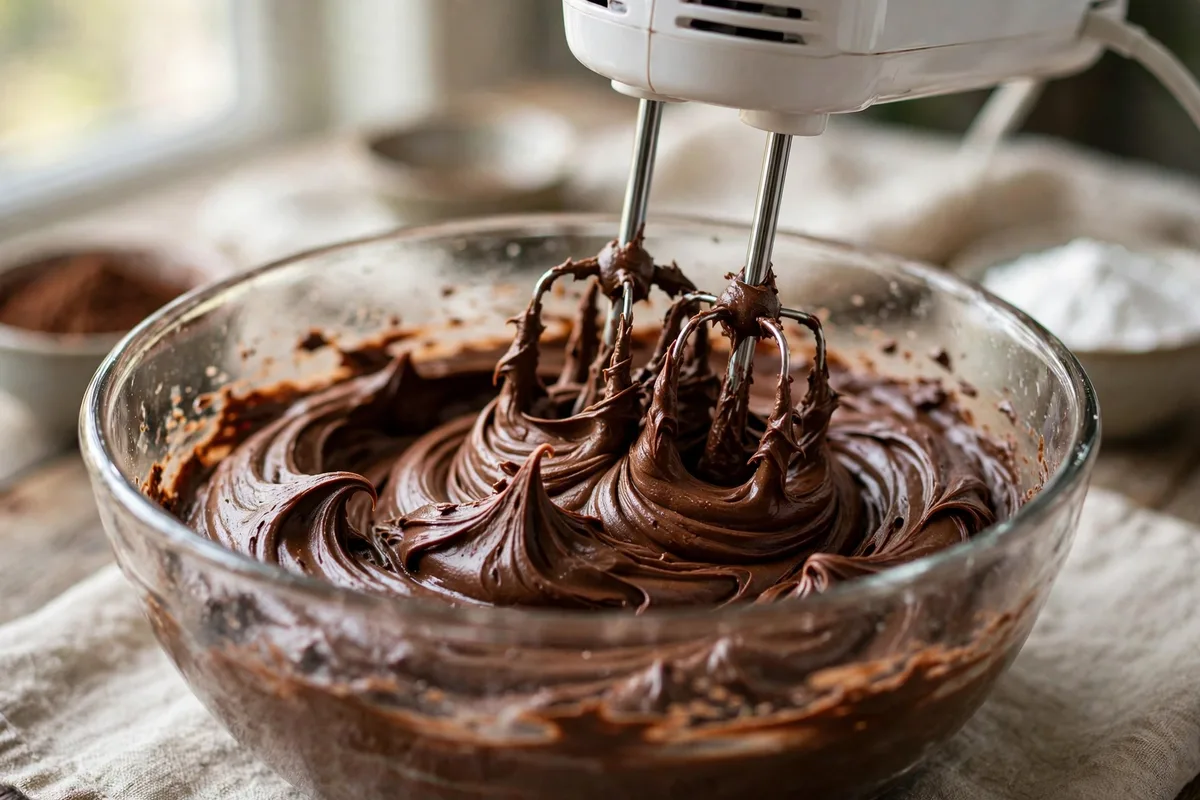
Hot bars melt the peanut butter glossy. - Beat the chocolate frosting. Beat the softened butter and cocoa powder together until smooth, then beat in the powdered sugar, salt, and vanilla. Add milk one tablespoon at a time until thick but spreadable — it should hold a soft peak. Too thick tears the peanut butter layer; too thin slides off.
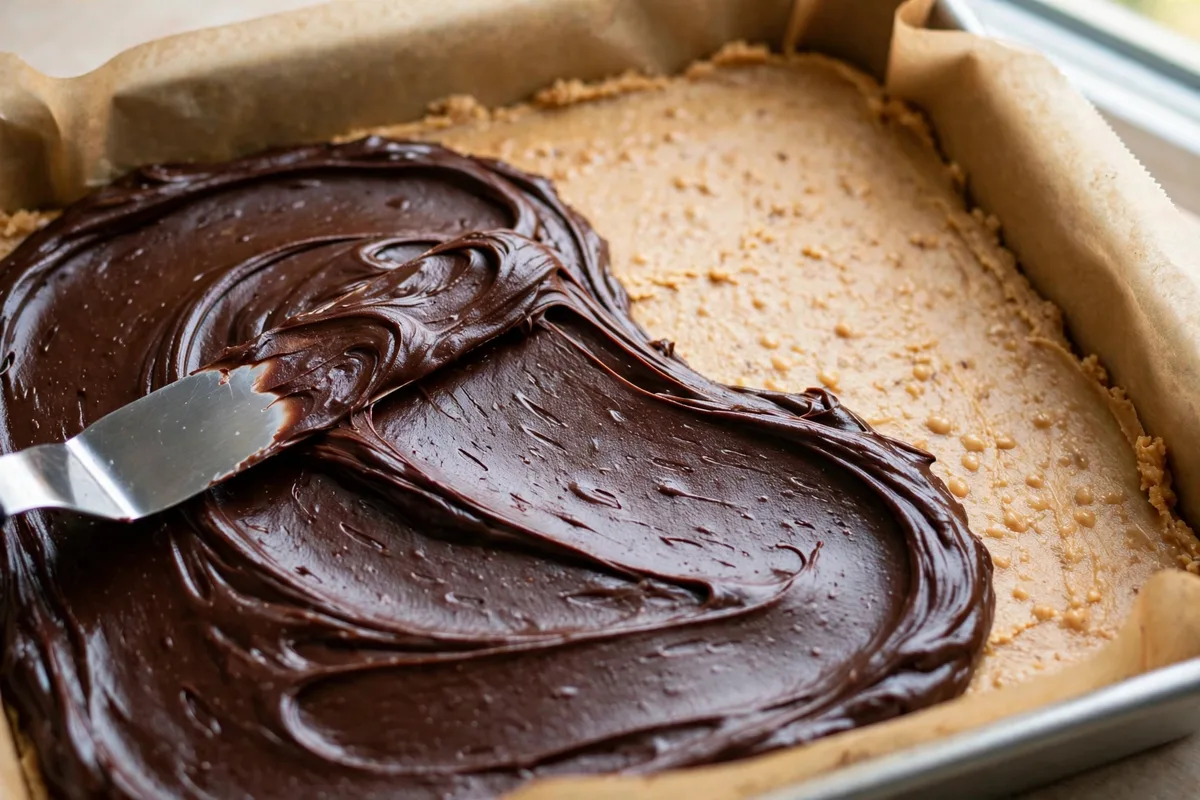
Thick, glossy, spreadable. - Frost, then chill briefly. Spread the frosting edge to edge over the peanut butter layer, then refrigerate the pan for 15 to 20 minutes. This firms the peanut butter layer so the frosting glides — the trick behind clean, distinct layers.
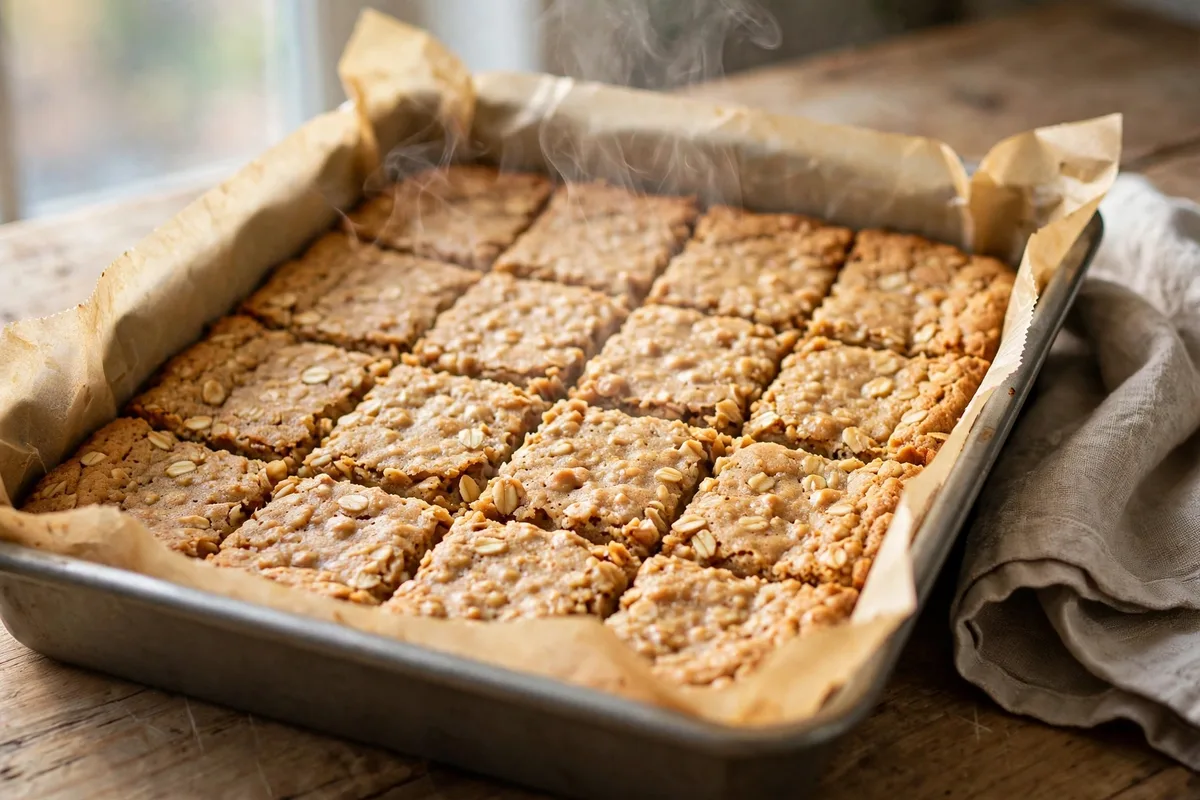
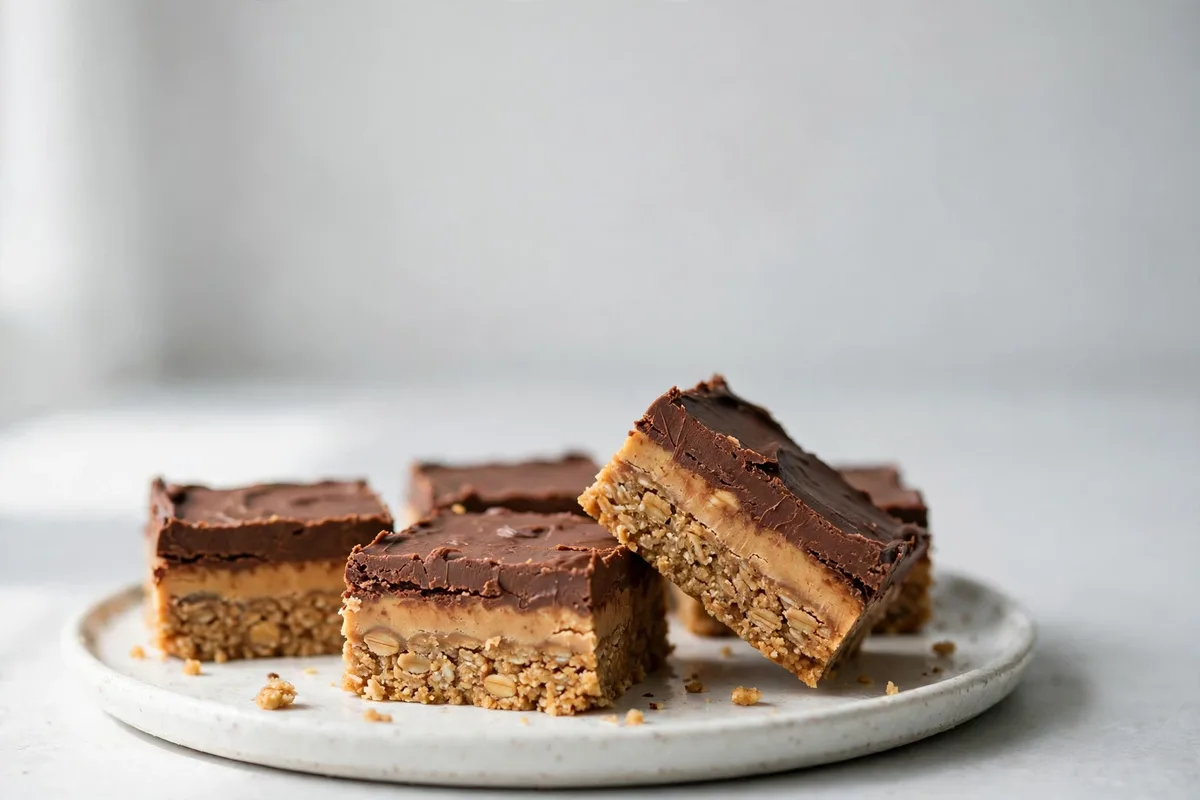
Edge to edge, then chill before cutting. - Cut into squares and serve. Lift the slab out with the parchment sling and cut 24 squares, dipping the knife in hot water and wiping dry between slices. Serve these lunch lady bars at room temperature with a cold glass of milk.
24 squares, warm wiped knife.
📌 Save this for later: Pin these lunch lady bars to your Desserts board — one tap saves the recipe for your next bake sale.
Pro Tips for Perfect Lunch Lady Bars
- Underbake slightly, always. The center should look a touch soft when you pull the pan. Carryover cooking sets it as it cools — that’s what keeps lunch lady bars chewy.
- Never skip the warm-bar spread. On a cooled bar it sits pasty on top; on a hot bar it melts in and bonds glossy.
- Chill 15 to 20 minutes before frosting so the peanut butter layer firms up and the frosting glides instead of dragging.
- Spoon and level your flour. Scooping from the bag packs in up to 30% extra, which dries bars out.
- Cut with a warm knife: hot water, wipe dry, slice, repeat. It melts through the frosting instead of cracking it.
- Rest refrigerated bars 10 minutes before serving. Cold mutes the flavors; a short rest brings them back.
Lunch Lady Bar Variations
Once you have the method down, these lunch lady bars take well to tinkering — and they earn a spot in any serious comfort food recipes lineup.
- Flaky sea salt finish: Scatter flaky sea salt over the fresh frosting — the best single upgrade.
- White chocolate drizzle: Melt 1/3 cup white chocolate chips and drizzle over the set frosting for a bakery-window look.
- Crunchy peanut butter: Swap it into the dough for extra texture — no method change needed.
- Pretzel crunch: Fold 1/2 cup crushed pretzels in with the oats for a salty-sweet edge.
- Gluten-free: Use a 1:1 gluten-free flour blend and certified gluten-free oats. More ideas in our gluten-free dessert recipes collection.
Baking for a crowd? These sit happily beside anything in our fall dessert recipes roundup — the pan empties fast at autumn potlucks.
How to Store and Freeze Lunch Lady Bars
Store lunch lady bars in an airtight container at room temperature for 3 to 4 days, or refrigerate for up to a week with parchment paper between the layers so the frosting doesn’t stick. They freeze beautifully for up to 3 months — freeze the cut bars in a single layer until firm, then stack them with parchment between layers.
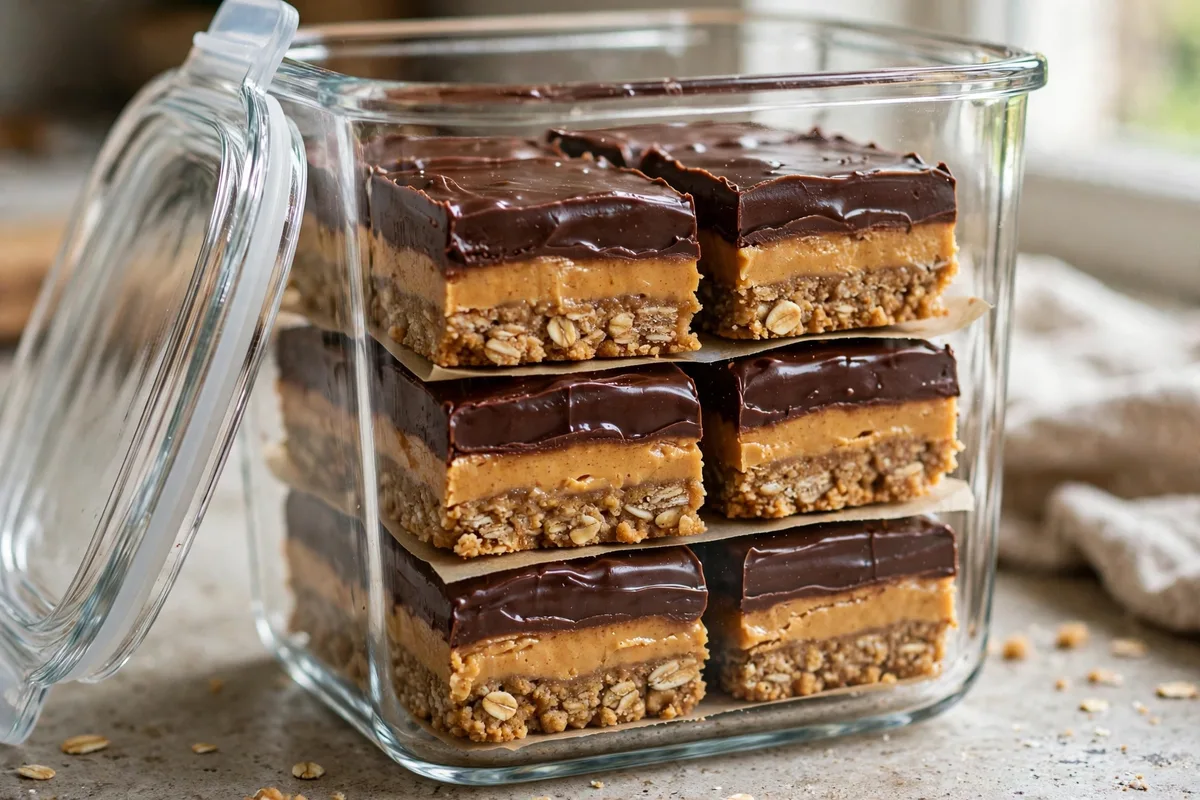
- Room temperature: 3 to 4 days in an airtight container, away from heat — the frosting softens fast in a warm kitchen.
- Refrigerator: Up to 1 week. Let bars sit out 10 minutes before serving for the best texture.
- Freezer: Up to 3 months. Freeze cut squares on a sheet pan for 1 hour until firm, then bag with parchment between layers. Thaw 30 to 45 minutes at room temperature.
- Make ahead: Bake and frost a day ahead — flavors meld overnight and cuts get cleaner. A natural pick for weekends built around our fall recipes collection.
FAQs
Why are they called lunch lady bars?
They are named after the cafeteria workers — affectionately called lunch ladies — who baked and served them in American school cafeterias from the 1960s through the 1980s. The peanut butter bar with chocolate frosting was one of the most requested lunch desserts, so the homemade copycat kept the nostalgic name.
Can I use natural peanut butter in lunch lady bars?
You can, but classic no-stir creamy peanut butter gives better results. Natural peanut butter separates, and that extra oil can make the bar dough greasy and the layers slide apart. If natural is all you have, stir the jar very thoroughly and expect a slightly softer, richer bar.
How long do lunch lady bars last?
At room temperature in an airtight container, they stay fresh for 3 to 4 days. Refrigerated with parchment between layers, they keep for up to a week — just let them sit out 10 minutes before serving so the flavors open back up. In the freezer, they hold for up to 3 months.
Can you freeze lunch lady bars?
Yes, they freeze very well. Cut the frosted slab into squares first, freeze them in a single layer on a sheet pan until firm, then stack in a freezer-safe container with parchment between layers. Thaw at room temperature for 30 to 45 minutes before serving.
Can I make lunch lady bars ahead of time?
Absolutely — they are one of the best make-ahead desserts. Bake, layer, and frost them a day or two before serving and store them covered at room temperature or in the fridge. The flavors actually meld overnight, and the chilled layers cut even more cleanly the next day.
These bars earned their legend one sheet pan at a time. Bake a batch this weekend and watch 24 squares disappear.
Did you make these lunch lady bars? Leave a comment below and tell us how they turned out — classic, or the sea salt finish?
Keep baking: Fall Dessert Recipes: 18 Easy Ideas · Easy Comfort Food Recipes · Comfort Food Recipes