Simple Halloween Nails: 18 Minimalist Designs for October 2026
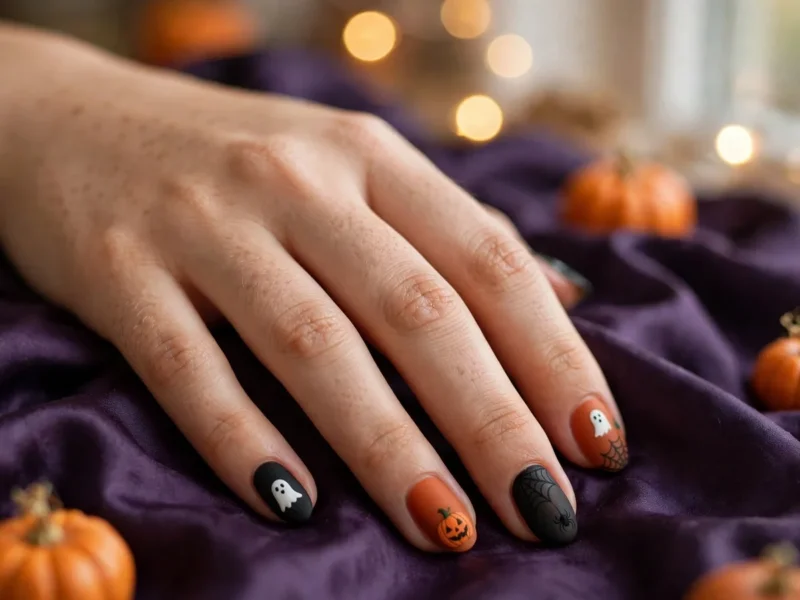
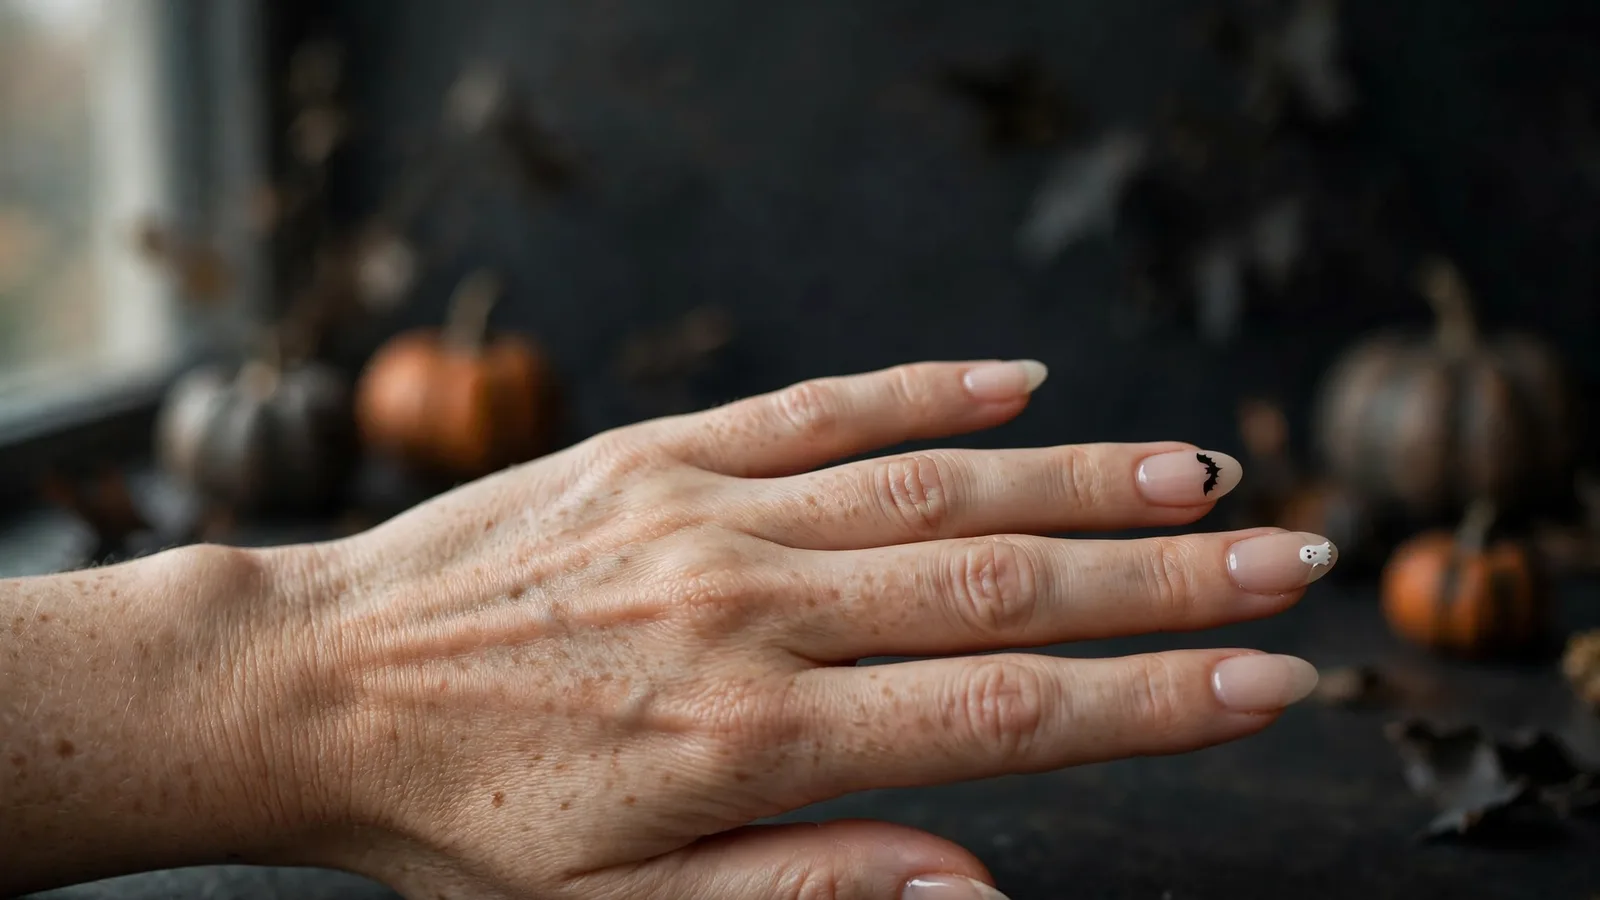
Simple Halloween nails are minimalist manicures that nod to October with one or two tiny motifs — a micro ghost, a single bat, a spider-web French tip — instead of full Halloween scenes. Most take 10 to 15 minutes with just a dotting tool and a fine liner brush, and the nude or neutral bases keep them wearable well past October 31.
This roundup of simple Halloween nails was built around a strict rule: every design uses two tools max, finishes in 15 minutes or less, and starts from a wearable base. Each idea carries its time budget, a difficulty rating, and a straight answer on whether it survives a Monday meeting.
What Tools Do You Need for Simple Halloween Nails?
You need exactly two nail-art tools for every one of these simple Halloween nails: a double-ended dotting tool (large ball for ghost bodies and pumpkins; small ball for eyes and dots) and a fine liner brush (webs, wings, mouth lines). A quick-dry top coat is the only other must-have.
- Double-ended dotting tool — handles roughly 80% of the art below.
- Fine liner brush (5–7 mm) — for webs, wings, stems, and smile lines.
- Sheer nude polish — Essie “Fiji” or OPI “Bubble Bath” style shades make the ideal base.
- Jet-black and opaque white polish — the two workhorse art colors.
- Pumpkin-orange polish — one bottle covers every pumpkin motif here.
- Quick-dry top coat — Sally Hansen Insta-Dri dries in 60 seconds, which matters when layering dots.
- Peel-and-stick decals (optional) — tiny bats and ghosts for shaky brush hands.
No dotting tool in your drawer? A toothpick, a bobby pin tip, or the blunt end of a paintbrush substitutes for every dot-based design below.
How Long Do Simple Halloween Nail Designs Take?
Most simple Halloween nails take 5 to 15 minutes per set, excluding base drying time. Dot-based motifs (ghosts, pumpkins, stars) are fastest at about 10 minutes; line-work like spider webs needs closer to 15. The table below gives each look’s exact budget.
| Design | Time | Difficulty | Office verdict |
|---|---|---|---|
| Micro Ghost Nude Set | 15 min | Beginner | Yes |
| Midnight Black French | 15 min | Beginner | Yes |
| Single Bat Accent | 10 min | Beginner | Yes |
| Spider-Web French | 15 min | Intermediate | Yes |
| One-Pumpkin Accent Nail | 10 min | Beginner | Yes |
| Matte Black Solids | 10 min | Beginner | Yes |
| Muted Candy-Corn Tips | 10 min | Beginner | Yes |
| Black-and-Cream Stripes | 15 min | Beginner | Yes |
| Black Cherry Solids | 10 min | Beginner | Yes |
| Crescent Moons & Micro Stars | 15 min | Intermediate | Yes |
| Chocolate Brown French | 15 min | Beginner | Yes |
| Milky White + Tiny Stars | 10 min | Beginner | Yes |
| Mummy Wrap Accent | 15 min | Intermediate | Yes |
| Beige + Micro Jack-o’-Lantern | 15 min | Intermediate | Creative offices |
| Smoky Plum Cat-Eye | 15 min | Beginner | Yes |
| White Chrome Ghost Accents | 15 min | Intermediate | Yes |
| Burgundy French Tips | 15 min | Beginner | Yes |
| Sheer Nude + Tiny Spider | 10 min | Beginner | Yes |
18 Simple Halloween Nail Designs to Try
The best simple Halloween nails pair a neutral or nude base with exactly one small motif: a micro ghost, a single bat, a spider-web French tip, a lone pumpkin accent, or dark French tips. That restraint keeps the look chic instead of costume-y. Every idea below lists its time budget and whether it passes the office test.
1. Micro Ghost Nude Set
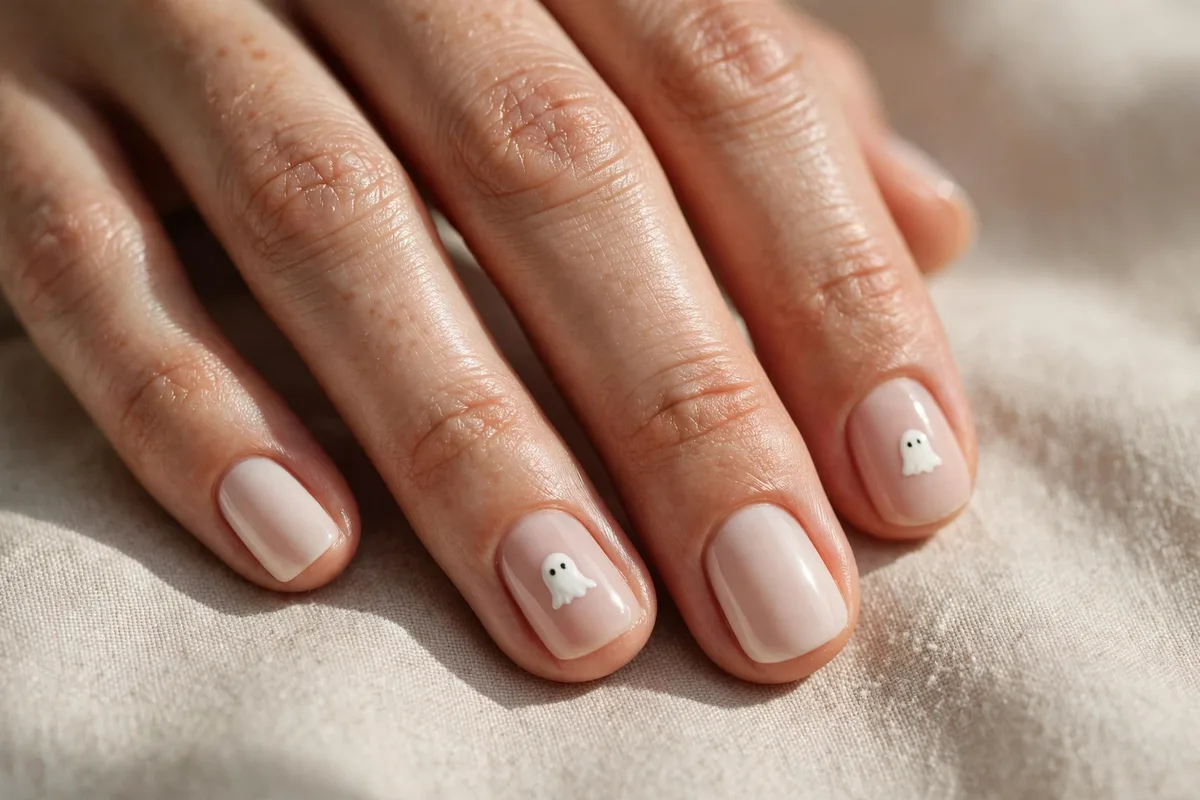
Milky nude base, tiny white ghosts on two or three accent nails. Paint each ghost with the large dotting ball: two overlapping white drops dragged into a wavy tail, then the smallest tip dipped in black polish for dot eyes and an oval mouth. Let the white set 60 seconds first.
2. Midnight Black French
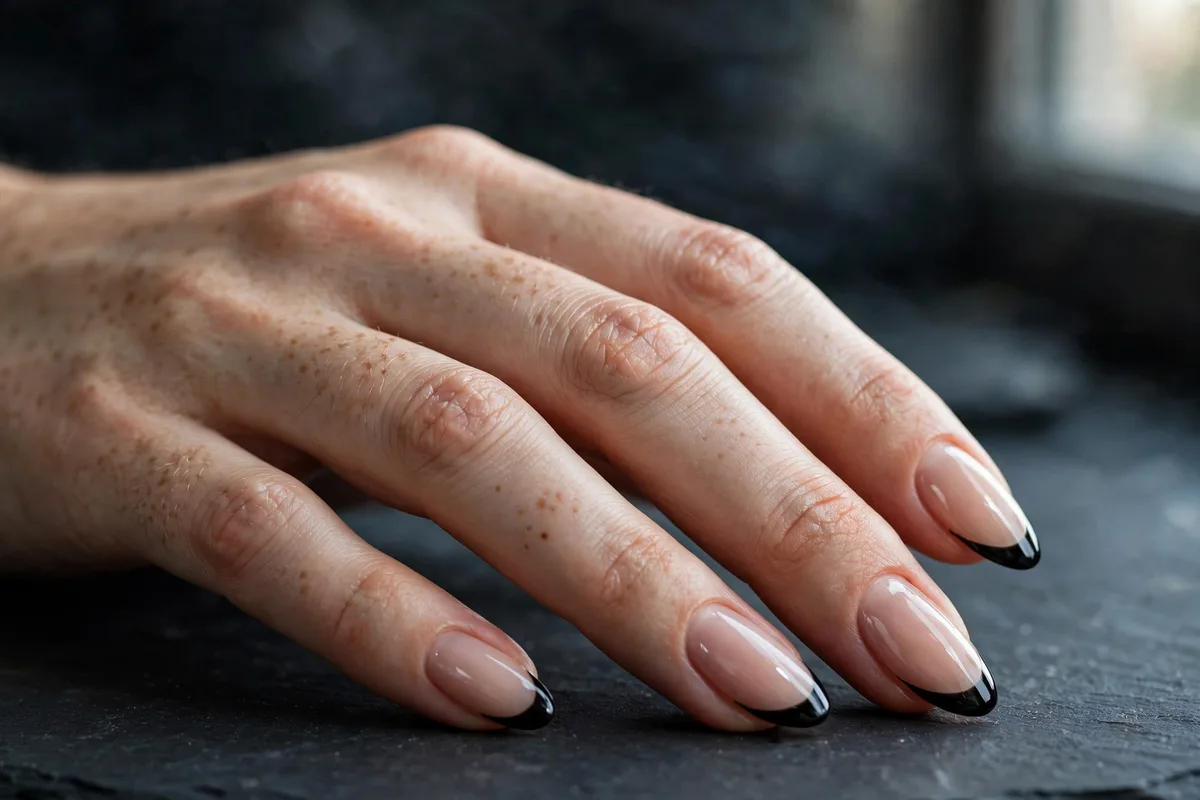
Swap the classic white tip for jet black over a sheer nude base. Paint the tips with a liner brush, then clean the smile line with a flat brush dipped in remover. A fine shimmer topper over the black adds dimension without extra art.
3. Single Bat Accent
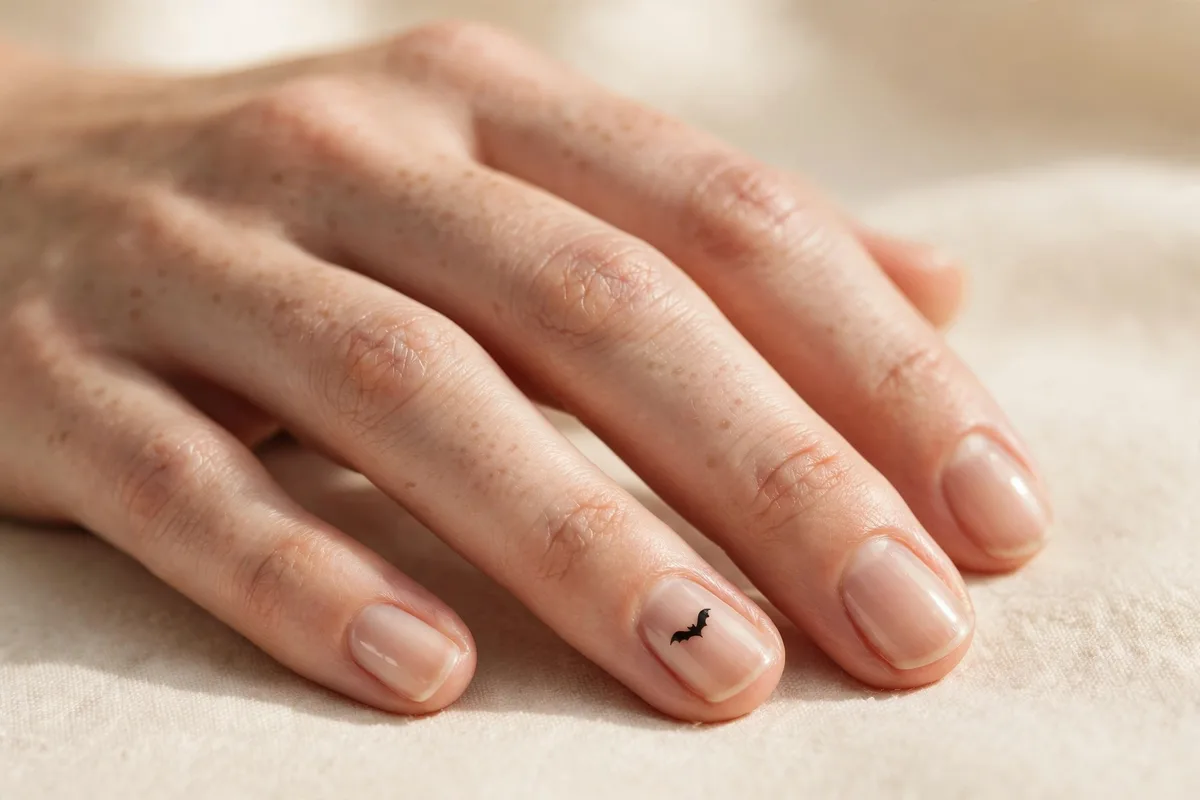
Nine bare nude nails, one tiny bat on the ring finger — these simple Halloween nails work because the restraint makes the bat feel intentional. Draw two small curved triangles joined at a dot body with a liner brush, or use a peel-and-stick bat decal.
4. Spider-Web French
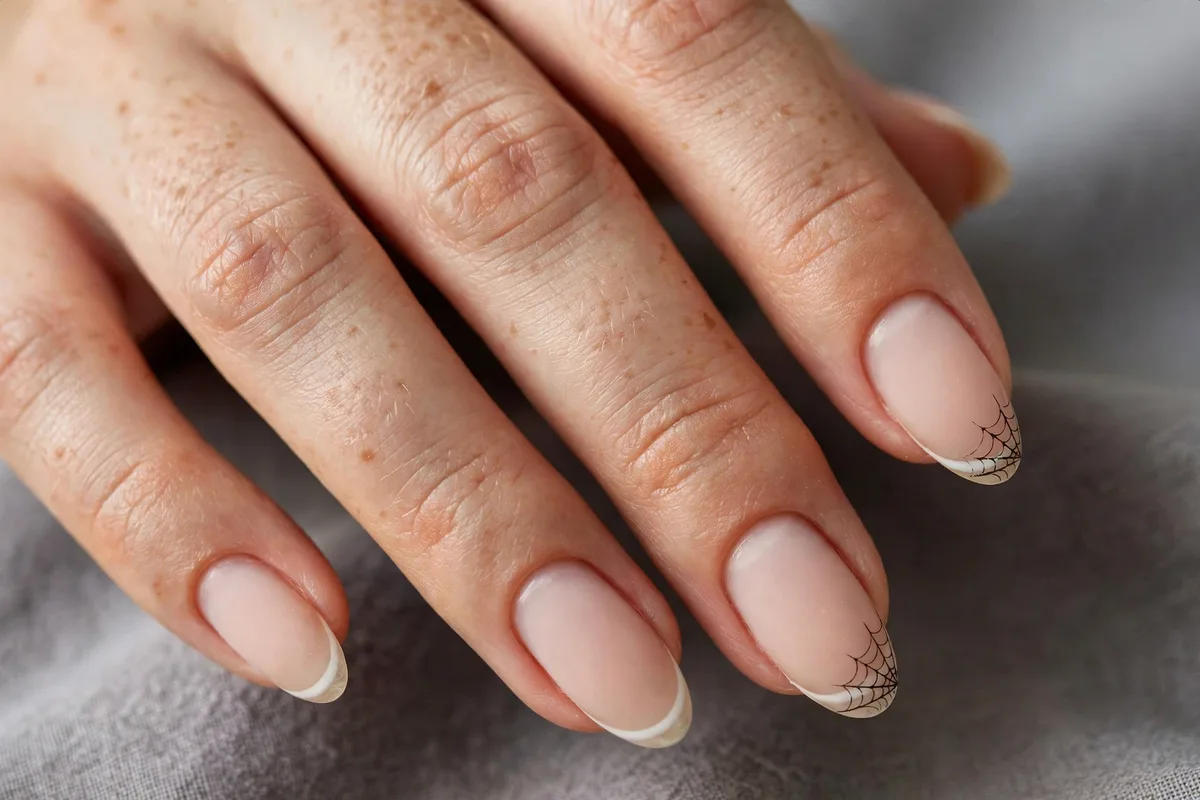
A spider web drawn across the tip corner turns an ordinary French into a Halloween French. Paint three thin lines radiating from one corner, connect them with shallow curved arcs, and keep the web to one or two accent nails. Uneven arcs look more web-like.
5. One-Pumpkin Accent Nail
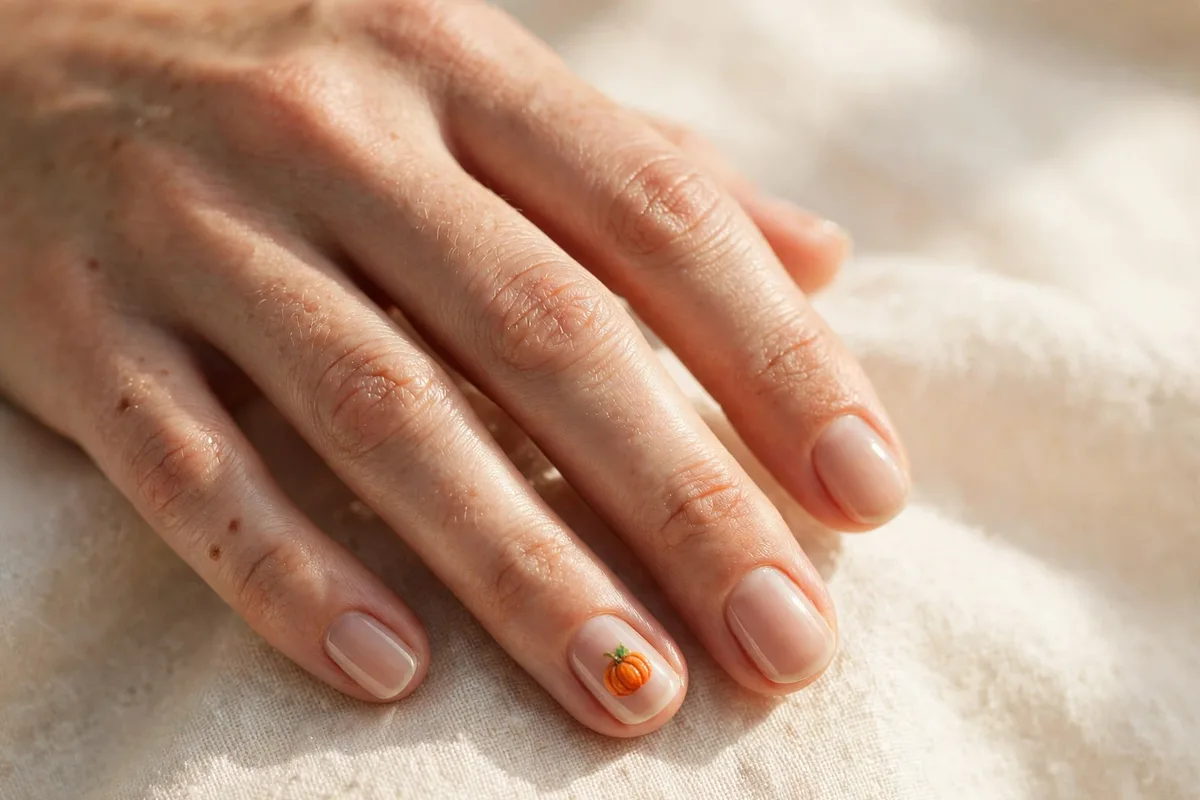
One small pumpkin on the ring finger, nine nude nails everywhere else. Stamp an orange circle with the large dotting ball, add a short green stem with the liner brush, then two black dot eyes. Skip the mouth to stay minimalist.
6. Matte Black Solids
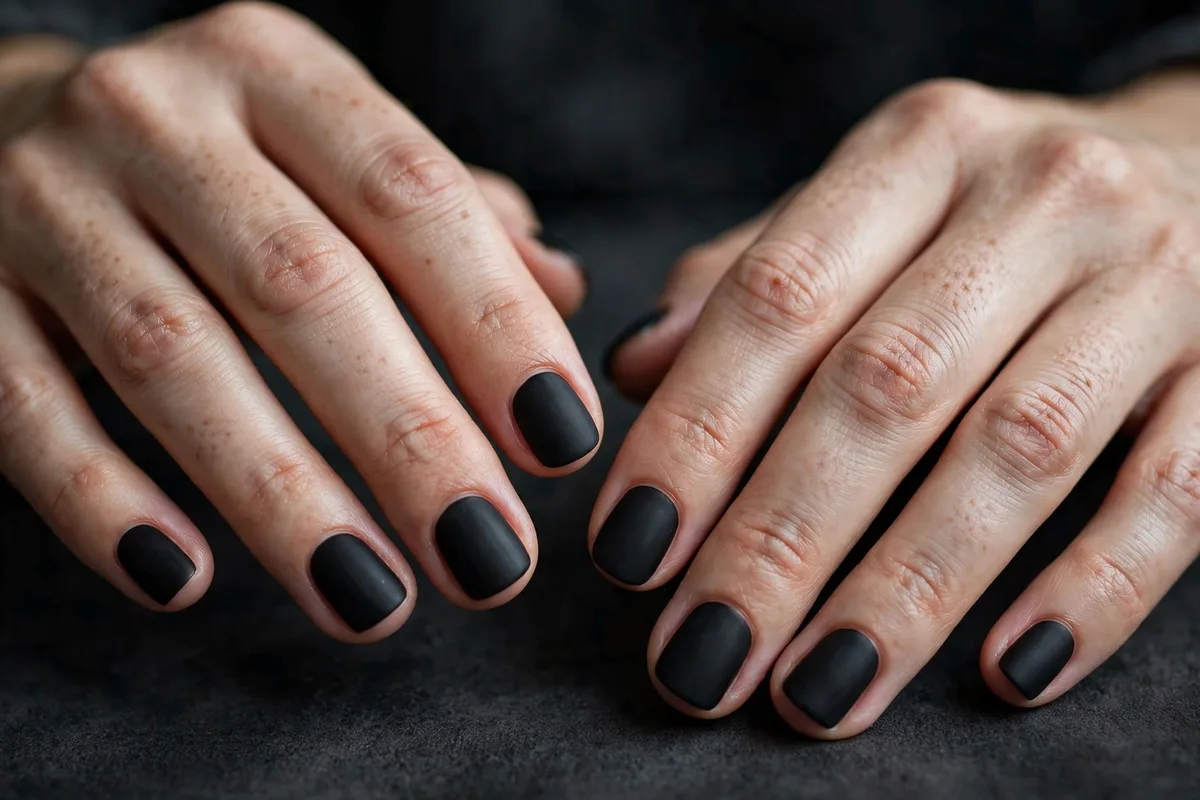
Ten nails, matte black, zero art. Use a black crème polish finished with a matte top coat rather than a separate matte polish. Matte shows chips faster, so cap the free edge and carry the bottle for touch-ups.
7. Muted Candy-Corn Tips
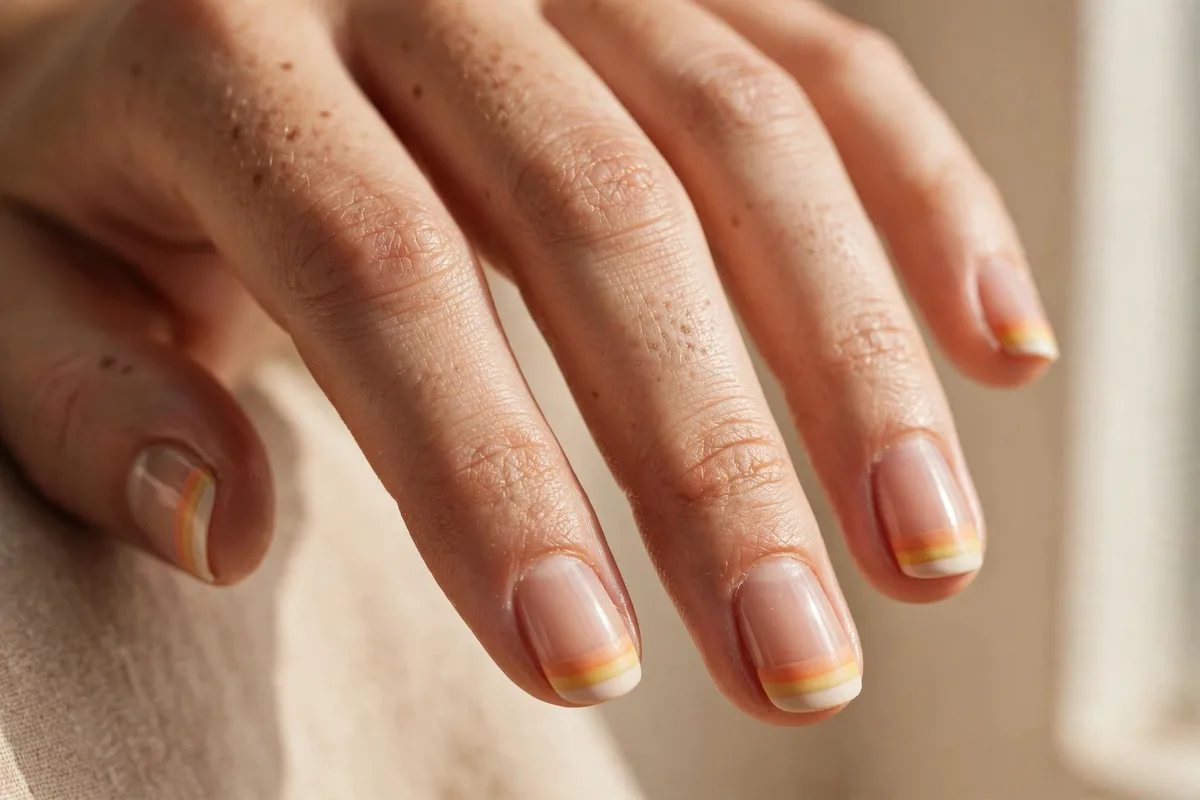
Candy corn, minus the neon. Sponge the classic cream-orange-yellow stack in three narrow bands across just the tip and finish matte. Narrow bands are the key — wide stripes tip the look into costume territory.
8. Black-and-Cream Stripes
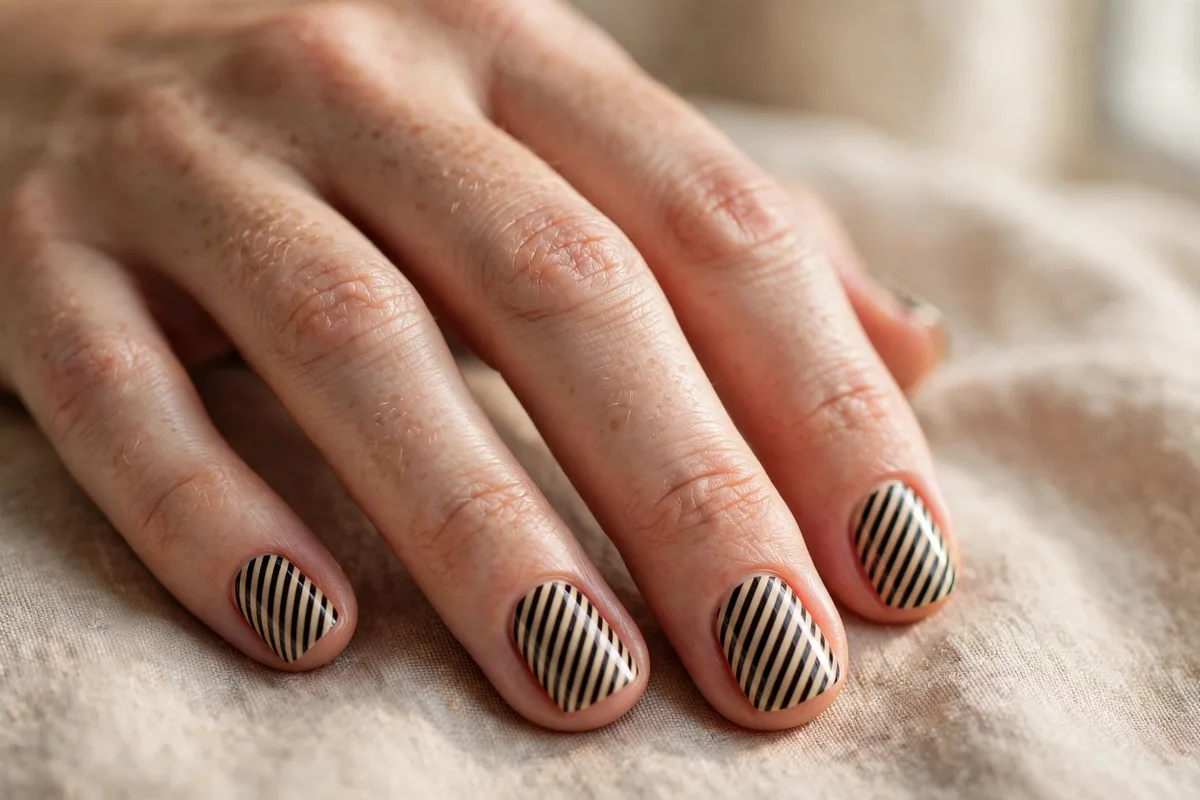
Diagonal black and cream stripes — Beetlejuice energy, no characters. These simple Halloween nails need only a liner brush and patience; use striping tape for crisp edges and let each color dry before taping over it.
9. Black Cherry Solids
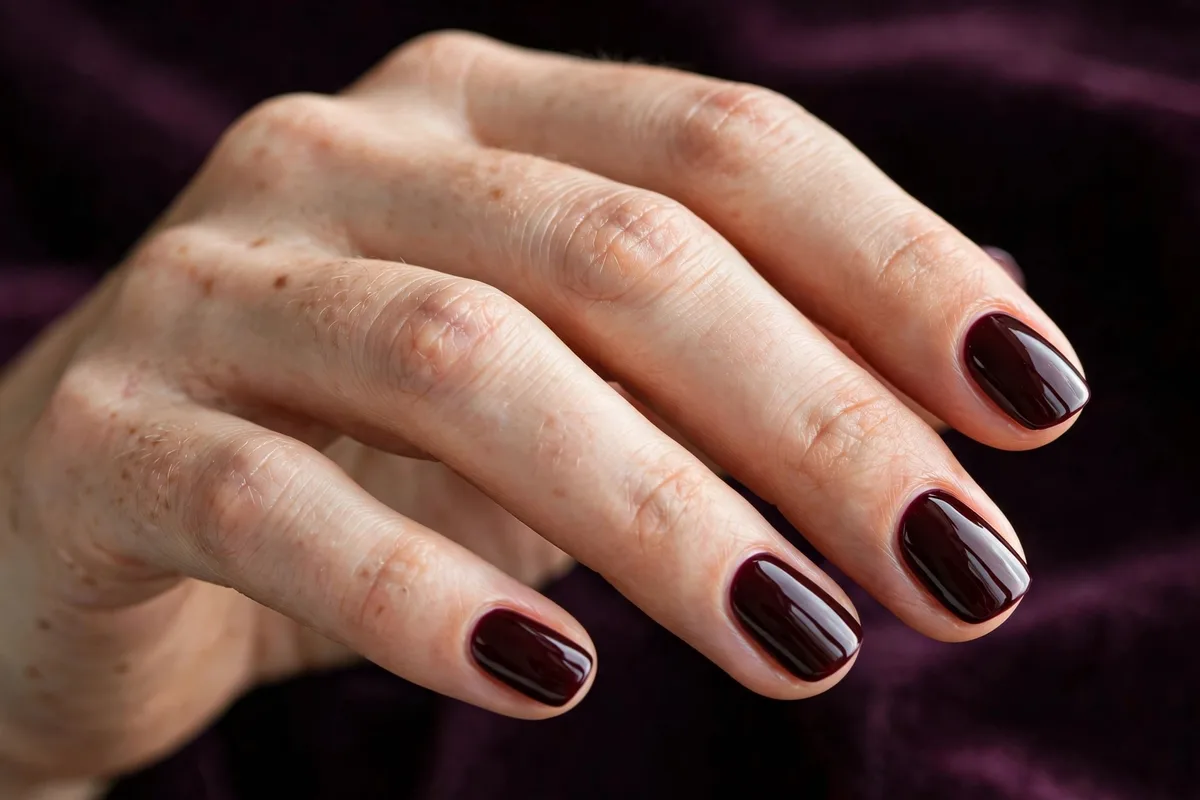
The “participating without participating” manicure: deep oxblood or blackened burgundy in high gloss, no art. Two thin coats and a glossy top coat — the shade does the work. Keep coats thin; dark crèmes streak when thick.
10. Crescent Moons & Micro Stars
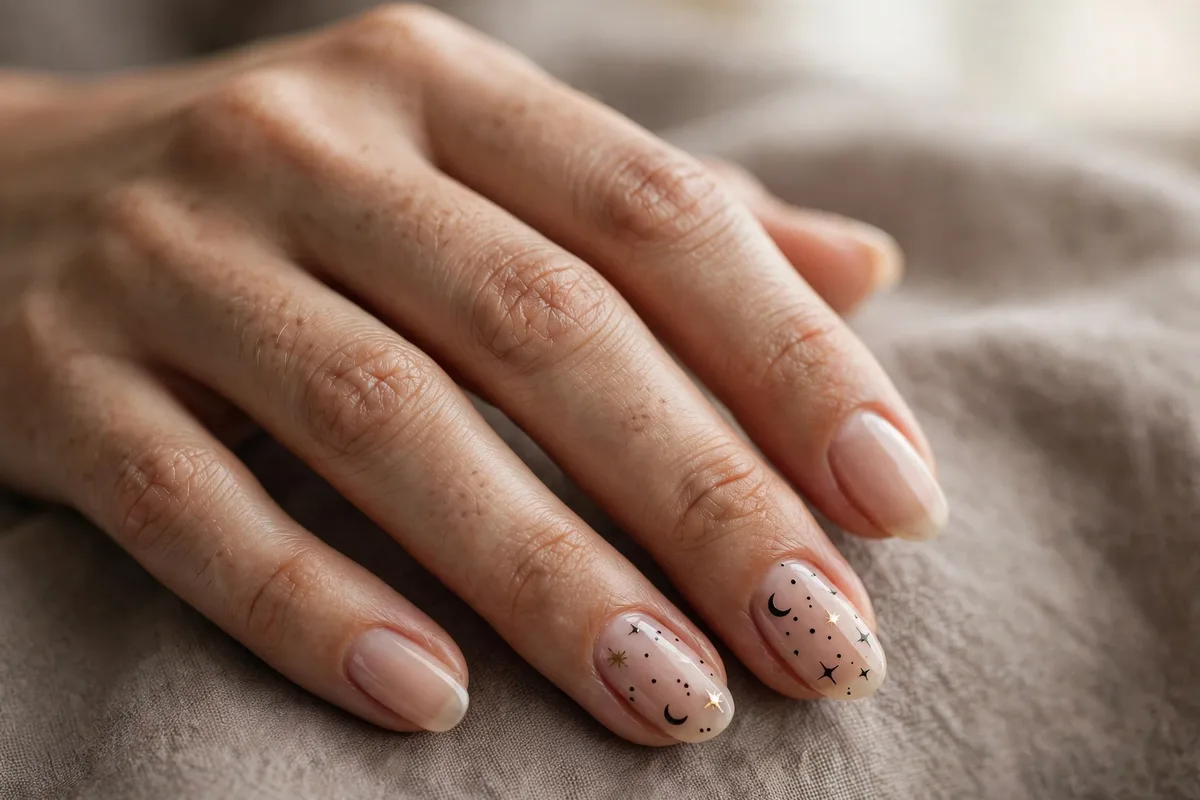
Tiny black crescents and dot-stars scattered over sheer nude — witchy, but make it jewelry. Two curved liner-brush strokes per crescent, stars stamped with the small dotting ball, one gold star among the black for warmth. Scatter on two or three nails.
11. Chocolate Brown French
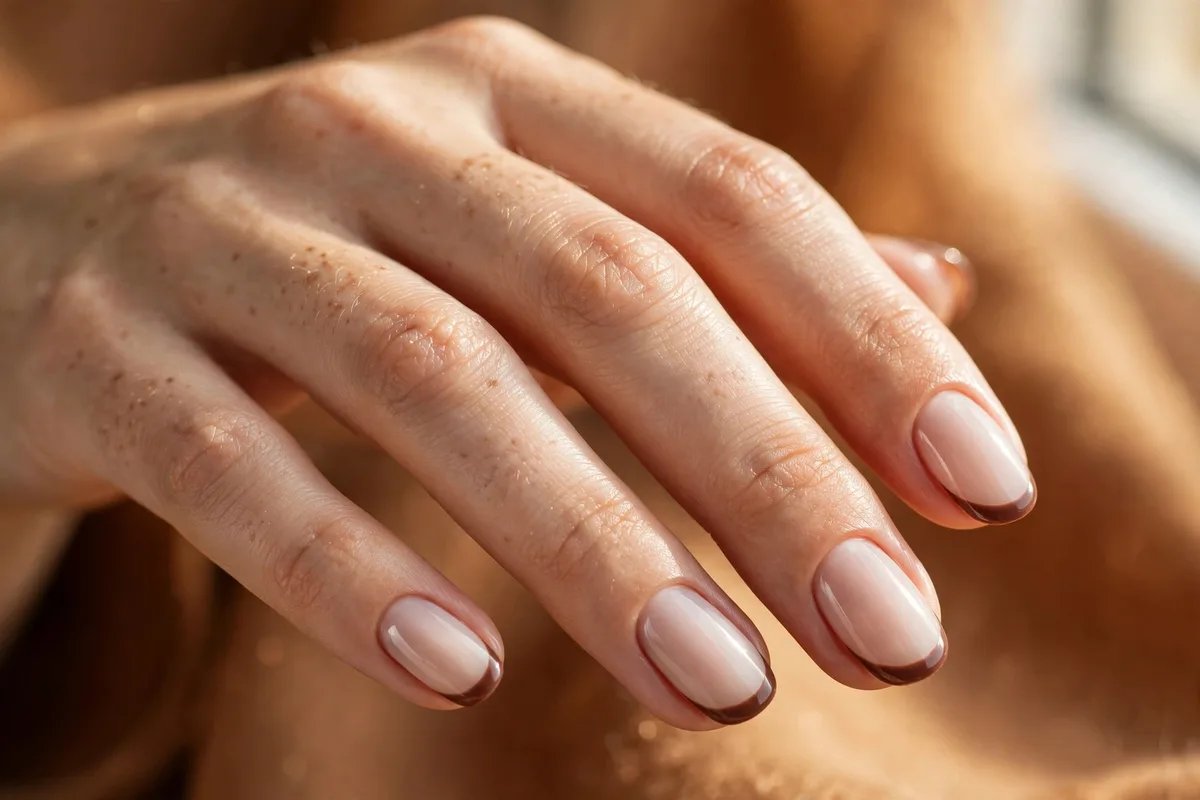
Same technique as the black French, in chocolate brown — softer, warmer, firmly fall. The brown tip over a milky base flatters most skin tones. Keep the smile line thin; a chunky brown tip reads heavy.
12. Milky White + Tiny Stars
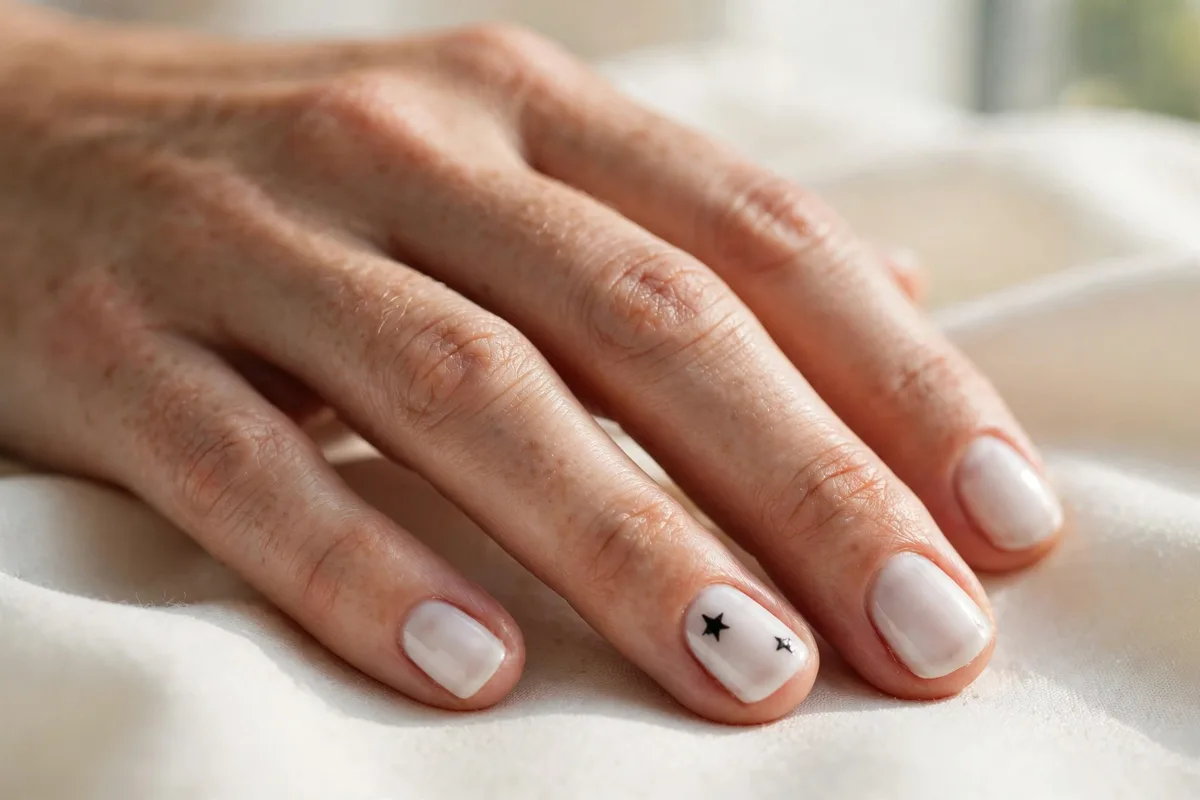
Two coats of milky white, micro black stars on the accent nails. Stamp each star as five tiny dots in a starburst, or use star decals if your dots misbehave. High contrast keeps it striking.
13. Mummy Wrap Accent
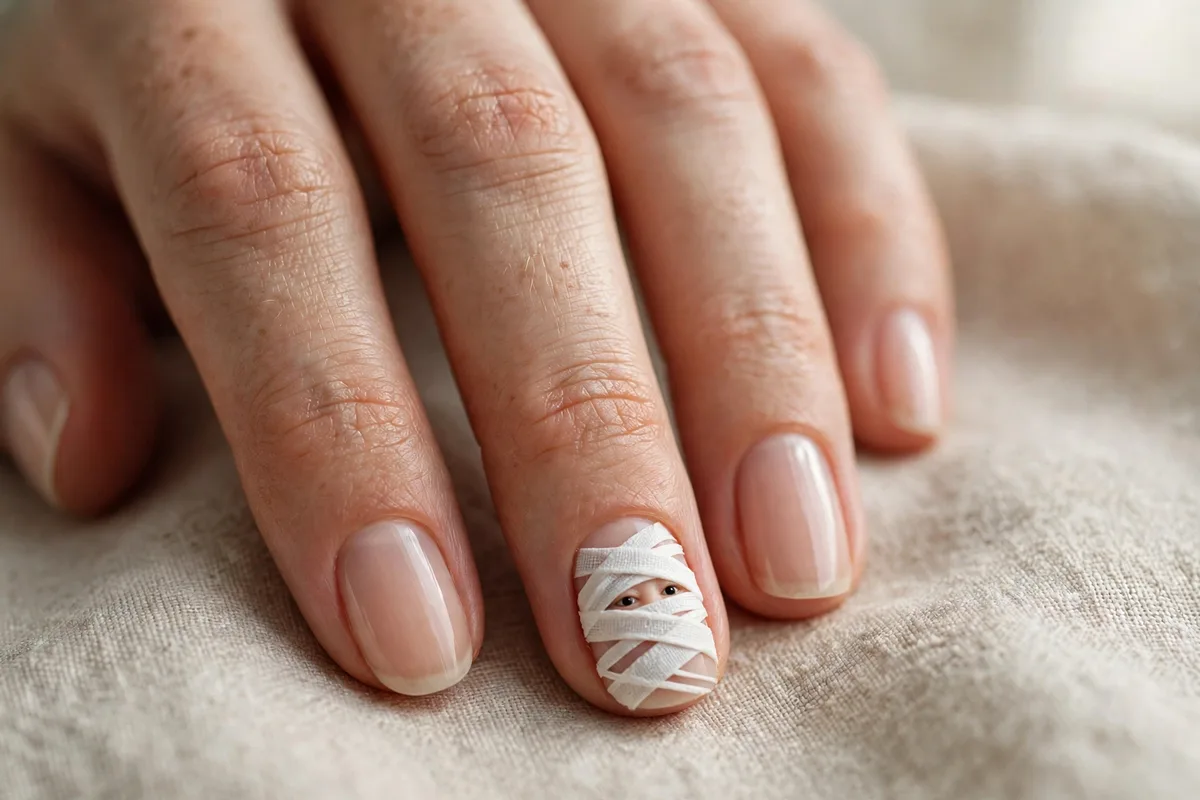
One nail wrapped in uneven white “bandage” stripes with two tiny black eyes peeking through — a mummy, abstracted. Paint four or five diagonal stripes with the liner brush, deliberately uneven, then stamp the eyes in a gap. One accent nail per hand.
14. Beige + Micro Jack-o’-Lantern
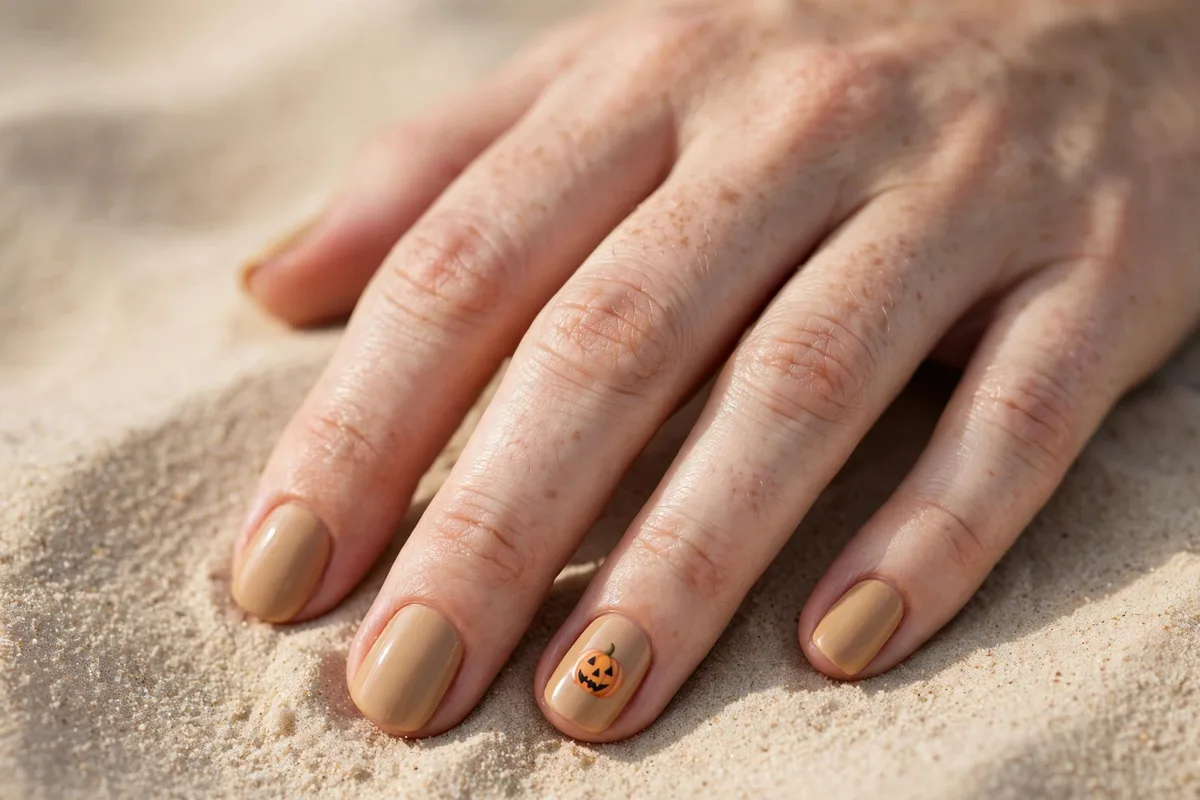
A beige or camel base grounds one tiny jack-o’-lantern face so these simple Halloween nails stay neutral. Flatten an orange dotting-tool circle, add triangle eyes and a zigzag mouth with the liner brush, keeping the face under a third of the nail.
15. Smoky Plum Cat-Eye
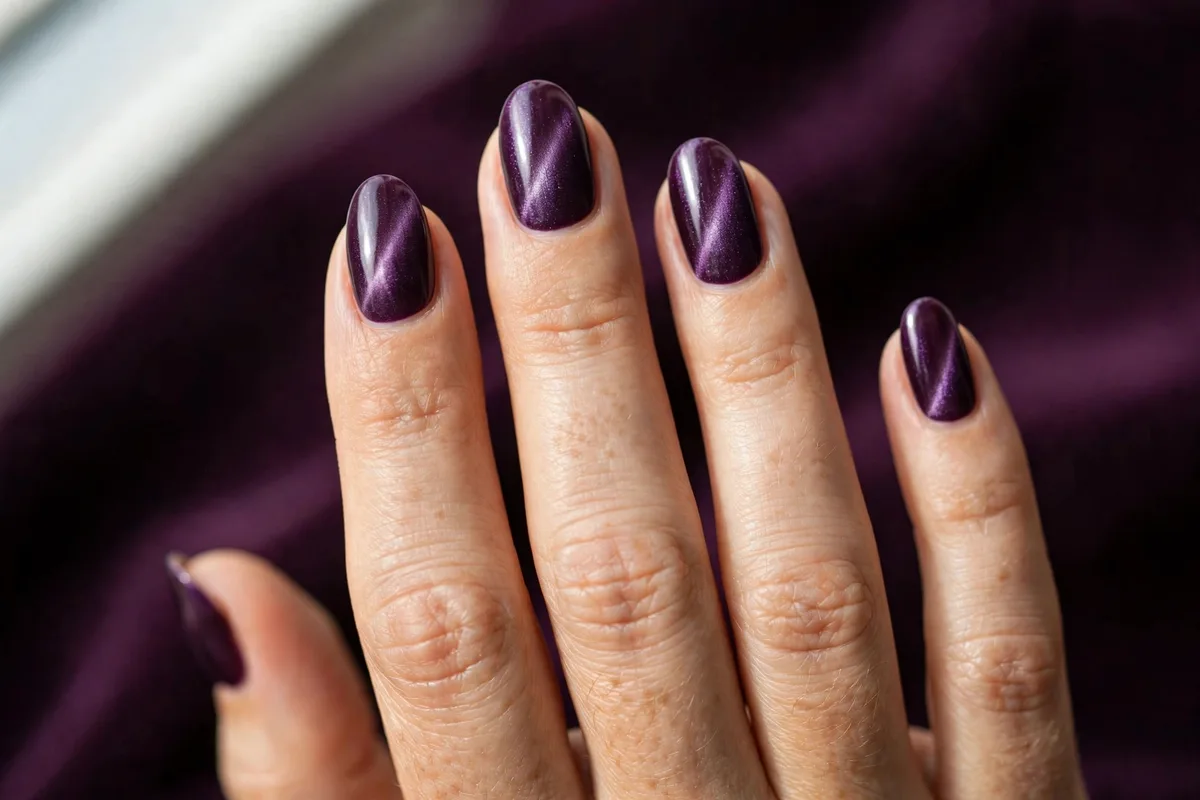
Magnetic cat-eye polish in deep plum: shifting, smoky shimmer with zero drawing. Apply the polish, hover the magnet over each nail for five seconds to pull the shimmer into a band, then dry. A glossy top coat makes the effect pop.
16. White Chrome Ghost Accents
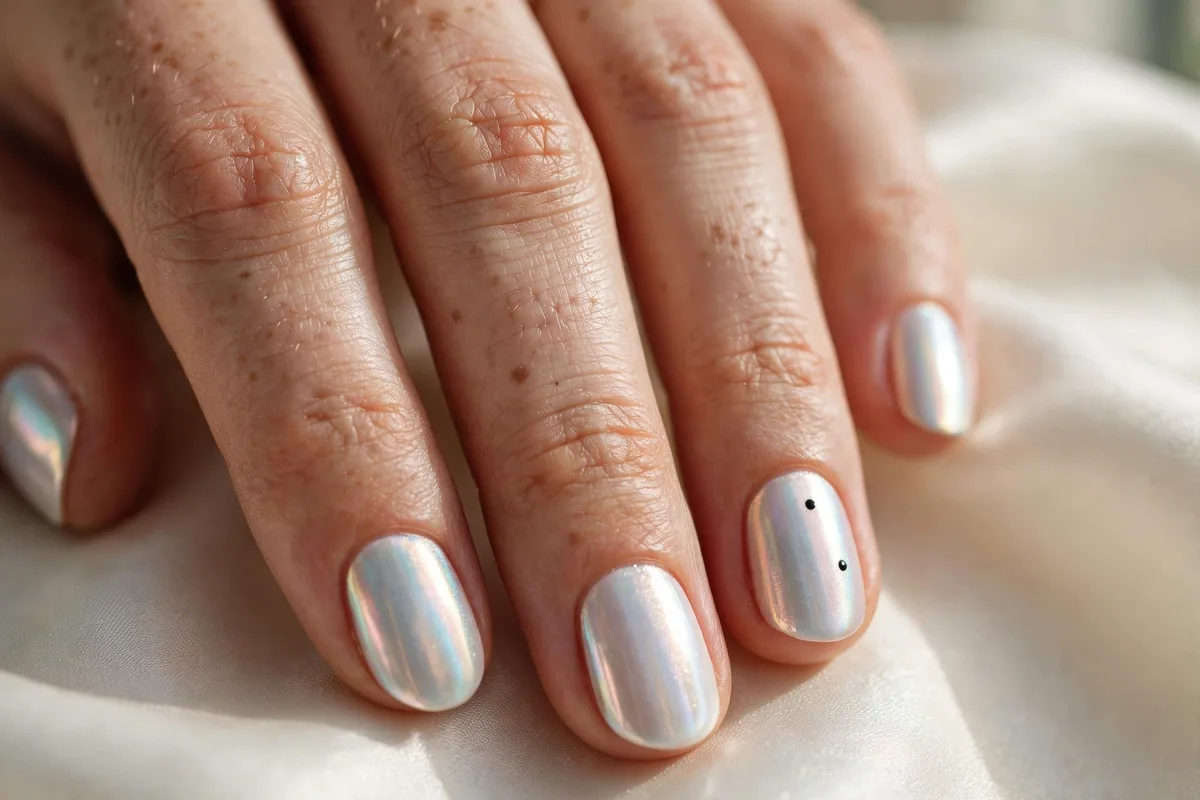
A glazed chrome-effect base with tiny black ghost dots on one or two nails. Use chrome-effect polish or chrome powder over a non-wipe top coat, then stamp two black dots per ghost. The reflective base does the visual work.
17. Burgundy French Tips
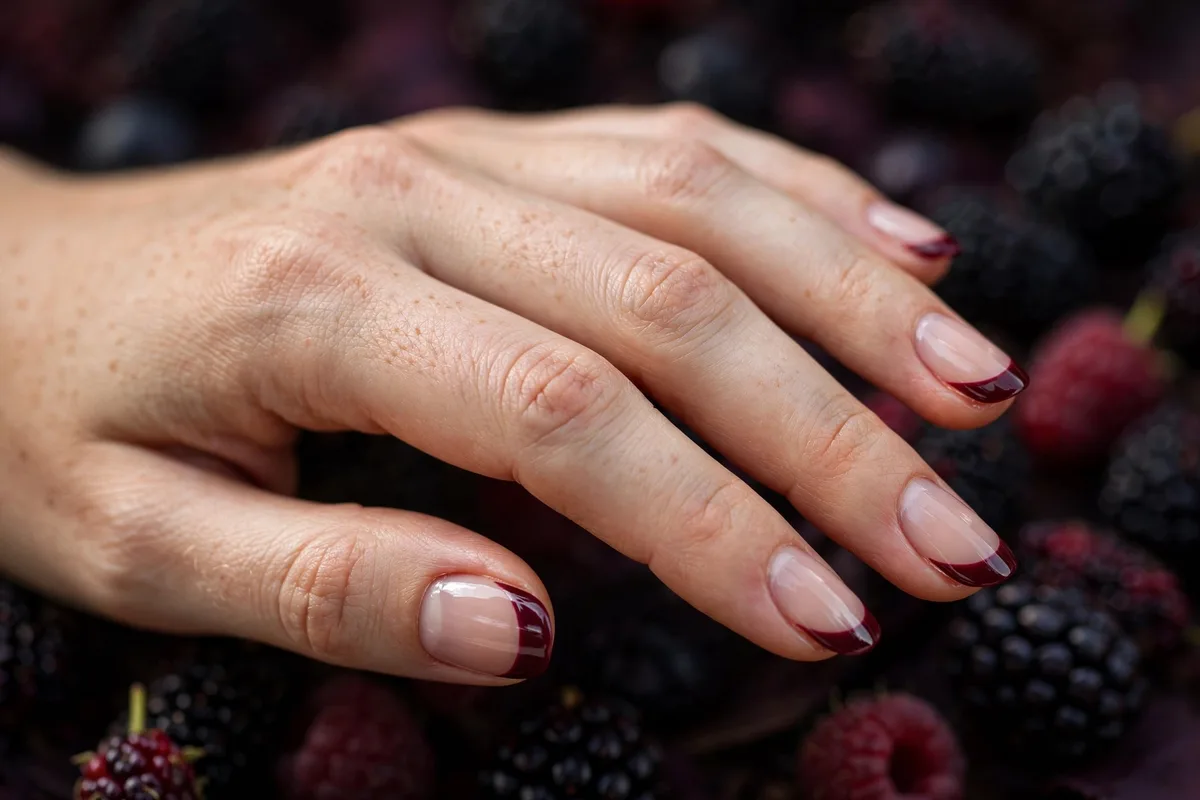
Deep burgundy tips over a sheer base — vampire energy, French-manicure manners. Paint a thin smile line; burgundy forgives wobbly lines since the dark shade hides flaws. Finish glossy for a lacquered look.
18. Sheer Nude + Tiny Spider
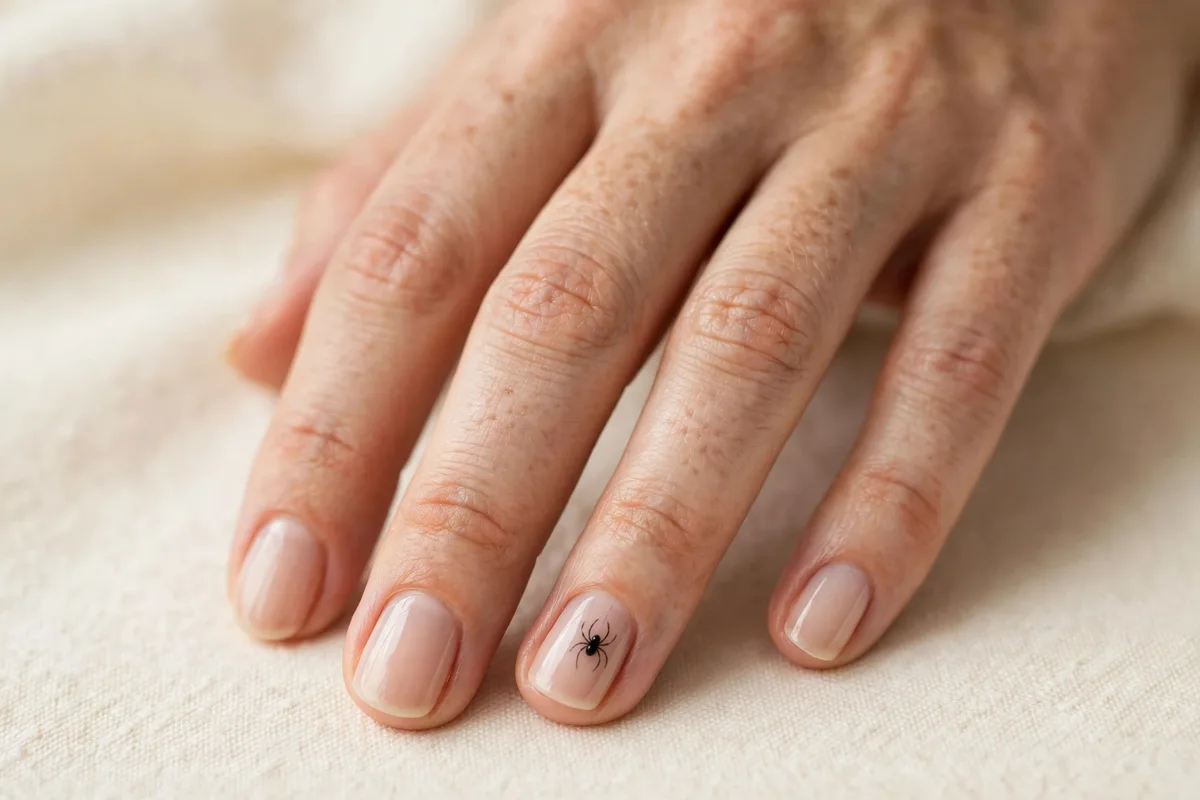
One tiny spider on sheer nude — the boldest minimalist pick, still just dots and lines. Stamp a larger dot for the body, a smaller one for the head, then eight hairline legs with the liner brush. Single accent nail only.
📌 Found your favorite?
Pin your favorite simple Halloween nails to your nail board so it’s waiting when you book your next appointment.
How Do You Make Halloween Nail Art Last Longer?
To keep simple Halloween nails chip-free, seal the art under two thin layers of quick-dry top coat, cap each free edge, and let the base dry fully — about two minutes between layers — before any detail work. Reapply top coat on day three to push wear past a week. Daily cuticle oil keeps the surrounding skin fresh, which is what makes art look tired before it chips.
Work one hand at a time and let each layer set before adding faces — most smudges happen because the white base was still soft. Keep fresh polish away from hot water for the first hours. For more seasonal shades, browse our fall gel nail designs.
FAQs
How do you draw ghost nails with a dotting tool?
Place two drops of opaque white polish side by side, then drag downward with the large dotting end into a soft wavy tail. Wait 60 seconds, then stamp two dot eyes and an oval mouth with the smallest tip dipped in black polish. Seal with two thin top-coat layers.
What tools do I need for DIY Halloween nail art at home?
A double-ended dotting tool and a fine liner brush cover every one of these simple Halloween nails. Add sheer nude, black, white, and orange polishes plus a quick-dry top coat. No dotting tool? Toothpicks or bobby pins substitute well, and our nail stickers guide covers the decal shortcut.
Can you do these designs with regular nail polish?
Yes — these simple Halloween nails were planned for regular polish, no gel lamp needed. Thin coats dry faster and smudge less than one thick coat. For speed, try Sally Hansen Insta-Dri (60-second dry, per the brand) and always cap the free edge.
Can I wear Halloween nails to a corporate office?
Stick to designs tagged office-friendly above: a neutral base with one tiny motif reads as a fashion manicure, not a costume. Black French tips, black cherry solids, and nude-with-micro-ghost sets pass in most workplaces. OPI’s DIY nail art tutorials are a solid next stop for technique.
Which one are you trying first? Tell us in the comments — and if you loved these simple Halloween nails, keep exploring: